AWS Marketplace
7 Tips to Successfully Submit Your Product Listing in AWS Marketplace
AWS Marketplace is a digital catalog that enables qualified Independent Software Vendors (ISVs) to sell software solutions to AWS customers. In this post, I offer seven chronological tips to successfully submit your product listing in AWS Marketplace.
Tip 1: Check requirements and complete your tax and banking wizard
The best way to start is by reviewing the requirements in the Getting Started as a Seller documentation. There are different registration requirements based on where your company resides and what type of products you want to list. You must complete your banking and tax registration before your paid or Bring Your Own License (BYOL) product can be published, for example.
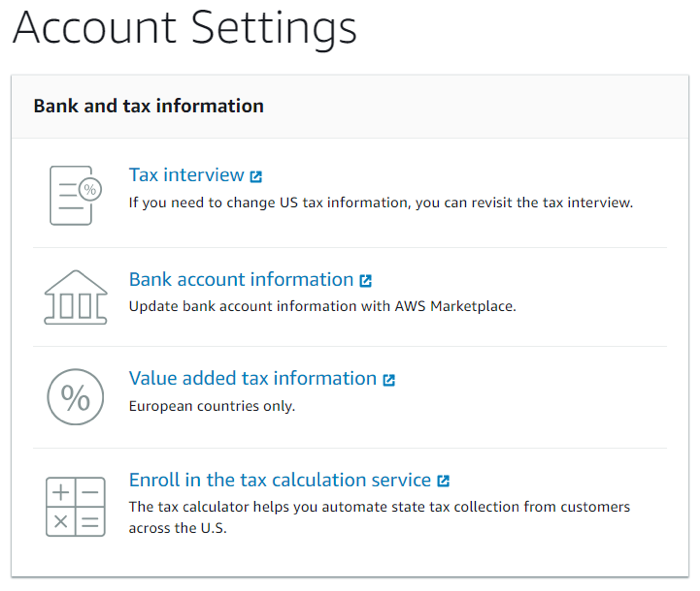
I recommend completing your banking and tax registration immediately after signing up as a seller. For US-based entities, a W-9 and bank account from a US-based bank are required. European Union state members are required to provide a W-8, Value Added Tax (VAT) number, and a US bank account. If you do not have a US bank account, you can register for a virtual US bank account from Hyperwallet after submitting your tax information in the AWS Marketplace Management Portal. A member from the AWS Marketplace team will reach out with next steps after you submit your Tax and Banking wizard. The image below shows the bank and tax information wizard.
Tip 2: Consider enrolling in additional seller services
I recommend you check out these additional services to help make your product successful:
- Seller Private Offers is a purchasing program that allows sellers to offer a privately-negotiated price for a software purchase.
- AWS Marketplace Tax Calculation Service allows U.S. Sales and Use Tax collected from customers to be included in your monthly disbursement.
- AWS Marketplace Commerce Analytics Service allows you to programmatically access product and customer data.
- AWS Marketplace Enhanced Data Sharing Program focuses on delivering enhanced buyer information to compensate your sales team.
- Product Support Connection allows AWS Marketplace customers to provide contact information to obtain and access your product support.
While you can enroll in these services at any time, I recommend enrolling in the above services and programs before you submit your listings. These tools can provide you with greater insight into your customer base and help you better understand your sales.
Tip 3: Understand AWS’ charges
Before submitting any product, I recommend reviewing the pricing documentation to ensure you fully understand the rates and fees defined by AWS.
Tip 4: Review our product policies
To speed up the publishing process, make sure your product is complete before you submit it. AWS Marketplace vets all products before publishing. Product submissions that do not meet all requirements will be sent back for you to revise. For AMI-products, review the Product and AMI Policies to ensure you meet them. For SaaS-products, ensure you refer to and pass the AWS Marketplace Integration Checklist.
Tip 5: Plan accordingly
Keep in mind that your product listing may require multiple iterations. To get an idea of a realistic publishing time frame, review the Timing and Expectations. Plan your events or release dates accordingly.
Tip 6: Have all marketing content ready
Once your product is listed, tell the world! I encourage you to broadly announce the availability of your product in AWS Marketplace. If you plan on Marketing Your Product, it’s a good idea to finalize marketing content prior to submission so you can announce immediately after your listing is published.
Tip 7: Know where to get help
For the best seller support experience, ensure you submit your request through the proper channel in the AWS Marketplace Management Portal (AMMP).
- Support request: Submit a support request via the Contact Us Web Form in the AMMP footer.
- Buyer refunds: Authorize a buyer refund request via the “Support” tab.
- Self-service publishing: Place a self-service publishing request via the “Listings” tab.
- Product load forms: Upload a product load form via the “File Upload” tab.
- Seller reports: Download a Seller report via the “Reports” tab.
Conclusion
In this post, I offered seven tips to help sellers successfully list products in AWS Marketplace. If you are interested in listing your software, sign up as a seller in AWS Marketplace and review the AWS Marketplace User Guide to get started.
About the author

Kevin MacPherson is a Technical Account Manager for AWS Marketplace. In his free time he enjoys lacrosse, reading non-fiction, and learning the piano.