AWS Compute Blog
AWS Step Functions support in Visual Studio Code
The AWS Toolkit for Visual Studio Code has been installed over 115,000 times since launching in July 2019. We are excited to announce toolkit support for AWS Step Functions, enabling you to define, visualize, and create your Step Functions workflows without leaving VS Code.
Version 1.8 of the toolkit provides two new commands in the Command Palette to help you define and visualize your workflows. The toolkit also provides code snippets for seven different Amazon States Language (ASL) state types and additional service integrations to speed up workflow development. Automatic linting detects errors in your state machine as you type, and provides tooltips to help you correct the errors. Finally, the toolkit allows you to create or update Step Functions workflows in your AWS account without leaving VS Code.
Defining a new state machine
To define a new Step Functions state machine, first open the VS Code Command Palette by choosing Command Palette from the View menu. Enter Step Functions to filter the available options and choose AWS: Create a new Step Functions state machine.

Creating a new Step Functions state machine in VS Code
A dialog box appears with several options to help you get started quickly. Select Hello world to create a basic example using a series of Pass states.

Selecting the “Hello world” starter template
VS Code creates a new Amazon States Language file containing a workflow with examples of the Pass, Choice, Fail, Wait, and Parallel states.

The “Hello World” example state machine
Pass states allow you to define your workflow before building the implementation of your logic with Task states. This lets you work with business process owners to ensure you have the workflow right before you start writing code. For more information on the other state types, see State Types in the ASL documentation.
Save your new workflow by choosing Save from the File menu. VS Code automatically applies the .asl.json extension.
Visualizing state machines
In addition to helping define workflows, the toolkit also enables you to visualize your workflows without leaving VS Code.
To visualize your new workflow, open the Command Palette and enter Render state machine to filter the available options. Choose AWS: Render state machine graph.

Rendering the state machine graph in VS Code
The toolkit renders a visualization of your workflow in a new tab to the right of your workflow definition. The visualization updates automatically as the workflow definition changes.

A state machine preview graph
Modifying your state machine definition
The toolkit provides code snippets for 12 different ASL states and service integrations. To insert a code snippet, place your cursor within the States object in your workflow and press Ctrl+Space to show the list of available states.

Code snippets are available for twelve ASL states and service integrations
In this example, insert a newline after the definition of the Pass state, press Ctrl+Space, and choose Map State to insert a code snippet with the required structure for an ASL Map State.
Debugging state machines
The toolkit also includes features to help you debug your Step Functions state machines. Visualization is one feature, as it allows the builder and the product owner to confirm that they have a shared understanding of the relevant process.
Automatic linting is another feature that helps you debug your workflows. For example, when you insert the Map state into your workflow, a number of errors are detected, underlined in red in the editor window, and highlighted in red in the Minimap. The visualization tab also displays an error to inform you that the workflow definition has errors.

A tooltip indicating an “Unreachable state” error
Hovering over an error opens a tooltip with information about the error. In this case, the toolkit is informing you that MapState is unreachable. Correct this error by changing the value of Next in the Pass state above from Hello World Example to MapState. The red underline automatically disappears, indicating the error has been resolved.
To finish reconciling the errors in your workflow, cut all of the following states from Hello World Example? through Hello World and paste into MapState, replacing the existing values of MapState.Iterator.States. The workflow preview updates automatically, indicating that the errors have been resolved. The MapState is indicated by the three dashed lines surrounding most of the workflow.

Automatically updating the state machine preview after changes
Creating and updating state machines in your AWS account
The toolkit enables you to publish your state machine directly to your AWS account without leaving VS Code. Before publishing a state machine to your account, ensure that you establish credentials for your AWS account for the toolkit.
Creating a state machine in your AWS account
To publish a new state machine to your AWS account, bring up the VS Code Command Palette as before. Enter Publish to filter the available options and choose AWS: Publish state machine to Step Functions.

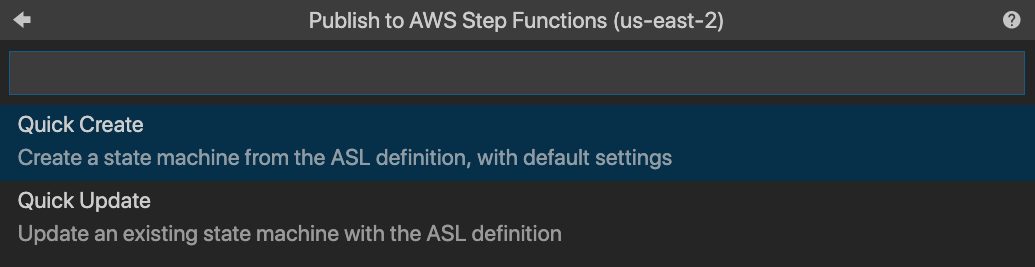
Publishing a state machine to AWS Step Functions
Choose Quick Create from the dialog box to create a new state machine in your AWS account.
Creating a new state machine
Select an existing execution role for your state machine to assume. This role must already exist in your AWS account.
For more information on creating execution roles for state machines, please visit Creating IAM Roles for AWS Step Functions.

Selecting an IAM execution role for a state machine
Provide a name for the new state machine in your AWS account, for example, Hello-World. The name must be from one to 80 characters, and can use alphanumeric characters, dashes, or underscores.

Naming your state machine
Press the Enter or Return key to confirm the name of your state machine. The Output console opens, and the toolkit displays the result of creating your state machine. The toolkit provides the full Amazon Resource Name (ARN) of your new state machine on completion.
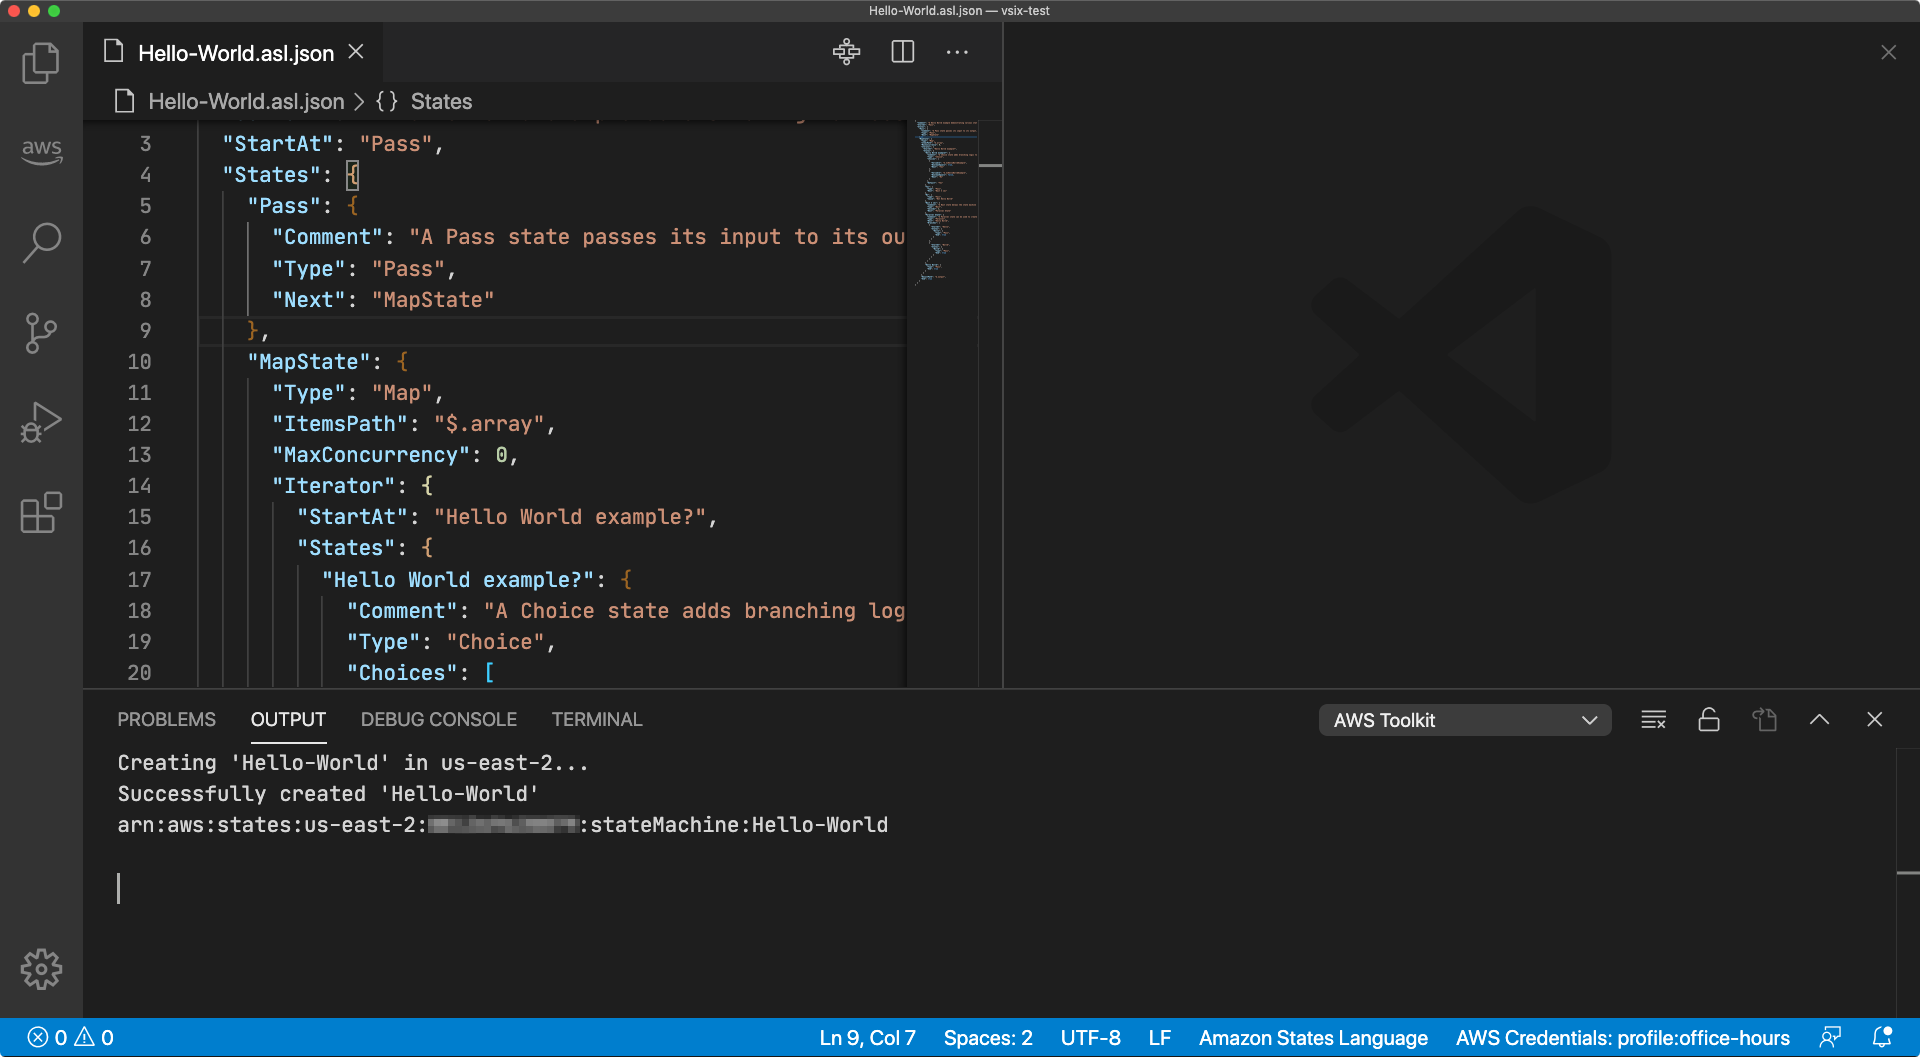
Output of creating a new state machine
You can check creation for yourself by visiting the Step Functions page in the AWS Management Console. Choose the newly-created state machine and the Definition tab. The console displays the definition of your state machine along with a preview graph.

Viewing the new state machine in the AWS Management Console
Updating a state machine in your AWS account
It is common to change workflow definitions as you refine your application. To update your state machine in your AWS account, choose Quick Update instead of Quick Create. Select your existing workflow.

Selecting an existing state machine to update
The toolkit displays “Successfully updated state machine” and the ARN of your state machine in the Output window on completion.
Summary
In this post, you learn how to use the AWS Toolkit for VS Code to create and update Step Functions state machines in your local development environment. You discover how sample templates, code snippets, and automatic linting can accelerate your development workflows. Finally, you see how to create and update Step Functions workflows in your AWS account without leaving VS Code.
Install the latest release of the toolkit and start building your workflows in VS Code today.