AWS News Blog
New – Managed NAT (Network Address Translation) Gateway for AWS
You can use Amazon Virtual Private Cloud (Amazon VPC) to create a logically isolated section of the AWS Cloud. Within the VPC, you can define your desired IP address range, create subnets, configure route tables, and so forth. You can also use a virtual private gateway to connect the VPC to your existing on-premises network using a hardware Virtual Private Network (VPN) connection.
An interesting network challenge arises when EC2 instances in a private VPC subnet need to connect to the Internet. Because the subnet is private, the IP addresses assigned to the instances cannot be used in public. Instead, it is necessary to use Network Address Translation (NAT) to map the private IP addresses to a public address on the way out, and then map the public IP address to the private address on the return trip.
New Managed NAT Gateway
Performing this translation at scale can be challenging. In order to simplify the task (and, as usual, to let you spend more time on your application and on your business), we are launching a new Managed NAT Gateway for AWS!
Instead of configuring, running, monitoring, and scaling a cluster of EC2 instances (you’d need at least 2 in order to ensure high availability), you can now create and configure a gateway with a couple of clicks.
The gateway has built-in redundancy for high availability. Each gateway that you create can handle up to 10 Gbps of bursty TCP, UDP, and ICMP traffic, and is managed by Amazon. You control the public IP address by assigning an Elastic IP Address when you create the gateway.
Creating a Managed NAT Gateway
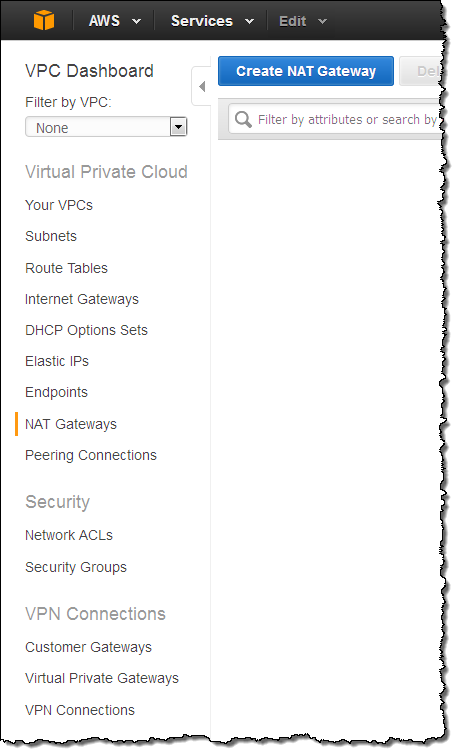
Let’s create a Managed NAT Gateway! Open up the VPC Console, and take a peek at the navigation area on the left. Locate and click on NAT Gateways:
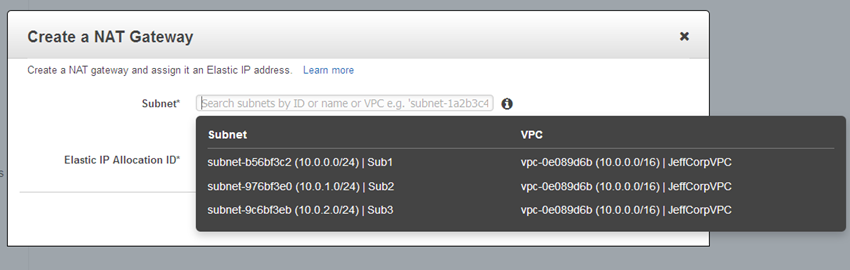
Then click on Create NAT Gateway and choose one of your subnets:
Choose one of your existing Elastic IP addresses, or create a new one:
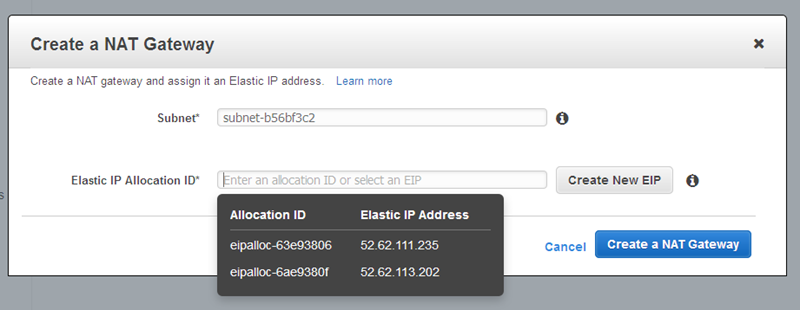
Then click on Create a NAT Gateway, and observe the confirmation:
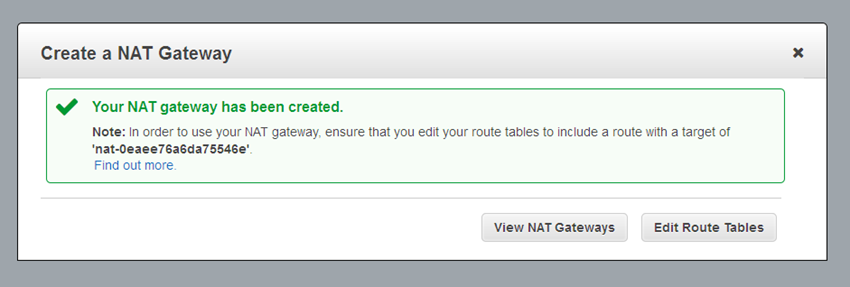
As you can see from the confirmation, you will need to edit your VPC’s route tables to send traffic destined for the Internet toward the gateway. The gateway’s internal (private) IP address will be chosen automatically, and will be on the subnet associated with the gateway. Here’s a sample route table:
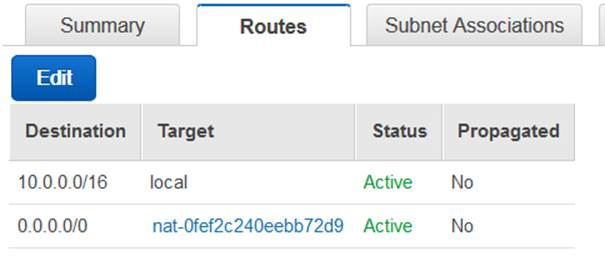
And that’s all you need to do. You don’t need to size, scale, or manage the gateway.
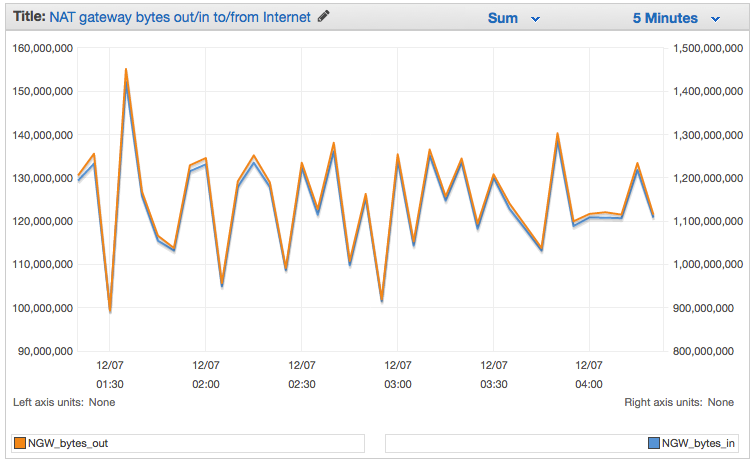
You can use VPC Flow Logs to capture the traffic flowing through your gateway, and then use the information in the logs to create CloudWatch metrics based on packets, bytes, and protocols. You can use the following filter pattern as a starting point (be sure to enter actual values for ENI_ID and NGW_IP):
[version, accountid, interfaceid=ENI_ID, srcaddr, dstaddr=NGW_IP, srcport, dstport, protocol, packets, bytes, start, end, action, log_status]The resulting graph will look like this:
If you create a new VPC using the VPC Wizard, it will offer to create a NAT Gateway and the route table rules for you. This makes the setup process even easier!
To learn more, read about the VPC NAT Gateway in the VPC User Guide.
Pricing and Availability
You can start using this new feature today in the US East (N. Virginia), US West (Oregon), US West (N. California), Europe (Ireland), Asia Pacific (Singapore), Asia Pacific (Sydney), and Asia Pacific (Tokyo) regions.
Pricing starts at $0.045 per NAT gateway hour plus data processing and data transfer charges. Data processing costs are based on the amount of data processed by the NAT Gateway; data transfer costs are the usual costs to move data between an EC2 instance and the Internet. For more information, read about VPC Pricing.
— Jeff;