Amazon Redshift
The cloud data warehouse that delivers unmatched price-performance for analytics and agentic AI
Why Amazon Redshift?
Amazon Redshift is built on cloud economics that scale with your usage - powering modern analytics and autonomous agentic AI workloads on your data warehouse. Redshift delivers up to 2.2x better price-performance and 7x better throughput than other cloud data warehouses. Redshift’s new Graviton-based RG instances run data warehouse and data lake workloads up to 2.4x as fast as previous generation RA3 instances at 30% lower price per vCPU and includes an integrated data lake query engine. Redshift Serverless helps you go from data to insights in seconds without managing infrastructure. Redshift powers SQL analytics on unified data across your lakehouse in Amazon SageMaker. Zero-ETL integrations enable near real-time analytics by connecting streaming services, operational databases, and third-party enterprise applications without complex data pipelines. Use Redshift as your structured knowledge base in Amazon Bedrock for more accurate generative AI output.
Powering the next generation of Amazon SageMaker
Benefits
Gain up to 2.2x better price-performance and 7x better throughput than other cloud data warehouses as you scale your data analytic workloads in Redshift. Reduce costs and meet business critical SLAs by isolating workloads with scalable multi-data warehouse architectures across your organization. With comprehensive security features like network isolation, fine grained access controls such as row level and column level permissions you can protect your data at no additional cost.
Leverage Redshift's powerful SQL analytic capabilities across all of your unified data through its seamless integration in Amazon SageMaker. Query your data in open formats stored on Amazon S3 with high performance, eliminating the need to move or duplicate data between your data lakes and data warehouse. Effortlessly include your Redshift data as part of the lakehouse in SageMaker, opening it up for access by a broad range of AWS and Apache Iceberg-compatible analytics engines and machine learning tools.
-
Innovate faster by making petabytes of data available for analytics without having to build and manage complex pipelines, enabling near real-time access for analytics use cases. Leverage zero-ETL integrations to seamlessly move transactional data from databases like Amazon Aurora, RDS, and DynamoDB into Redshift without performance impact. Ingest high volume real-time data from Amazon Kinesis and Amazon MSK with native streaming services integrations. With all your data in one place, enable near real-time analytics, and build predictive machine learning models directly in Redshift for powerful business insights.
-
Start analyzing your data in a few seconds with Amazon Redshift Serverless. Redshift Serverless learns from your workloads and automatically scales compute to handle your evolving analytic needs, so you can focus on uncovering insights without managing infrastructure. Simply connect to your data sources and start analyzing your data, with no infrastructure set up or maintenance required.
-
Build personalized applications with petabytes of your organizational data through Redshift’s seamless integration with Amazon Bedrock. Boost productivity by enabling data users to more quickly and easily write SQL queries using natural language with Amazon Q generative SQL in Redshift Query Editor. Invoke large language models from Amazon Bedrock and SageMaker for advanced natural language processing tasks like text summarization, entity extraction, and sentiment analysis, to gain deeper insights with your data using SQL.
Feature spotlight
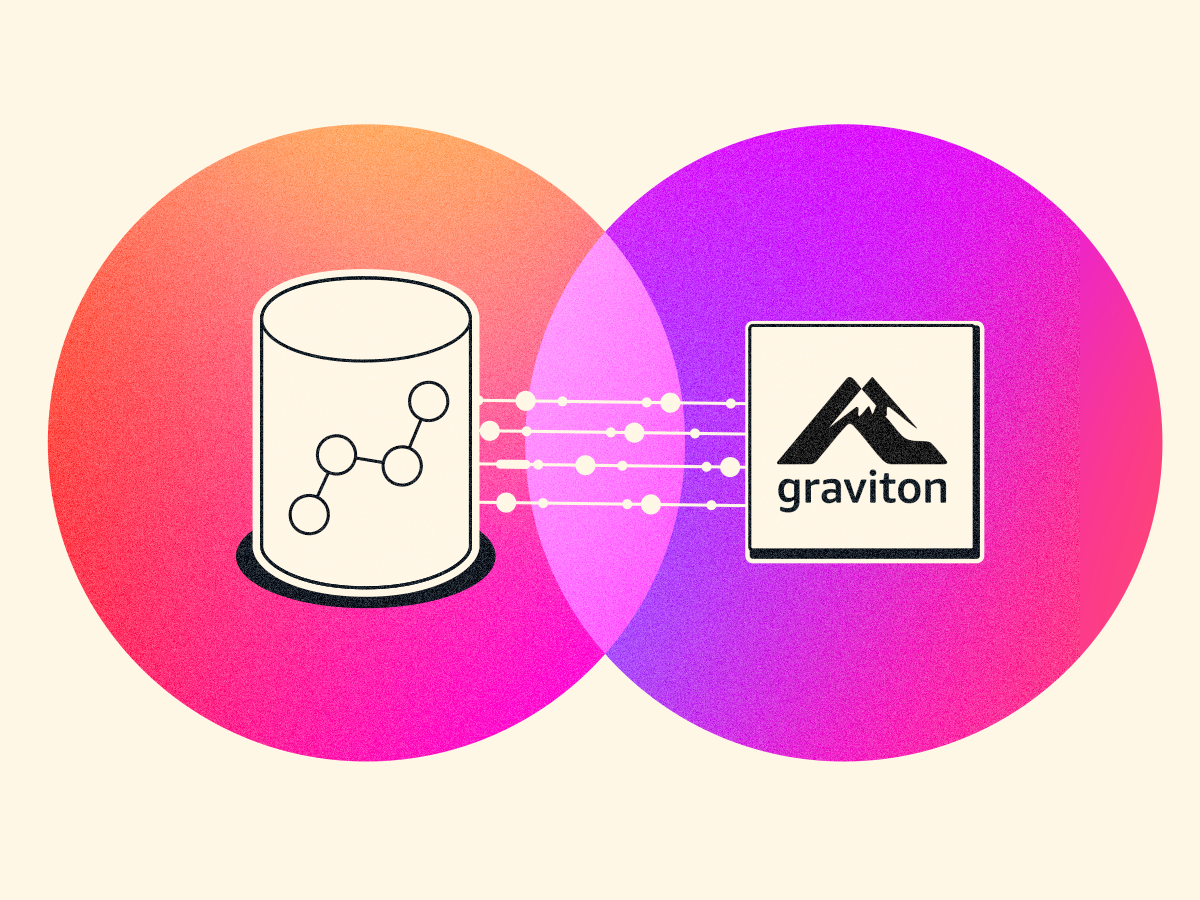
Powered by AWS Graviton, up to 2.4x as fast as RA3 and 30% lower price
Amazon Redshift RG instances, powered by AWS Graviton processors, deliver better performance - running data warehouse and data lake workloads up to 2.4x as fast as previous generation RA3 - at 30% lower per-vCPU cost. With a built-in data lake query engine, Redshift RG instances natively process open formats — including Apache Iceberg and Apache Parquet. The combination of speed, cost efficiency, and an integrated data lake query engine makes Redshift RG suited for the query volumes and latency demands of modern analytics and agentic AI workloads.
Increased performance of new queries by up to 7x
Amazon Redshift accelerates query response times of low-latency SQL queries from the very first run, such as those used in near real-time analytics applications, BI dashboards, ETL pipelines, and autonomous, goal-seeking AI agents. Enhanced code generation produces highly optimized, query-specific compiled code that ensures queries start fast and stay fast.
Use cases
Ingests hundreds of megabytes of data per second so you can query data in near real time and build low latency analytics applications for fraud detection, live leaderboards, and IoT.
Build insight-driven reports and dashboards using Amazon Redshift and BI tools such as Amazon QuickSight, Tableau, Microsoft PowerBI, or others.
Use SQL to build, train, and deploy ML models for many use cases including predictive analytics, classification, regression and more to support advanced analytics on large amount of data.
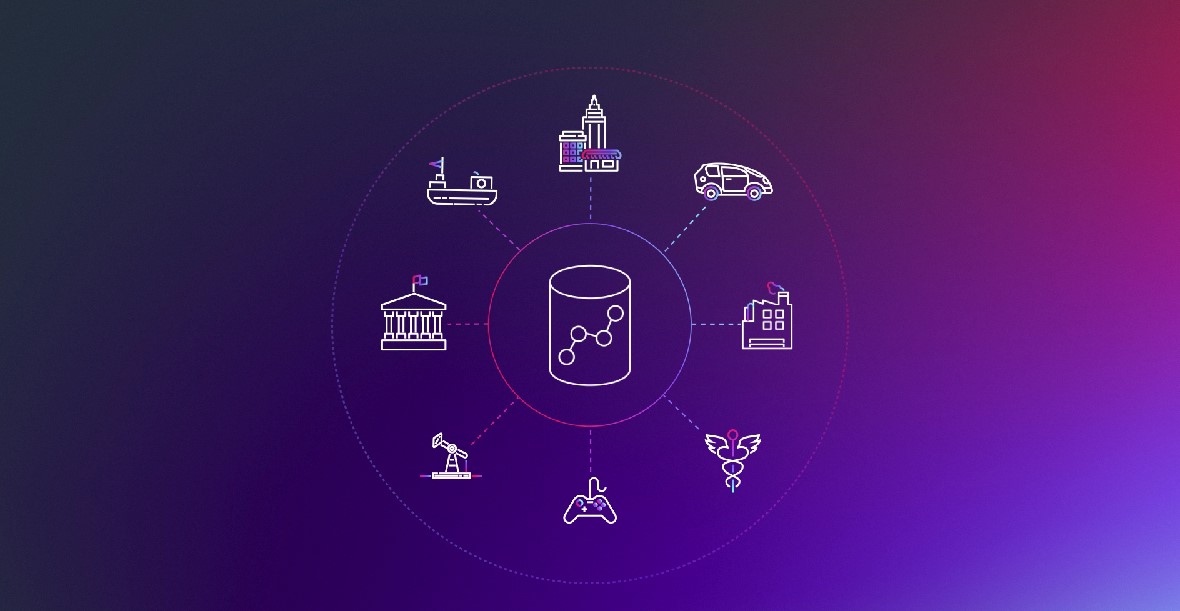
Build applications on top of all your data across databases, data warehouses, and data lakes. Seamlessly and securely share and collaborate on data to create more value for your customers, monetize your data as a service, and unlock new revenue streams.
Whether it's market data, social media analytics, weather data or more, subscribe to and combine third-party data in AWS Data Exchange with your data in Amazon Redshift, without hassling over licensing and onboarding processes and moving the data to the warehouse.
Amazon Redshift Serverless
Easily run and scale analytics in seconds without provisioning and managing a data warehouse
Did you find what you were looking for today?
Let us know so we can improve the quality of the content on our pages