AWS Cloud Operations Blog
Using AWS Cost Explorer and cost allocation tags to view Amazon S3 costs by bucket
AWS customers often have many users and groups within their organization utilizing Amazon Simple Storage Service (Amazon S3) buckets. In addition, customers often need a way to accurately understand the costs on a per-bucket basis for cost observability and charge back mechanisms. This is also important if a customer is entering the AWS Migration Acceleration Program (MAP) where the S3 baseline cost per existing bucket is utilized to allocate credits. Instructions exist for how to manage this using the AWS Management Console, but this may not be viable when you have a large number of S3 buckets. In this post, we provide steps for automating the creation and assignment of cost allocation tags so they can be analyzed in AWS Cost Explorer.
Solution Overview
The setup consists of the following configuration steps:
- Programmatically add a cost allocation tag to each bucket within an AWS account
- Activate the user defined cost allocation tag.
- Analyze the S3 bucket costs in the AWS Cost Explorer
Step 1: Programmatically add cost allocation tag to S3 buckets
In this step we will use a small Python script using the AWS SDK for Python (Boto3). This script will programmatically add a tag “cost:bucketName” with the value matching the name of the S3 bucket. When implementing a tagging strategy be sure to follow AWS tagging best practices.
The user executing these steps needs to have the following permissions:
s3:ListAllMyBuckets
s3:GetBucketTagging
s3:PutBucketTagging
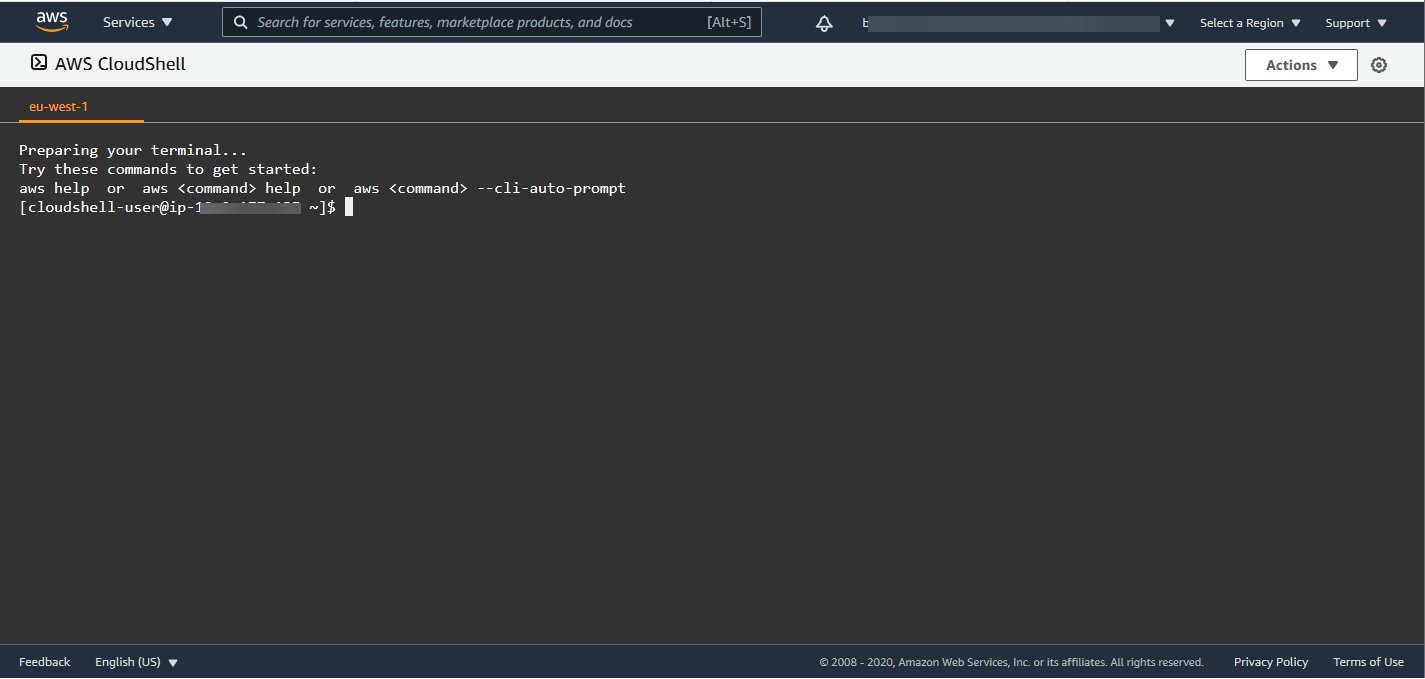
- In the AWS Console, launch AWS CloudShell. AWS CloudShell is a browser-based, pre-authenticated shell that you can launch directly from the AWS Console.
- Save and upload the below script as
add_tag_to_buckets.py
- Run the script
$ python3 add_tag_to_buckets.py
Step 2: Activate user-defined cost allocation tags
After you create and apply user-defined tags to your resources, it can take up to 24 hours for the tags to appear on your cost allocation tags page for activation. After you select your tags for activation, it can take up to another 24 hours for tags to activate and be available for use in Cost Explorer.
- Open the Billing and Cost Management console and from the left navigation pane, choose Cost allocation tags.
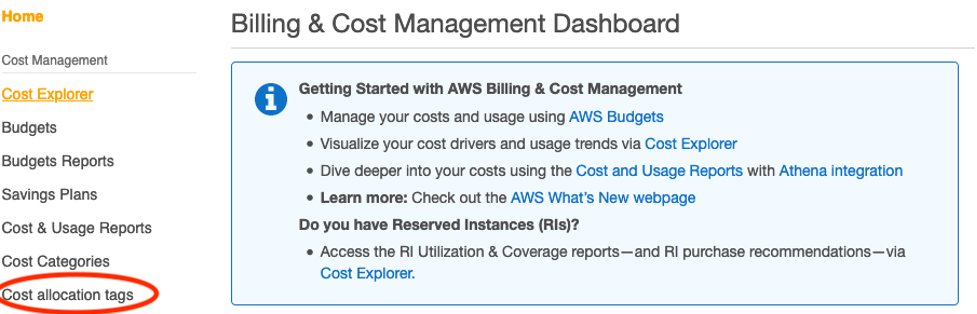
Figure 1. Billing and Cost Management Dashboard
- Under User-defined cost allocation tags, search for your tag name `cost:bucketName` and then activate the tag. This ensures that Cost Explorer and your AWS Cost and Usage Reports will include these tags.
![Cost allocation tags with search filter containing “cost:bucketName”]](https://d2908q01vomqb2.cloudfront.net/972a67c48192728a34979d9a35164c1295401b71/2023/01/23/co_1133_3.png)
Figure 2. Cost allocation tags
Step 3: Confirm Amazon S3 costs in AWS Cost Explorer
Customers can then use the filters in AWS Cost Explorer to view S3 Bucket charges grouped by cost allocation tags to give a per bucket view.
- Add a new filter including the S3 (Simple Storage Service)
- Change the Group by to Tag: S3-Bucket-Name
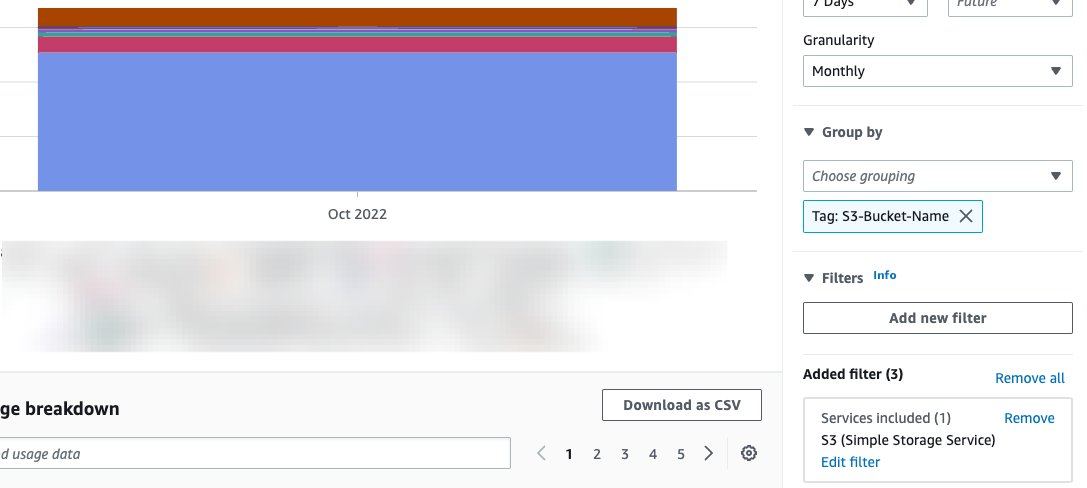
Figure 3: Group by cost allocation tag
Additionally, you can use Cost Explorer to further filter your cost data. In figure 4 you’ll see that we can exclude non tagged buckets, and exclude the Data Transfer costs to provide information for S3 Baselining in the Migration Acceleration Program (MAP).
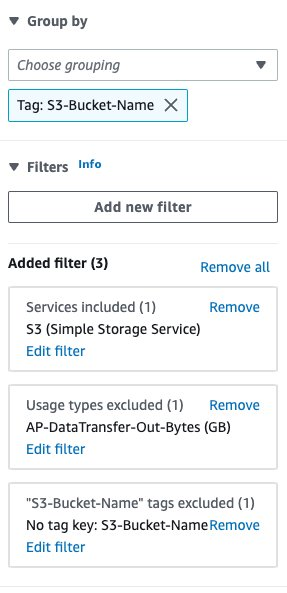
Figure 4. Figure MAP S3 Baselining
In addition to the Tag being available in Cost Explorer, you can use it in Cost & Usage Reports for more detail analysis.
Conclusion
In this blog post I’ve shown how using AWS Cost Explorer and cost allocation tags can provide a solution for AWS customers who need to view their Amazon S3 costs on a per-bucket basis. The setup process is simple and can be automated, making it easy to manage even for large numbers of S3 buckets. By programmatically adding a cost allocation tag to each bucket, activating the user-defined tag, and analyzing the costs in AWS Cost Explorer, customers can gain greater visibility and control over their S3 costs, making it easier to allocate costs and make informed decisions about their usage of the service.
About the author: