AWS Startups Blog
Migrating web services from Amazon Lightsail to EC2

Neeraj Kashyap, Chief Executive Officer, Bugout.dev
Guest post by Neeraj Kashyap, Chief Executive Officer, Bugout.dev
At Bugout.dev, the Palo Alto-based startup I founded last year, we build a search engine for programmers. As such, we run many experiments involving features that enrich results from our search indices before we display those results to our users. Most of these features require us to deploy backing web services.
Given our rejection rate for experiments, it is not worth the upfront effort to launch such an experiment as a production service. We prefer to launch these experimental services to Amazon Lightsail.
It typically takes us less than 10 minutes to bring up an experimental service on Amazon Lightsail. This is our process:
- Launch an OS-only Lightsail instance (we use Ubuntu 18.04 LTS)
- Provision the instance over SSH
- Get the web service running (in a tmux session)
- Open up the appropriate firewall TCP ports from the Lightsail console
- Create a DNS record pointing to the Lightsail instance
We build these services in a slapdash manner and deploy them at a small scale. The production applications that use these experimental features are configured to handle any failures gracefully. Deploying to Lightsail in this manner brings Bugout.dev the huge benefit of evaluating new ideas quickly, in days rather than weeks.
When an experimental feature proves to be valuable to our users, the effort of moving it into our production environment is justified. I am responsible for these migrations. The following sections walk you through how to set up a production environment in Amazon EC2 and migrate a web service into that environment from Lightsail.
Setting up a production environment
If you are setting up a production environment on Amazon EC2 from scratch, the number of AWS services you have to deal with can be daunting.
Lightsail takes care of networking for you. EC2 does not. You must set up your own networking when you create a production environment on Amazon EC2. The relevant service here is Amazon Virtual Private Cloud (Amazon VPC). The easiest way to set up a new VPC from the AWS Management console is to use the VPC Wizard.
You have some flexibility in how you set up your VPC. The official Amazon VPC Getting Started guide is useful when trying to figure out what kind of setup you want. Bugout.dev uses a VPC with public and private subnets.
After you have your VPC set up, you should create a load balancer. This load balancer routes traffic from the internet to the EC2 instances hosting your web service.
At Bugout, our web services are all HTTP-based, so I like to use the Application Load Balancer (ALB) from the Elastic Load Balancing (ELB) service. A single ALB can route traffic to multiple services. It is easy to configure an ALB with custom rules that determine how it routes traffic. You can also choose to terminate TLS traffic at an ALB by creating HTTPS listeners and attaching certificates to them.
If you need to route network traffic at a lower level, you can use a Network Load Balancer instead.
Either type of load balancer can be configured to route traffic to target groups. Target groups represent computational resources – EC2 instances, on-premises servers, or AWS Lambda – which provide a web service. You can create a target group directly from the load balancer wizard or you can create one from the EC2 target groups screen.
With your networking set up, you are ready to migrate your applications from Lightsail to Amazon EC2.
Migration process
These are the steps I take when migrating a service from Lightsail to Amazon EC2:
- Create a virtual machine image for your servers. On AWS, these images are called Amazon Machine Images (AMIs). This AMI represents a generic virtual machine setup to run your service. This is where you later install dependencies.
- Set up a security group for your service. This security group represents the firewall rules that should apply to EC2 instances hosting your service.
- Create a launch template for your servers. Launch templates represent server configuration.
- Create an Auto Scaling group to manage instances that host your service. This Auto Scaling group makes sure that your service is always up and running.
The benefit of already having deployed the service on Lightsail is that you already have what you need to create your AMI and security group.
AMI from Lightsail
Lightsail directly allows you to create an AMI from a Lightsail instance. To create an AMI for a Lightsail instance, go to the instance’s Snapshots tab:

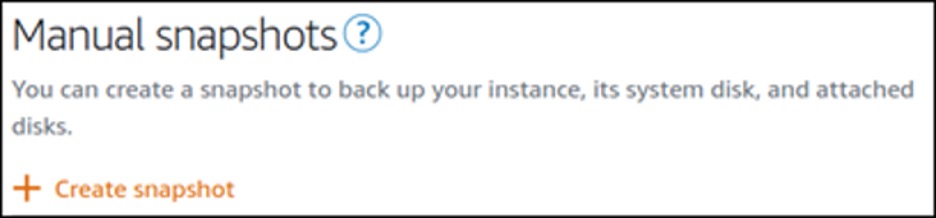
If there are no snapshots of that instance, create one manually:
After your instance snapshot is created, click on the three dots next to your new snapshot and select “Export to Amazon EC2.” This brings up the following modal:
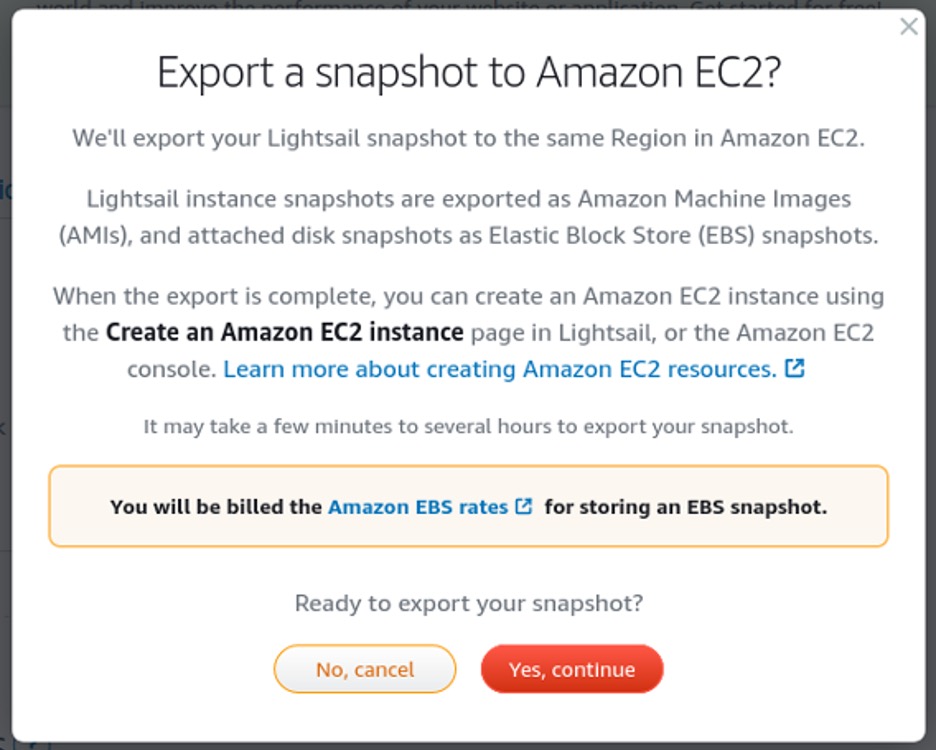
If you continue, this produces an AMI in the same AWS Region as your Lightsail instance. If you want to produce an AMI in a different Region, you can copy the snapshot to a different Region from the Lightsail console, or copy the AMI to a different Region using the EC2 AMI console.
This is the quickest way to create an AMI, but this is not the method I use in practice. The Lightsail instances I work with are set up by human beings executing commands over SSH sessions. This works beautifully for experimental services, but this is not how I want production servers to be specified.
Instead, I translate the shell history of my Lightsail instances into an Ansible playbook. This allows me to specify the server setup in code. Packer is an even more powerful tool built specifically for this purpose.
Although this method takes more effort, it is well worth it for services you intend to maintain for any period longer than a week.
Since I am talking about creating production services, this is also where you should install any programs required for logging and monitoring of your service hosts.
Now that you have an AMI, you can configure EC2 to deploy that AMI as a production service.
Security group from Lightsail
AWS security groups are equivalent to Lightsail firewalls. You can view the firewall configuration for your Lightsail instance in the instance’s networking tab:

Look for a section like this:
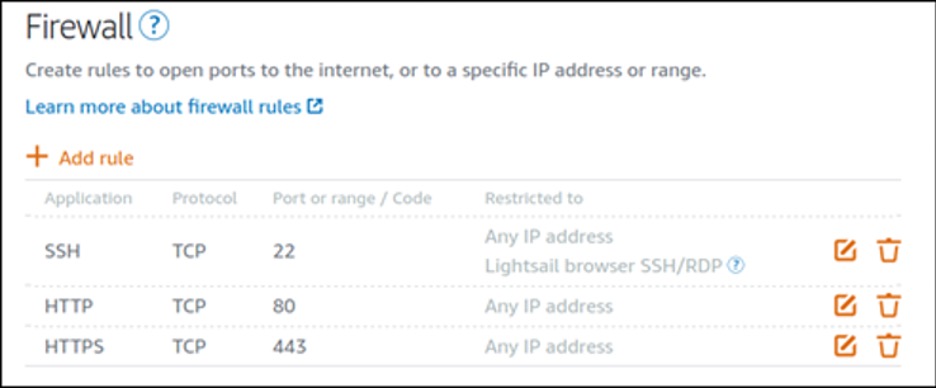
It is not currently possible to export this directly to a security group (as was the case with AMIs). But it’s easy to recreate this configuration on a security group manually. You can do this from the Amazon VPC console (make sure you are creating it in the same AWS Region as your VPC).
Launch template and Auto Scaling group
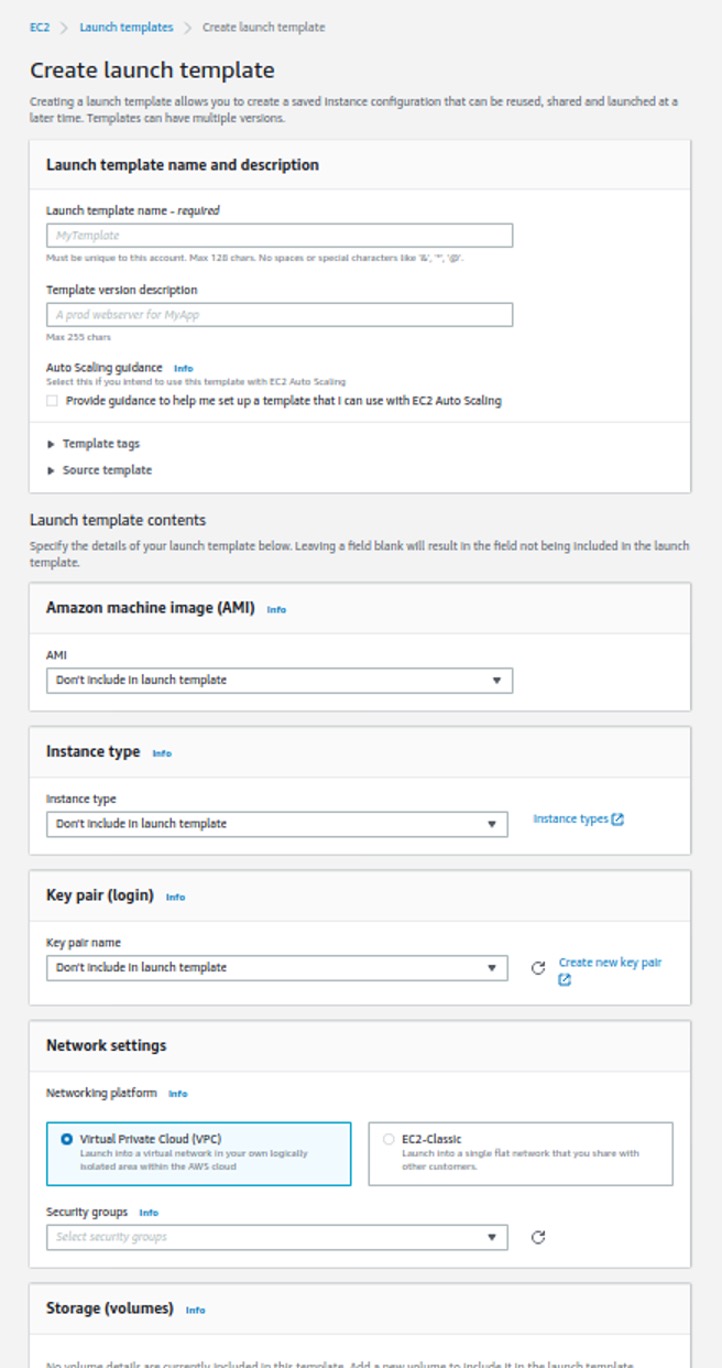
The launch template specifies that your service hosts should use the AMI and security group you created in the previous steps.
You can also specify a launch script as part of this template, which runs (as root) on instances that are started from the template.
It is easiest to create a launch template from the AWS EC2 console.
After your launch template is ready, it’s easy to create an Auto Scaling group from the EC2 console, as well. Make sure to hook this auto scaling group up to the target group you created for your service as part of your networking setup
It may take a few minutes for your Auto Scaling group to create instances. After your first instance is up, your service should be live and accessible from your load balancer.
Migration complete
Once you are confident in your EC2 deployment, make sure to delete your Lightsail instances and any connected storage devices and IP addresses from the Lightsail console. Congratulations! Your migration is complete.