AWS Compute Blog
Migrating Azure VM to AWS using AWS SMS Connector for Azure
AWS SMS is an agentless service that facilitates and expedites the migration of your existing workloads to AWS. The service enables you to automate, schedule, and monitor incremental replications of active server volumes, which facilitates large-scale server migration coordination. Recently, you could only migrate virtual machines (VMs) running in VMware vSphere and Microsoft Hyper-V environments. Currently, you can use the simplicity and ease of AWS Server Migration Service (SMS) to migrate virtual machines running on Microsoft Azure. You can discover Azure VMs, group them into applications, and migrate a group of applications as a single unit without having to go through the hassle of coordinating the replication of the individual servers or decoupling application dependencies. SMS significantly reduces application migration time, as well as decreases the risk of errors in the migration process.
This post takes you step-by-step through how to provision the SMS virtual machine on Microsoft Azure, discover the virtual machines in a Microsoft Azure subscription, create a replication job, and finally launch the instance on AWS.
1- Provisioning the SMS virtual machine
To provision your SMS virtual machine on Microsoft Azure, complete the following steps.
- Download three PowerShell scripts listed under Step 1 of Installing the Server Migration Connection on Azure.
| File | URL |
| Installation script | https://s3.amazonaws.com/sms-connector/aws-sms-azure-setup.ps1 |
| MD5 hash | https://s3.amazonaws.com/sms-connector/aws-sms-azure-setup.ps1.md5 |
| SHA256 hash | https://s3.amazonaws.com/sms-connector/aws-sms-azure-setup.ps1.sha256 |
- To validate the integrity of the files you can compare the checksums of the files. You can use PowerShell 5.1 or newer.
2.1 To validate the MD5 hash of the aws-sms-azure-setup.ps1 script, run the following command and wait for an output similar to the following result:

2.2 To validate the SHA256 hash of the aws-sms-azure-setup.ps1 file, run the following command and wait for an output similar to the following result:

2.3 Compare the returned values by opening the aws-sms-azure-setup.ps1.md5 and aws-sms-azure-setup.ps1.sha256 files in your preferred text editor.
2.4 To validate if the PowerShell script has a valid Amazon Web Services signature, run the following command and wait for an output similar to the following result:

- Before running the script for provisioning the SMS virtual machine, you must have an Azure Virtual Network and an Azure Storage Account in which you will temporarily store metadata for the tasks that SSM performs against the Microsoft Azure Subscription. A good recommendation is to use the same Azure Virtual Network as the Azure Virtual Machines being migrated, since the SSM virtual machine performs REST API communications to communicate with AWS endpoints as well as the Azure Cloud Service. It is not necessary for the SMS virtual machine to have a Public IP or Internet Inbounds Rules.
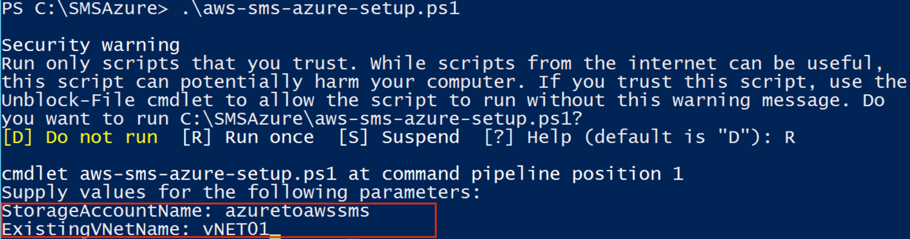
4. Run the installation script .\aws-sms-azure-setup.ps1

- Enter with the name of the existing Storage Account Name and Azure Virtual Network in the subscription:
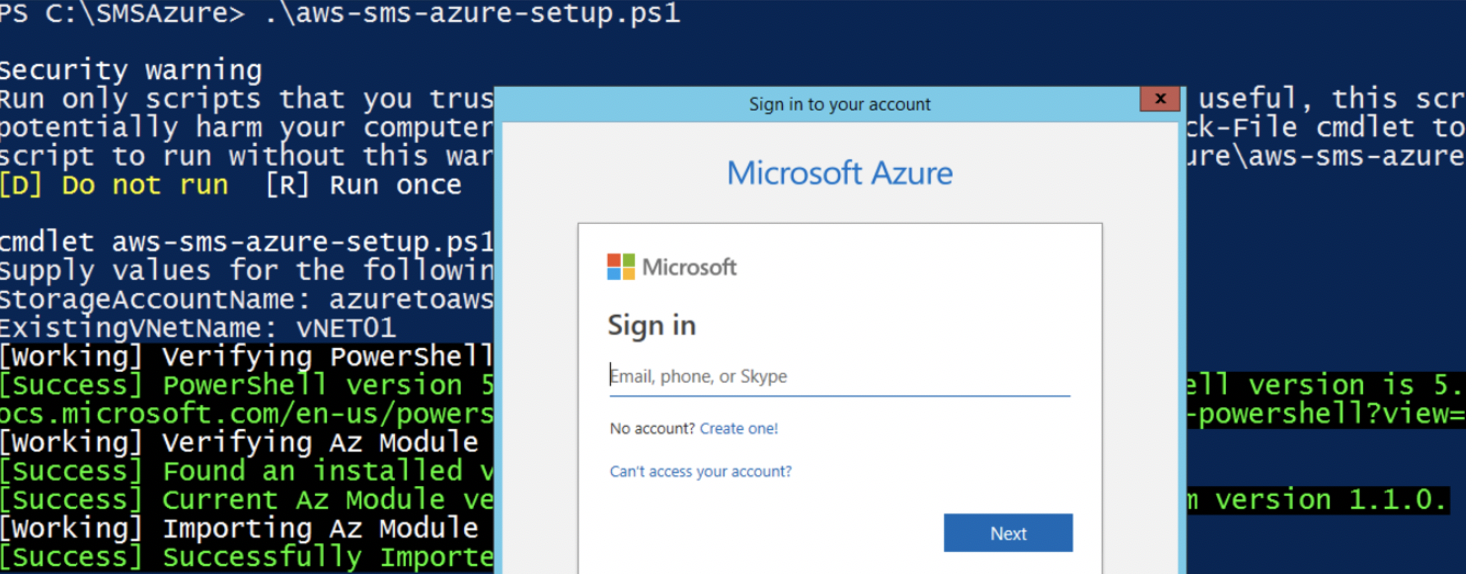
- The Microsoft Azure modules imports into the local PowerShell, and you receive a prompt for credentials to access the subscription.
- A summary of the created features appears, similar to the following:

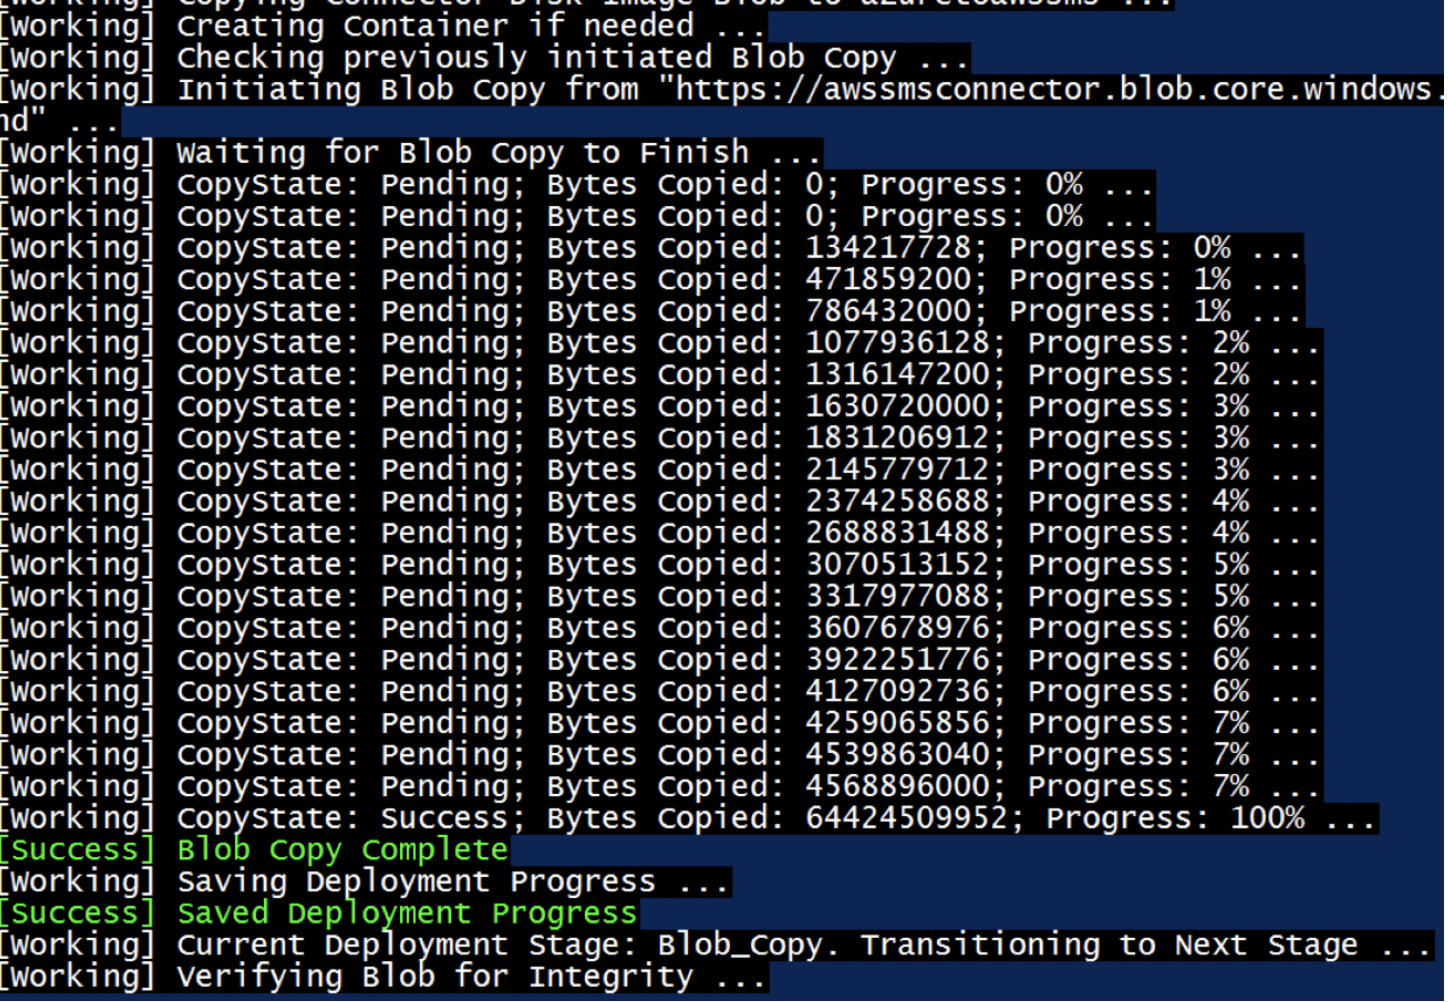
- Wait for the process to complete. It may take a few minutes:
- After the provisioning an output containing the Object Id of System Assigned Identity and Private IP. Save this information as it is going to be used to register the connector to the SMS service in the step 23.

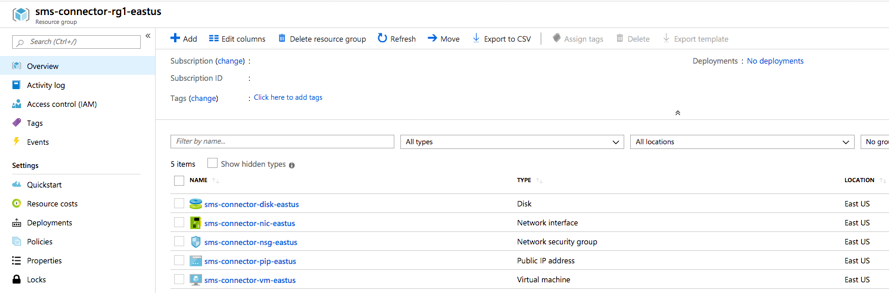
- To check the provisioned resources, log into the Microsoft Azure Portal and select the Resource Group option. The provided AWS script performed a role created in the Microsoft Azure IAM that allows the virtual machine to make use of the necessary services through REST APIs over HTTPS calls and to be authenticated via Azure Inbuilt Instance Metadata Service (IMDS).
- As a requirement, you need to create an IAM User that contains the necessary permissions for the SMS service to perform the migration. To do this, log into your AWS account at https://aws.amazon.com/console, under services select IAM. Then select User, and click Add user.

- In the Add user page, insert a username and check the option Programmatic access. Click: Next Permissions

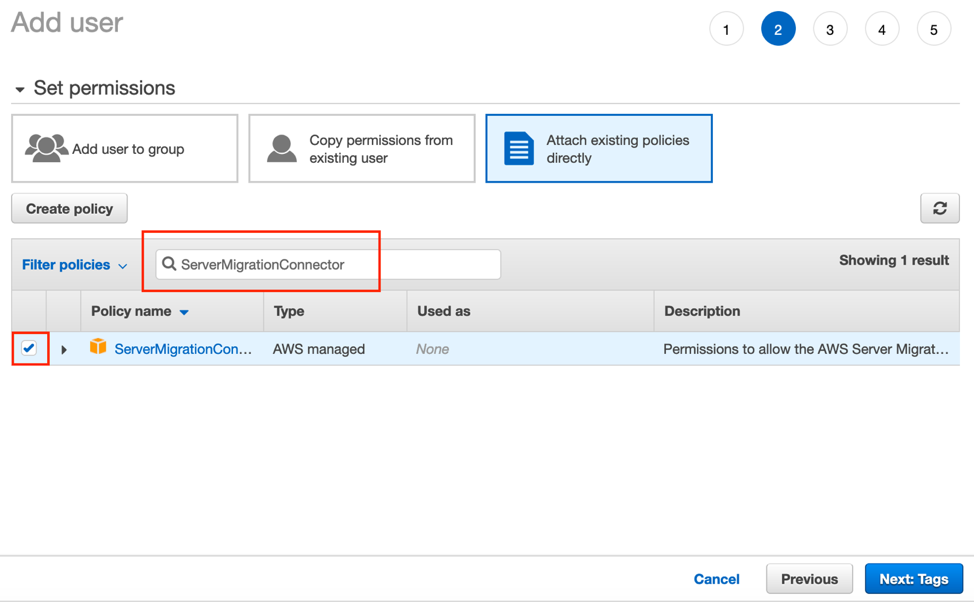
- Attach an existing policy with the name ServerMigrationConnector. This policy allows the AWS Connector to connects and executes API-requests against AWS. Click Next:Tags.
- Optionally add tags to the user. Click Next: Review.

15. Click Create User and save the Access Key and Secret Access Key. This information is going to be used during the AWS SMS Connector setup.

- From a computer that has access to the Azure Virtual Network, access the SMS Virtual Machine configuration using a browser and the previously recorded private IP from the output of the script. In this example, the URL is https://10.0.0.4.

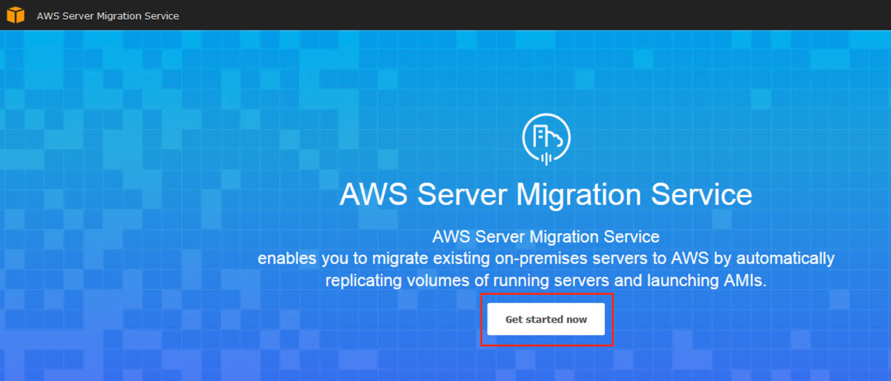
- On the main page of the SMS virtual machine, click Get Started Now
- Read and accept the terms of the contract, then click Next.

- Create a password that will be used to login later in the management connector console and click Next.

- Review the Network Info and click Next.

- Choose if you would like to opt-in to having anonymous log data set to AWS then click Next.

- Insert an Access Key and Secret Access Key for an IAM User whose only policy is attached: “ServerMigrationConnector” Also, select the region in which the SMS endpoint will be used and click Next. The access key mentioned it was created through step 11 to 15.

- Enter the Object Id of System Assigned Identify copied in step 9 and click Next.

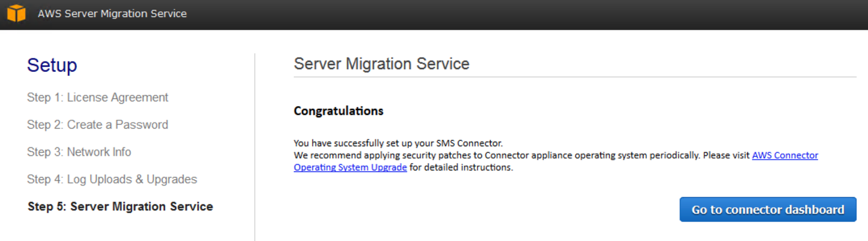
- Congratulations, you have successfully configured the Azure connector, click Go to connector dashboard.
- Verify that the connector status is HEALTHY by clicking Connectors on the menu.

2 – Replicating Azure Virtual Machines to Amazon Web Services
- Access the SMS console and go to the Servers option. Click Import Server Catalog or Re-Import Server Catalog if it has been previously executed.
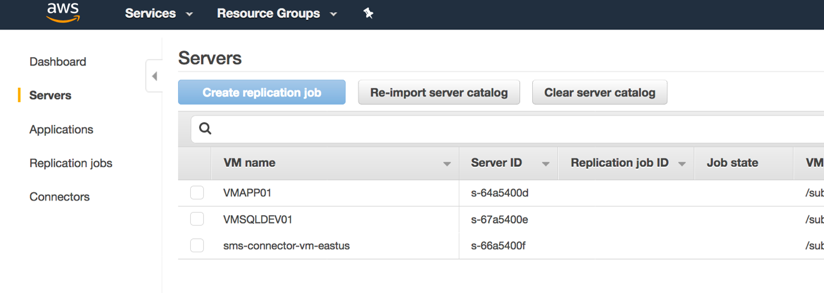
- Select the Azure Virtual Machines to be migrated and click Create Replication Job.

- Select which type of licensing best suits your environment, such as:
– Auto (Current licensing autodetection)
– AWS (License Included)
– BYOL (Bring Your Own License).
See options: https://aws.amazon.com/windows/resources/licensing/

- Select the appropriate replication frequency, when the replication should start, and the IAM service role. You can leave it blank and the SMS service is going to use the built-in service role “sms”

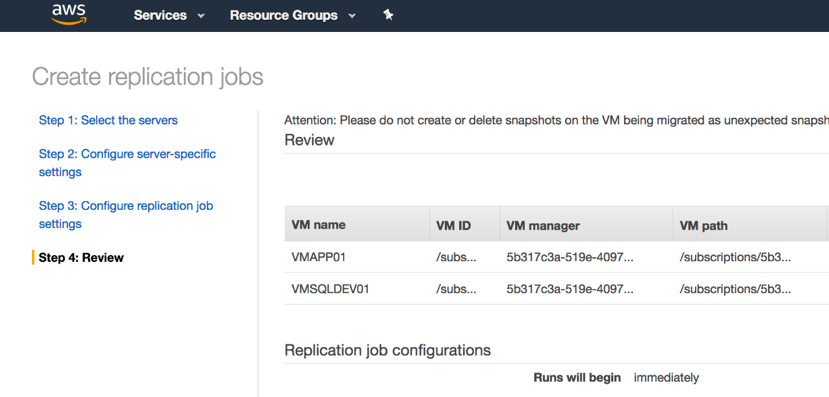
- A summary of the settings are displayed and click Create.
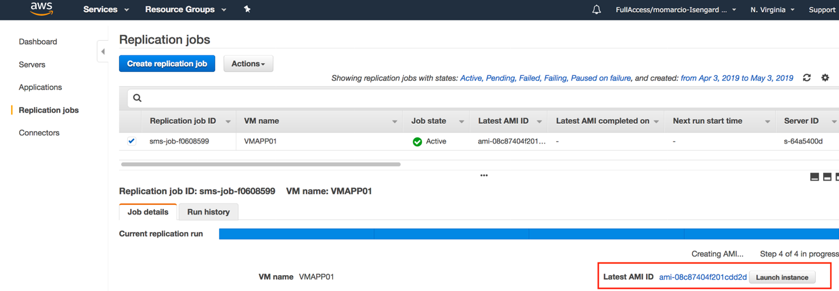
- In the SMS Console, go to the Replication Jobs option and follow the replication job status:

- After completion, access the EC2 console, go to AMIs, and a list of the AMIs generated by SMS will now be in this list. In the example below, several AMIs were generated because the replication frequency is 1 hour.

- Now navigate to the SMS console, click Launch Instance and follow the screen processes for creating a new Amazon EC2 instance.
3 – Conclusion
This solution provides a simple, agentless, non-intrusive way to the migration process with the AWS Server Migration Service.
For more about Windows Workloads on AWS go to: http://aws.amazon.com/windows
About the Author

Marcio Morales is a Senior Solution Architect at Amazon Web Services. He works with AWS customers to provide guidance and technical assistance on running their Microsoft workloads on AWS.