AWS Cloud Operations Blog
Auto-populate instance details by integrating AWS Config with your ServiceNow CMDB
Introduction
Many AWS customers either integrate ServiceNow into their existing AWS services or set up both ServiceNow and AWS services for simultaneous use. One challenge in this use case is the need to update your configuration management database (CMDB) when a new spin-up instance appears in AWS.
This post demonstrates how to integrate AWS Config and ServiceNow so that when a new Amazon EC2 instance is created, Amazon SNS triggers a notification. This notification creates a server record in the CMDB and tests your setup by creating an EC2 instance from a sample AWS CloudFormation stack.
Overview
Use AWS CloudFormation to provision infrastructure resources from a template automatically, and use AWS Config to monitor these resources. SNS provides topics for pushing messages for these resources. Use AWS Config to provide the information to ServiceNow, enabling it to create a CMDB record automatically.
This is done in five stages:
- Configure ServiceNow.
- Create an SNS topic and subscription.
- Confirm the SNS subscription in ServiceNow.
- Create a handler for the subscription in ServiceNow.
- Configure AWS Config.
Configure ServiceNow
Use a free ServiceNow developer instance to do the work. If you already have one, feel free to use your own.
- Log in to the ServiceNow Developer page, and request a developer instance.
- Log in to the developer instance as an administrator. Make sure to remember your login credentials. These are used later when configuring SNS topic subscription URLs.
- Navigate to System Applications. Choose Studio, then Import From Source Control.
- On the Import Application screen, enter the following URL:
- https://github.com/byukich/x_snc_aws_sns.
- Leave both the User name and Password fields empty, and then choose Import.
- Close the Studio browser tab.
- Refresh your ServiceNow browser tab and navigate to SNS. Notice in the left pane that there are now three new navigation links.
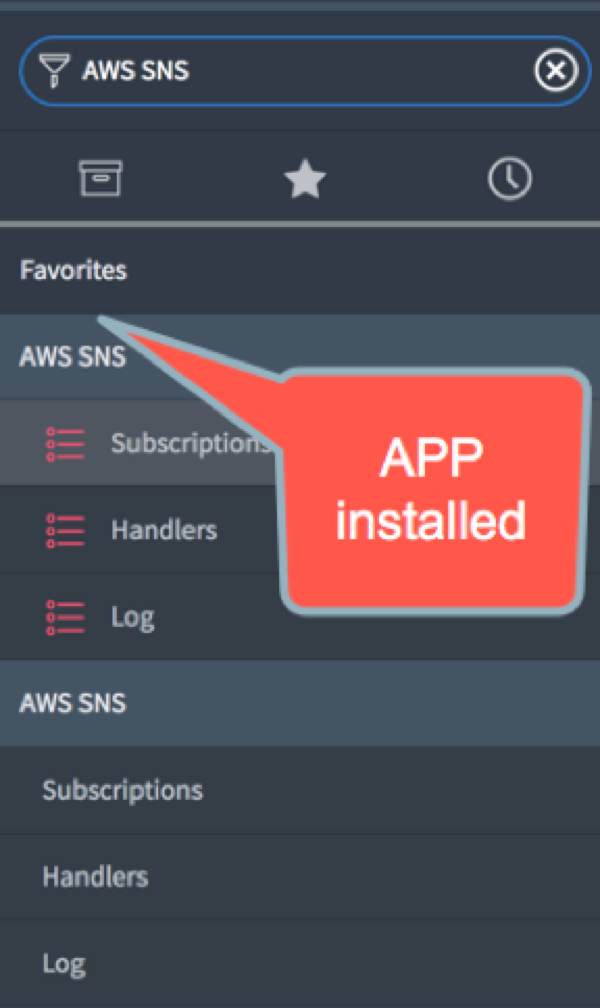
Note: in the above image, “AWS SNS” refers to the app name, not to Amazon SNS.
Create an SNS topic and subscription
Perform the following procedures to create an SNS topic and subscription:
- Log in to the SNS console, and select the US-East (N. Virginia) Region.
- In the left pane, choose Topics, Create New Topic.
- Give the topic a name, make the display name ServiceNow, and choose Create Topic.
- Select the Amazon Resource Name (ARN) link for the topic that you just created.
- Choose Create Subscription.
- Choose HTTPS protocol.
- For Endpoint, use the administrator password that you received when you acquired the free ServiceNow developer instance. Then enter the developer instance link, which is rendered like the following:
- https://admin:<ServiceNow admin password>@<your developer instance>.service-now.com/api/x_snc_aws_sns/aws_sns
- Choose Create Subscription.
Your new subscription is pending confirmation.
Confirm the SNS subscription in ServiceNow
Before allowing SNS to send messages to ServiceNow, confirm the subscription on ServiceNow. At this point, AWS already sent a handshake request, which is awaiting confirmation inside your ServiceNow instance.
- On your ServiceNow browser tab, navigate to SNS, then choose Subscriptions. Notice that AWS created a new record.

- Open the subscription by choosing ServiceNow, then choose Confirm Subscription. Stay on this page to create a handler in the next section.
Create a handler for the subscription in ServiceNow
Now, set up ServiceNow to be able to absorb received messages from AWS. Create a handler that’s able to create a new record in the CMDB Server table (cmdb_ci_server) whenever a new EC2 instance is created from a sample AWS CloudFormation stack.
To set up the handler, follow these steps:
-
- At the bottom of the Subscriptions form, for Handler Related , choose New and then provide a name for the handler, such as Create CMDB Server from EC2.
- Enter the following code inside the function:
var webserver = new GlideRecord("cmdb_ci_server"); webserver.initialize(); webserver.name = "AWS WebServer "+message.configurationItem.configuration.launchTime ; webserver.short_description = "Monitoring is "+message.configurationItem.configuration.monitoring.state+" and Instance Type is "+message.configurationItem.configuration.instanceType ; webserver.asset_tag = message.configurationItem.configuration.instanceId ; webserver.insert(); - Choose Submit
Configure AWS Config
- In the Config console, select the US-East (N. Virginia) Region.
- In the left navigation pane, choose Settings. For Recording, make sure that the value is On.
- Under Resources Type to Record, for All Resources, select both check boxes:
- Record all resources supported in this region
- Include global resources (including IAM resources)
- Choose Choose a topic from your account.
- Select the Amazon Resource Name (ARN) link for the topic that you just created.
- Choose Save.
Testing the integration
You can test this integration by creating a stack from the AWS CloudFormation sample templates, which trigger recording in AWS Config. This process then creates SNS notifications, which creates a configuration item in the ServiceNow CMDB.
- In the AWS CloudFormation console, choose Create stack.
- Select a sample template.
- Under Specify Details, enter the following information:

Note: the above image, shows sample information.
- Choose Next.
- In the left navigation pane, choose Options, provide tags if needed, and then choose Next.
- At the bottom of the review page, choose Create. Wait for the stack creation to complete.
- Navigate to ServiceNow, then Server to check whether a server was created.
If you see a new server entry, you successfully integrated AWS Config with the ServiceNow CMDB.
Conclusion
This post shows one way to integrate AWS Config with your ServiceNow CMDB. When an instance is created in AWS using AWS CloudFormation, the details are captured as configuration items in the CMDB Server table.
With this process, you can use Handlers in ServiceNow to update the record with instance details. This handler can be customized to provide you with the option to scale this integration. You can get updated instance details as well as additional details that you may want.
You can use this mechanism as a trigger to send notifications and perform actions including discovery, workflow, and more. By making a small change (for example, adding a tag) across a list of resource types, you can use this solution to bypass discovery needs and discover existing resources. This triggers change recording in AWS Config and then creates those resources in the CMDB.
Additionally, we have AWS Service Catalog Connector for ServiceNow:
How to install and configure the AWS Service Catalog Connector for ServiceNow
How to enable self-service Amazon WorkSpaces by using AWS Service Catalog Connector for ServiceNow
About the Author
 Rahul Goyal is a New York-based Senior Consultant for AWS Professional Services in Global Specialty Practice. He has been working in cloud technologies for more than a decade. Rahul has been leading Operations Integration engagements to help various AWS customers be production ready with their cloud operations. When he is not with a Customer he takes his Panigale to Track Days for racing in summers and enjoys skiing in winters.