AWS News Blog
Amazon EKS – Now Generally Available

|
We announced Amazon Elastic Kubernetes Service (Amazon EKS) and invited customers to take a look at a preview during re:Invent 2017. Today I am pleased to be able to let you know that EKS is available for use in production form. It has been certified as Kubernetes conformant, and is ready to run your existing Kubernetes workloads.
Based on the most recent data from the Cloud Native Computing Foundation, we know that AWS is the leading environment for Kubernetes, with 57% of all companies who run Kubernetes choosing to do so on AWS. Customers tell us that Kubernetes is core to their IT strategy, and are already running hundreds of millions of containers on AWS every week. EKS simplifies the process of building, securing, operating, and maintaining Kubernetes clusters, and brings the benefits of container-based computing to organizations that want to focus on building applications instead of setting up a Kubernetes cluster from scratch.
AWS Inside
 EKS takes advantage of the fact that it is running in the AWS Cloud, making great use of many AWS services and features, while ensuring that everything you already know about Kubernetes remains applicable and helpful. Here’s an overview:
Multi-AZ – The Kubernetes control plane (the API server and the etcd database) are run in high-availability fashion across three AWS Availability Zones. Control plane nodes are monitored and replaced if they fail, and are also patched and updated automatically.
IAM Integration – EKS uses the Heptio Authenticator for authentication. You can make use of IAM roles and avoid the pain that comes with managing yet another set of credentials.
Load Balancer Support – You can route traffic to your worker nodes using the AWS Network Load Balancer, the AWS Application Load Balancer, or the original (classic) Elastic Load Balancer.
EBS – Kubernetes PersistentVolumes (used for cluster storage) are implemented as Amazon Elastic Block Store (Amazon EBS) volumes.
Route 53 – The External DNS project allows services in Kubernetes clusters to be accessed via Route 53 DNS records. This simplifies service discovery and supports load balancing.
Auto Scaling – Your clusters can make use of Auto Scaling, growing and shrinking in response to changes in load.
Container Interface – The Container Network Interface for Kubernetes uses Elastic Network Interfaces to provide secondary IP addresses for Kubernetes Pods.
For a more detailed look at these features, read about Amazon Elastic Container Service for Kubernetes.
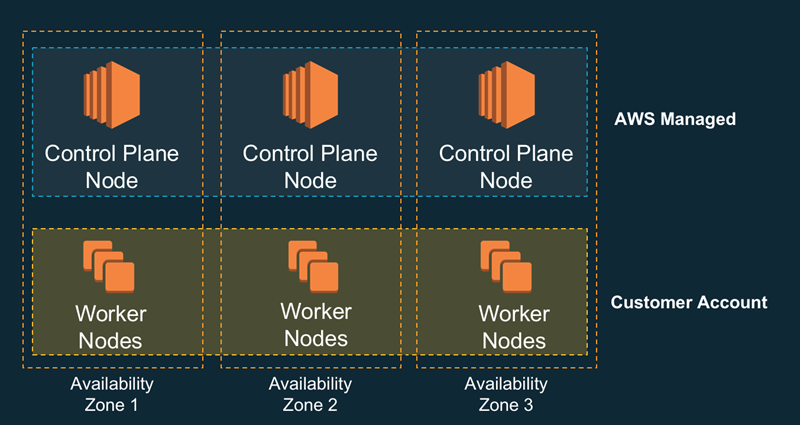
EKS is built around a shared-responsibility model; the control plane nodes are managed by AWS and you run the worker nodes. This gives you high availability and simplifies the process of moving existing workloads to EKS. Here’s a very high-level overview:
Creating an Amazon EKS Cluster
To create a cluster, I provision the control plane, provision and connect the worker cluster, and launch my containers. In the example below I will create a new VPC for my worker cluster, but I can also use an existing one, as long as the desired subnets are tagged with the name of my Kubernetes cluster.
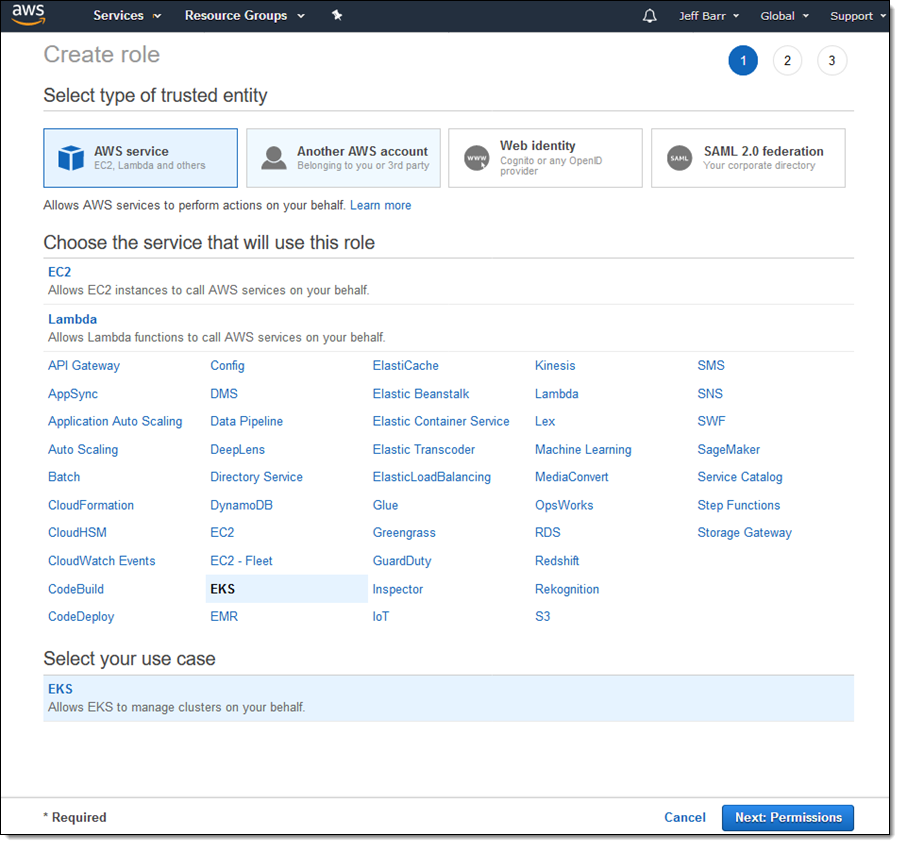
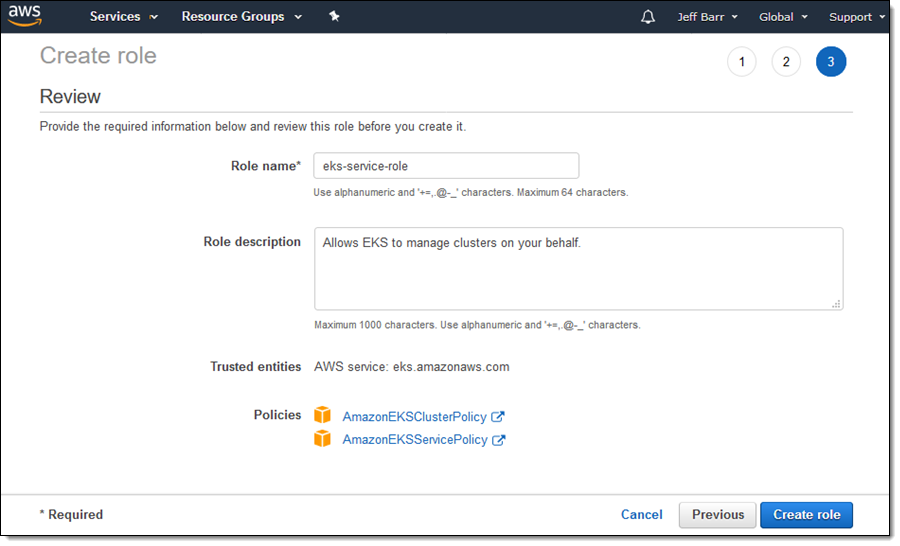
Following the directions in the Amazon EKS Getting Started Guide, I begin by creating an IAM role. Kubernetes assumes this role and uses it to create AWS resources such as Elastic Load Balancers. Once created, this role can be used for all of my clusters.I open up the IAM console, click Create role, select EKS, and click Next:Permissions:
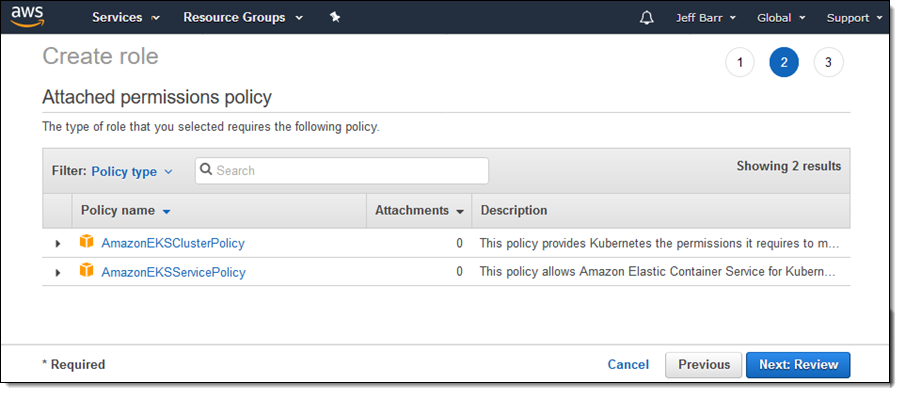
The policies look good, so I click Next:Review:
I enter a name for my role, and click Create role:
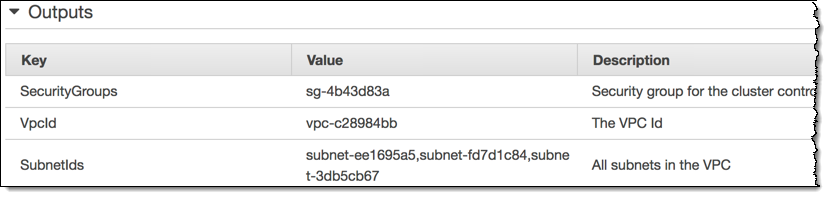
Next, I create a VPC (Virtual Private Cloud) using the sample template from the Getting Started Guide, with the following parameters:

The template creates a VPC that has three subnets, along with all of the necessary route tables, gateways, and security groups):

As is the case with the ARN, I will need the ID of the security group later:
Next, I download kubectl and set it up to use the Heptio Authenticator. The authenticator allows kubectl to make use of IAM authentication when it accesses my Kubernetes clusters. Instructions for downloading and setup are in the Getting Started Guide and I follow them as directed.
To wrap up the setup process, I ensure that I am running the latest version of the AWS Command Line Interface (AWS CLI) by running eks help (if I was running an older version, the eks command would not be available):
With my IAM role, my VPC, and my tooling all in place, I am ready to create my first Amazon EKS cluster!
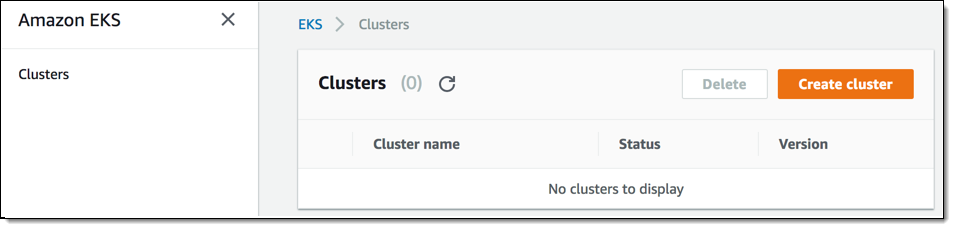
I log in to the EKS Console using an IAM user that has administrative privileges (root credentials cannot be used due to the way that the Heptio Authenticator works) and click Create cluster:
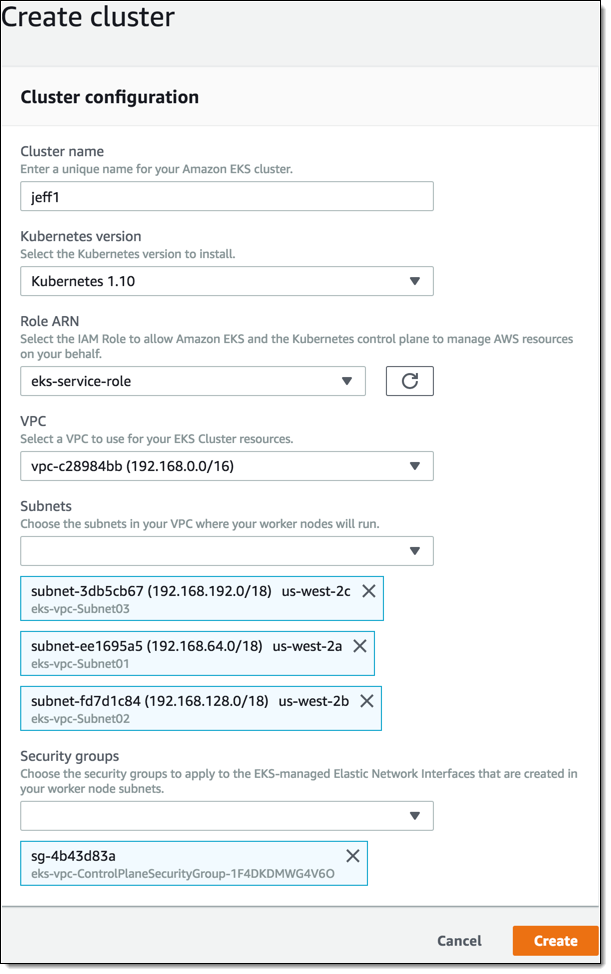
I enter a name for my cluster (which must match the one that I entered when I created the VPC, because Kubernetes relies on tagging of subnets), along with the subnet IDs and the security group ID, both for the VPC, and click Create:
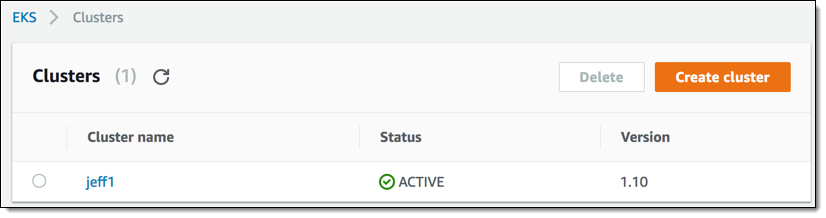
My control plane cluster starts out in CREATING status, and transitions to ACTIVE in 10 minutes or less:
Now I need to configure kubectl so that it can access my cluster. Before I can do this, I need to use the CLI to retrieve the certificate authority data:
This command returns a long string of data that I’ll need in a minute.
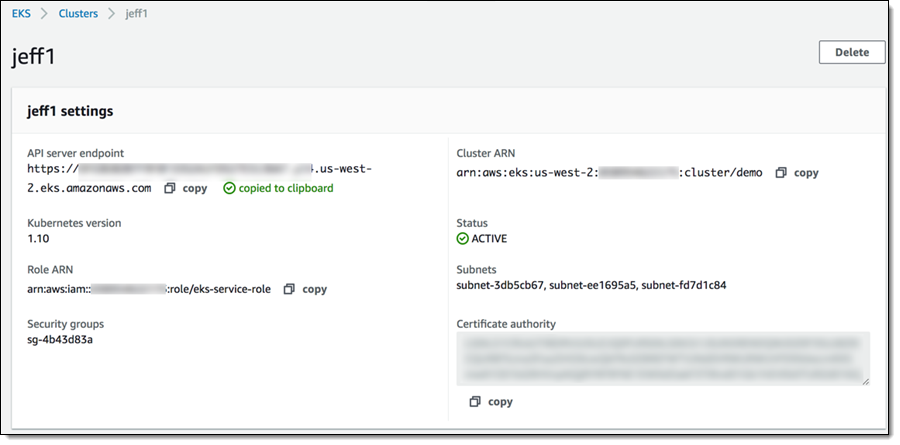
I also retrieve the cluster endpoint from the console:
I can also retrieve the endpoint using the CLI:
$ aws eks describe-cluster --region us-west-2 --name jeff1 --query cluster.endpointI make sure that I am in my home directory, create sub-directory .kube, and create file config-jeff1 in it. Then I open config-jeff1 in my editor, copy the templated config file from the Getting Started Guide and finalize the cluster endpoint, certificate, and cluster name. My file looks like this:
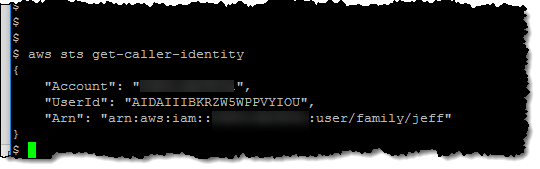
Before I test kubectl, I need to ensure that my CLI is configured to use the same IAM user that I used when I logged in to the console to create the cluster:
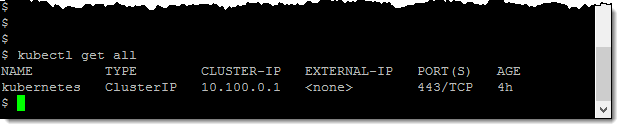
And now I can run a quick test to verify that everything is working as expected:
At this point I have set up my control plane VPC and my Kubernetes control plane. I’m ready to create some worker nodes (EC2 instances). Once again, this is done using a CloudFormation template:
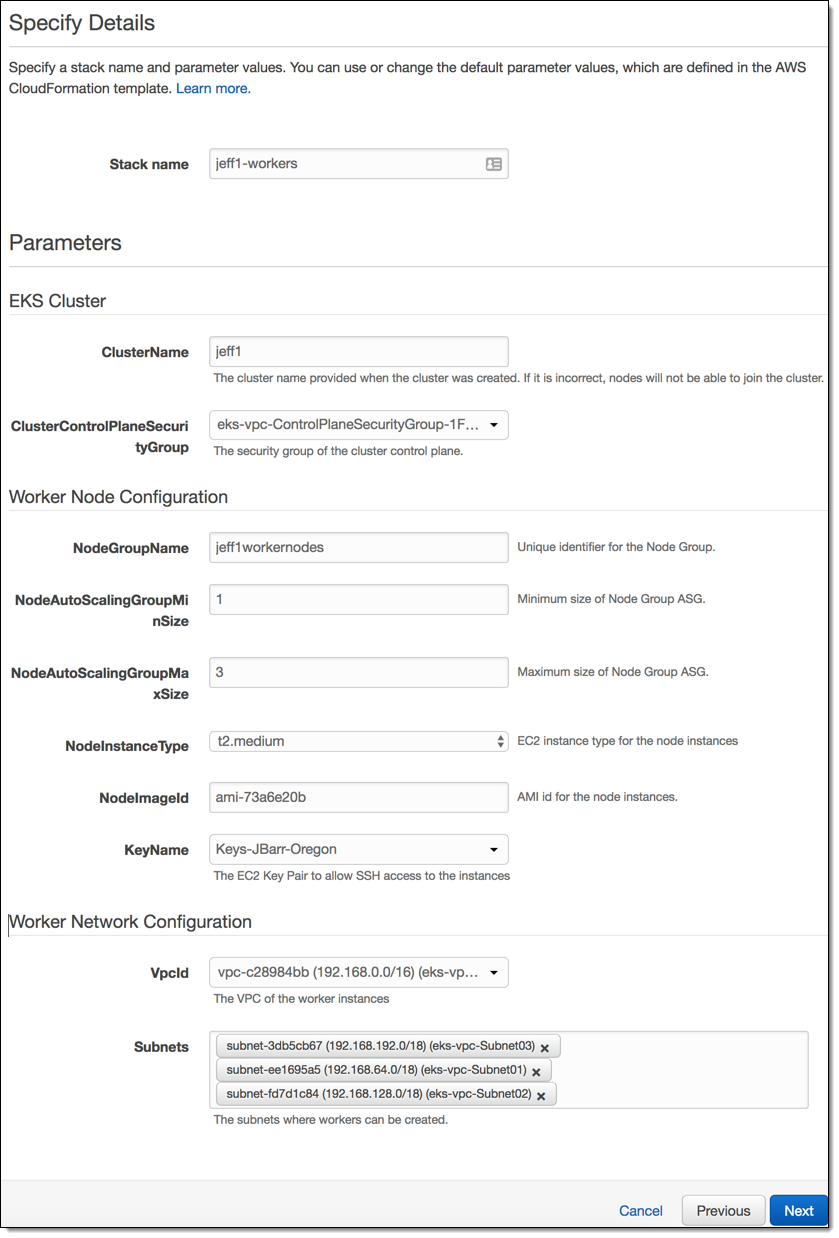
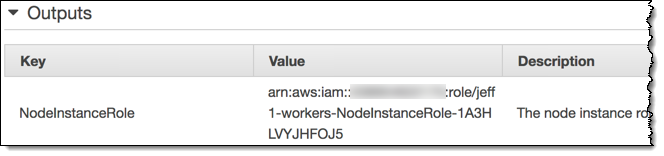
The stack is created in a couple of minutes and sets up IAM roles, security groups, and auto scaling. I’ll need the ARN of the NodeInstanceRole:
Now I need to set up a configurator map so that the worker nodes know how to join the cluster. I download the map, add the ARN of the NodeInstanceRole from the stack, and apply the configuration:
$ curl -O https://amazon-eks.s3-us-west-2.amazonaws.com/1.10.3/2018-06-05/aws-auth-cm.yaml
% Total % Received % Xferd Average Speed Time Time Time Current
Dload Upload Total Spent Left Speed
100 282 100 282 0 0 347 0 —:--:— --:—:-- —:--:— 347
$ vim aws-auth-cm.yaml
$ kubectl apply -f aws-auth-cm.yaml
configmap "aws-auth" created
Then I check and see that my nodes are ready:

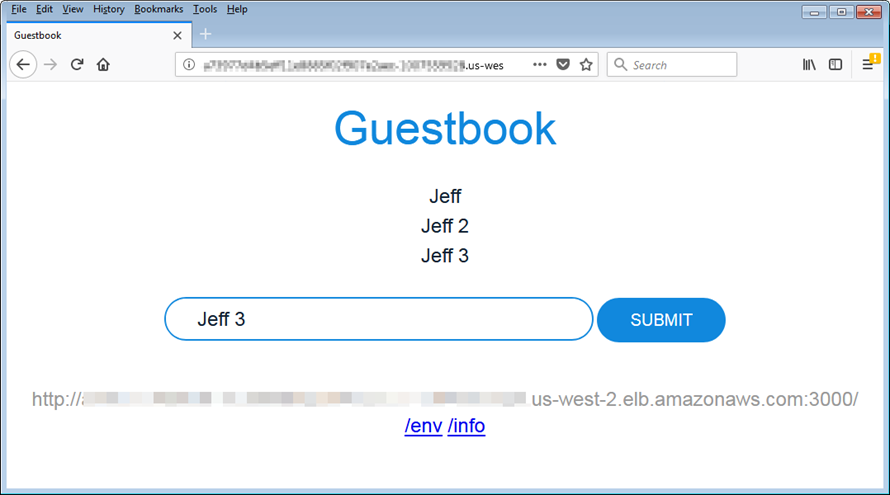
Running the Guest Book Sample
My Kubnernetes cluster is all set and I can use the Guest Book application to test it out. I create the Kubernetes replication controllers and services:
I list the running services and capture the external IP address & port:
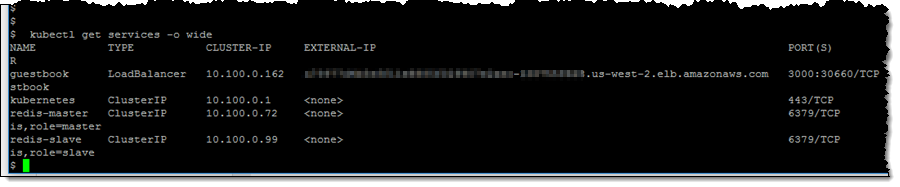
and visit the address in my web browser:
Things to Know
We make upstream contributions to the Kubernetes repo and to projects such as the CNI Plugin, the Heptio AWS Authenticator, and Virtual Kubelet. We are currently looking for Systems Development Engineers, DevOps Engineers, Product Managers, and Solution Architects with Kubernetes experience; check out the full list of open positions to learn more.
EKS is available today in the US East (N. Virginia) and US West (Oregon) Regions and will be expanding to others very soon. We have a detailed roadmap and plan to crank out plenty of additional features this year.
You pay $0.20 per hour for the EKS Control Plane, and usual EC2, EBS, and Load Balancing prices for resources that run in your account. See the EKS Pricing page for more information.
— Jeff;
PS – Special thanks to my colleague Tiffany Jernigan, for supplying me with an updated set of screen shots!