AWS News Blog
NICE EnginFrame – User-Friendly HPC on AWS
Last year I announced that AWS had signed an agreement to acquire NICE, and that we planned to work together to create even better tools and services for high performance and scientific computing.
Today I am happy to be able to tell you about the launch of NICE EnginFrame 2017. This product is designed to simplify the process of setting up and running technical and scientific applications that take advantage of the power, scale, and flexibility of the AWS Cloud. You can set up a fully functional HPC cluster in less than an hour and then access it through a simple web-based user interface. If you are already familiar with and using EnginFrame, you can keep running it on-premises or make the move to the cloud.
AWS Inside
Your clusters (you can launch more than one if you’d like) reside within a Virtual Private Cloud (VPC) and are built using multiple AWS services and features including Amazon Elastic Compute Cloud (Amazon EC2) instances running the Amazon Linux AMI, Amazon Elastic File System (Amazon EFS) for shared, NFS-style file storage, AWS Directory Service for user authentication, and Application Load Balancers for traffic management. These managed services allow you to focus on your workloads and your work. You don’t have to worry about system software upgrades, patches, scaling of processing or storage, or any of the other responsibilities that you’d have if you built and ran your own clusters.
EnginFrame is launched from a AWS CloudFormation template. The template is parameterized and self-contained, and helps to ensure that every cluster you launch will be configured in the same way. The template creates two separate CloudFormation stacks (collections of AWS resources) when you run it:
Main Stack – This stack hosts the shared, EFS-based storage for your cluster and an Application Load Balancer that routes incoming requests to the Default Cluster Stack. The stack is also host to a set of AWS Lambda functions that take care of setting up and managing IAM Roles and SSL certificates.
Default Cluster Stack – This stack is managed by the Main Stack and is where the heavy lifting takes place. The cluster is powered by CfnCluster and scales up and down as needed, terminating compute nodes when they are no longer needed. It also runs the EnginFrame portal.
EnginFrame Portal
After you launch your cluster, you will interact with it using the web-based EnginFrame portal. The portal will give you access to your applications (both batch and interactive), your data, and your jobs. You (or your cluster administrator) can create templates for batch applications and associate actions for specific file types.
EnginFrame includes an interactive file manager and a spooler view that lets you track the output from your jobs. In this release, NICE added a new file uploader that allows you to upload several files at the same time. The file uploader can also reduce upload time by caching commonly used files.
Running EnginFrame
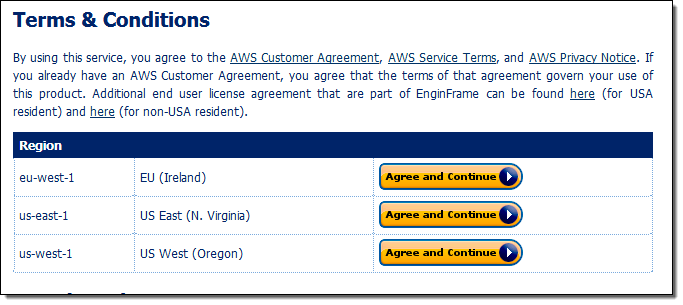
In order to learn more about EnginFrame and to see how it works, I started at the EnginFrame Quick Start on AWS page, selected the US East (N. Virginia) Regions, and clicked on Agree and Continue:
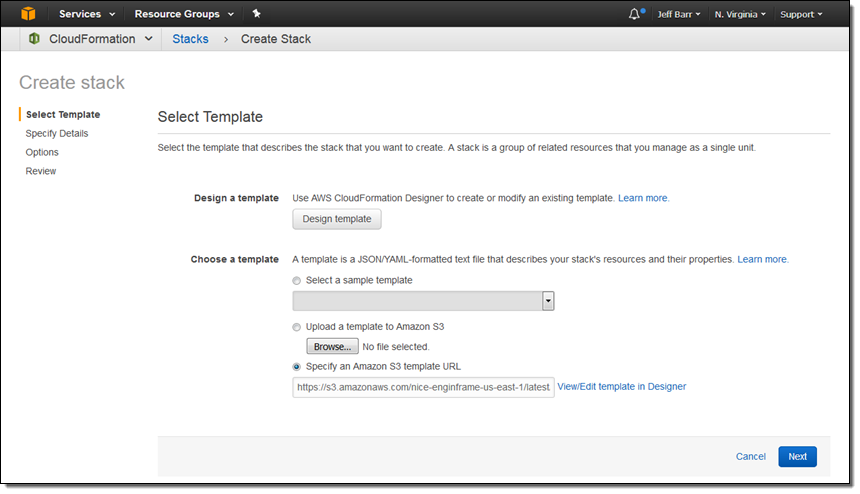
After logging in to my AWS account, I am in the CloudFormation Console. The URL to the CloudFormation template is already filled in, so I click on Next to proceed:
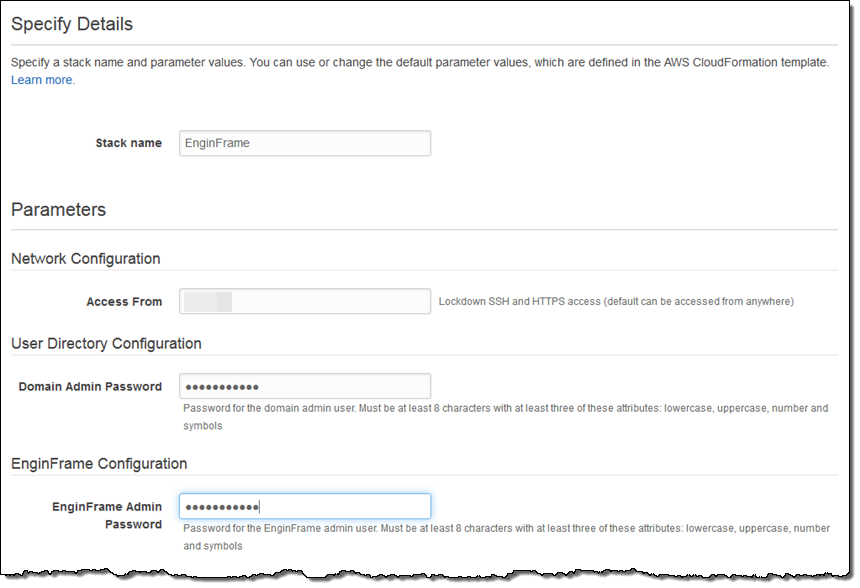
Now I configure my stack. I give it a name, set up the network configuration, and enter a pair of passwords:
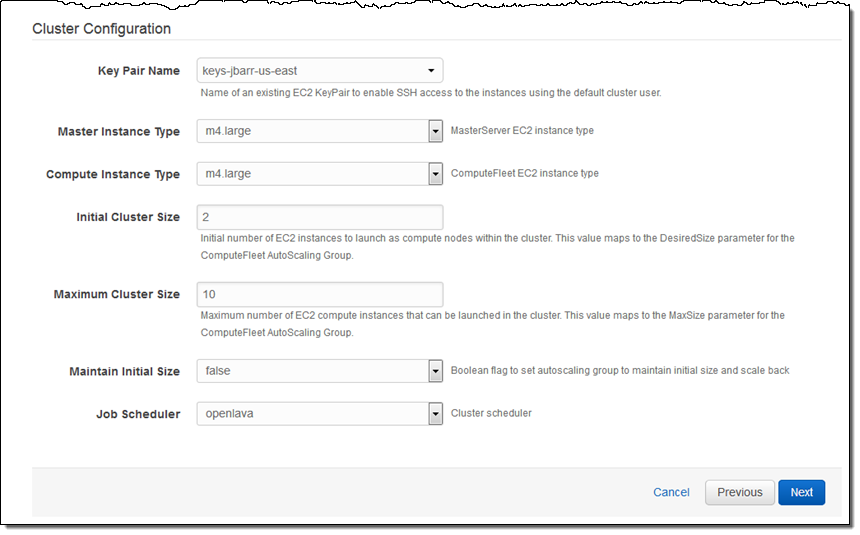
I finish by choosing an EC2 key pair (if I was a new EC2 user I would have to create and download it first), and setting up the configuration for my cluster. Then I click on Next:
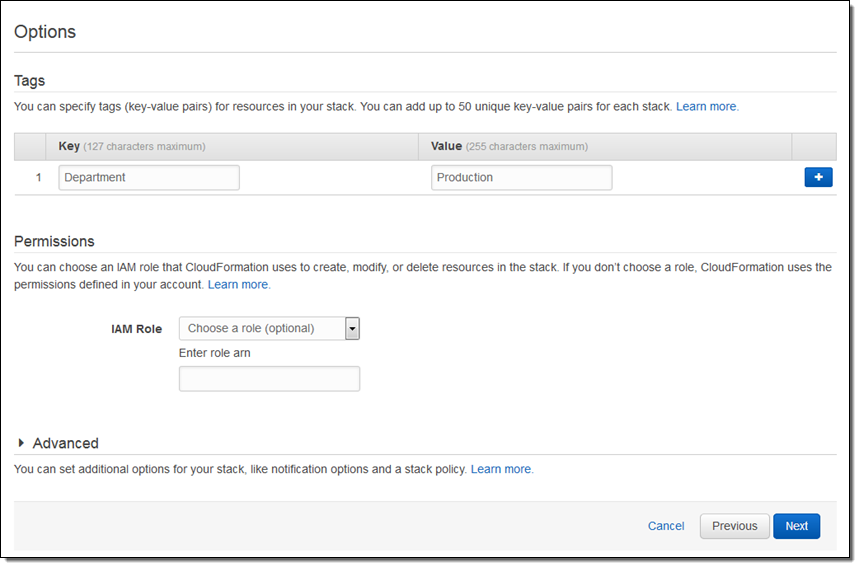
I enter a tag (a key and a value) for tracking purposes, but leave the IAM Role and the Advanced options as-is, and click on Next once more:
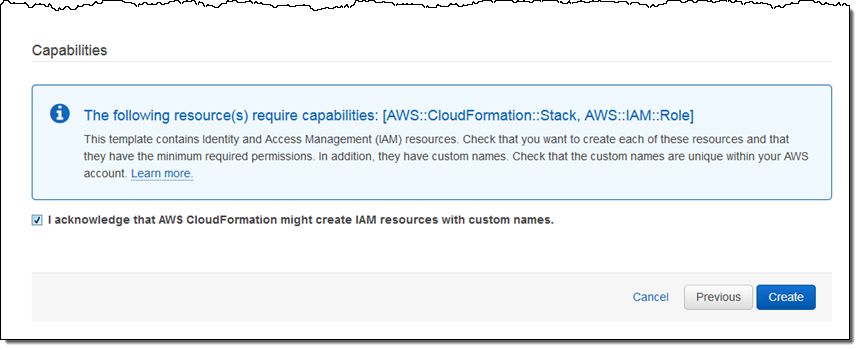
On the next page, I review my settings (not shown), and acknowledge that CloudFormation will create some IAM resources on my behalf. Then I click on Create to get things started:
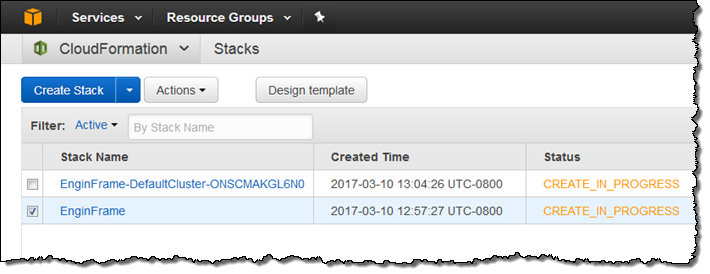
CloudFormation proceeds to create, configure, and connect all of the necessary AWS resources (this is a good time to walk your dog or say hello to your family; the process takes about half an hour):
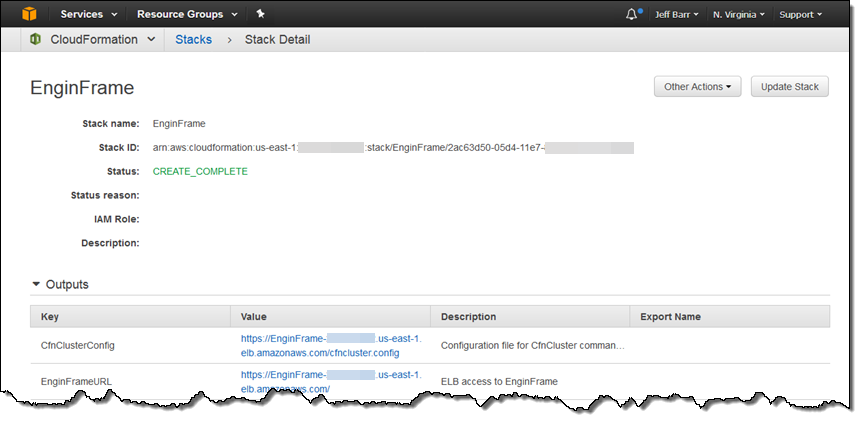
When the status of the EnginFrame cluster becomes CREATE_COMPLETE, I can click on it, and then open up the Outputs section in order to locate the EnginFrameURL:
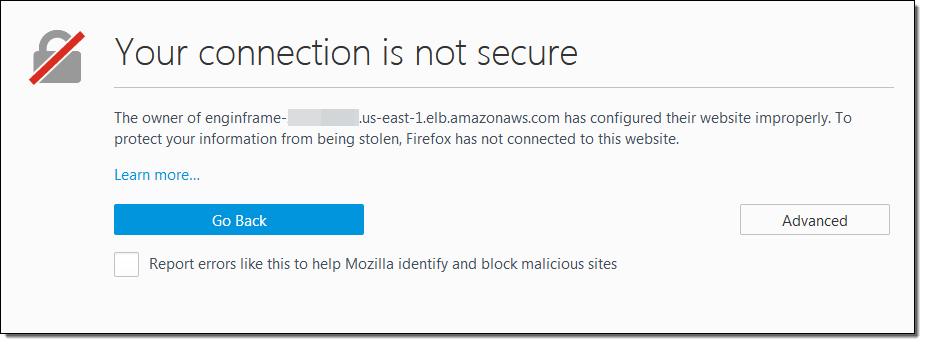
Because the URL references an Application Load Balancer with a self-signed SSL certificate, I need to confirm my intent to visit the site:
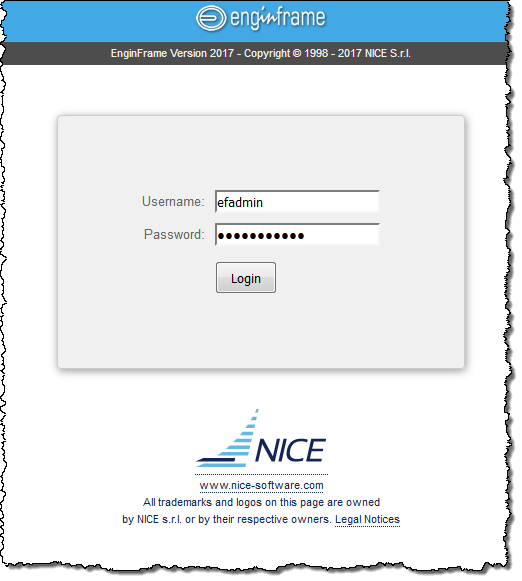
EnginFrame is now running on the CloudFormation stack that I just launched. I log in with user name efadmin and the password that I set when I created the stack:
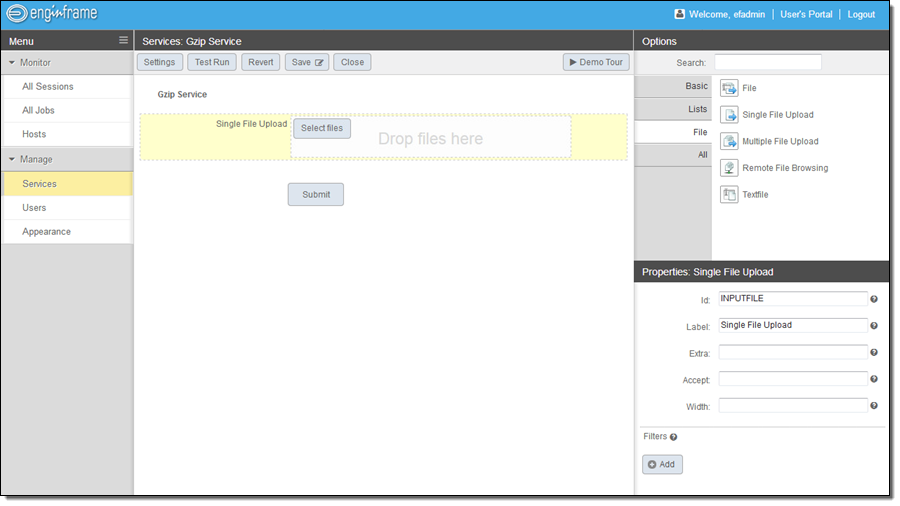
From here I can create a service. I’ll start simple, with a service that simply compresses an uploaded file. I click on Admin’s Portal in the blue title bar, until I get to here:
Then I click on Manage, Services, and New to define my service:
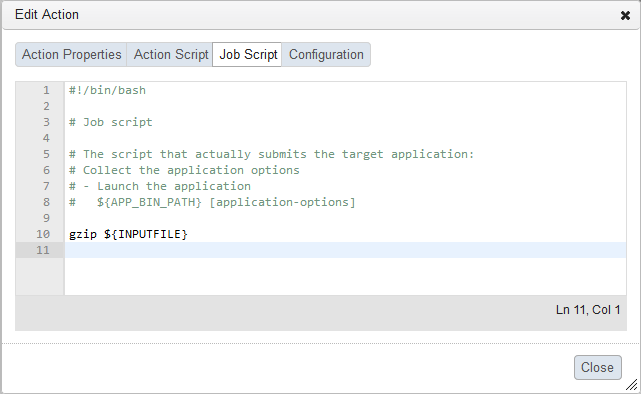
I click on Submit, choose the Job Script tab, add one line to the end of the default script, and Close the action window:
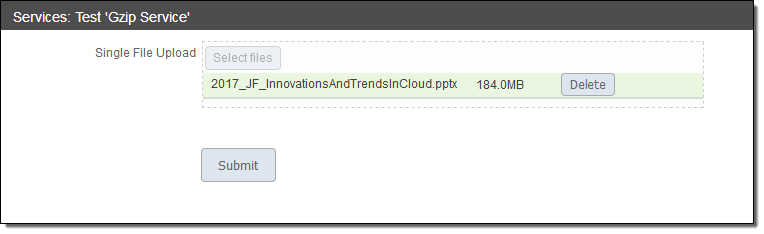
Then I Save the new service and click on Test Run in order to verify that it works as desired. I upload a file from my desktop and click on Submit to launch the job:
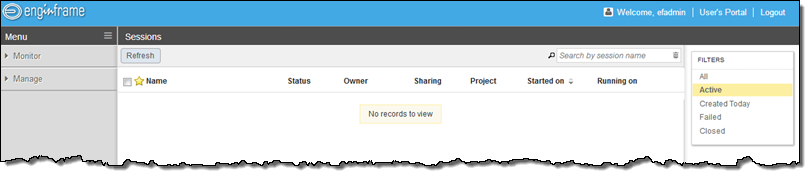
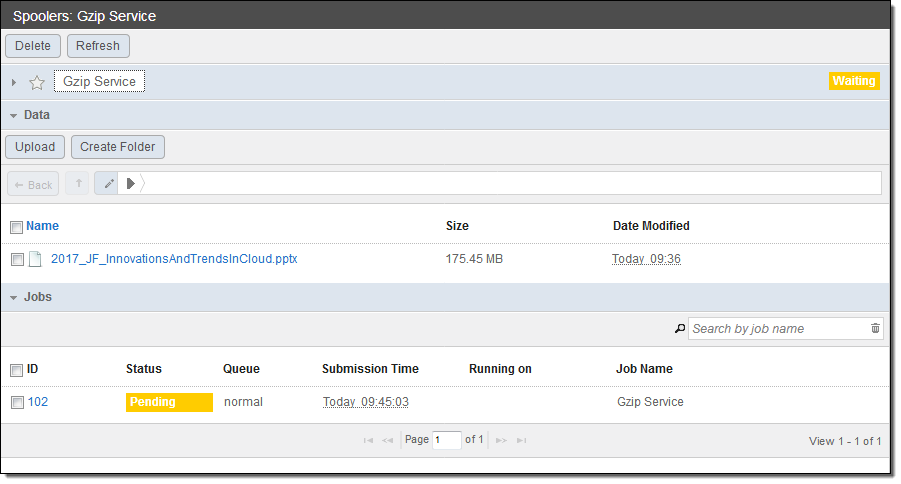
The job is then queued for execution on my cluster:
This just scratches the surface of what EnginFrame can do, but it is all that I have time for today.
Availability and Pricing
EnginFrame 2017 is available now and you can start using it today. You pay for the AWS resources that you use (EC2 instances, EFS storage, and so forth) and can use EnginFrame at no charge during the initial 90 day evaluation period. After that, EnginFrame is available under a license that is based on the number of concurrent users.
— Jeff;