AWS Storage Blog
Making it even simpler to get started with Amazon EFS
Today, we launched a significant update to the Amazon EFS management console. In this post, I talk about some of the new capabilities in the console, what you can do with them, and how they make it even easier for you to create and manage your EFS resources.
Console overview
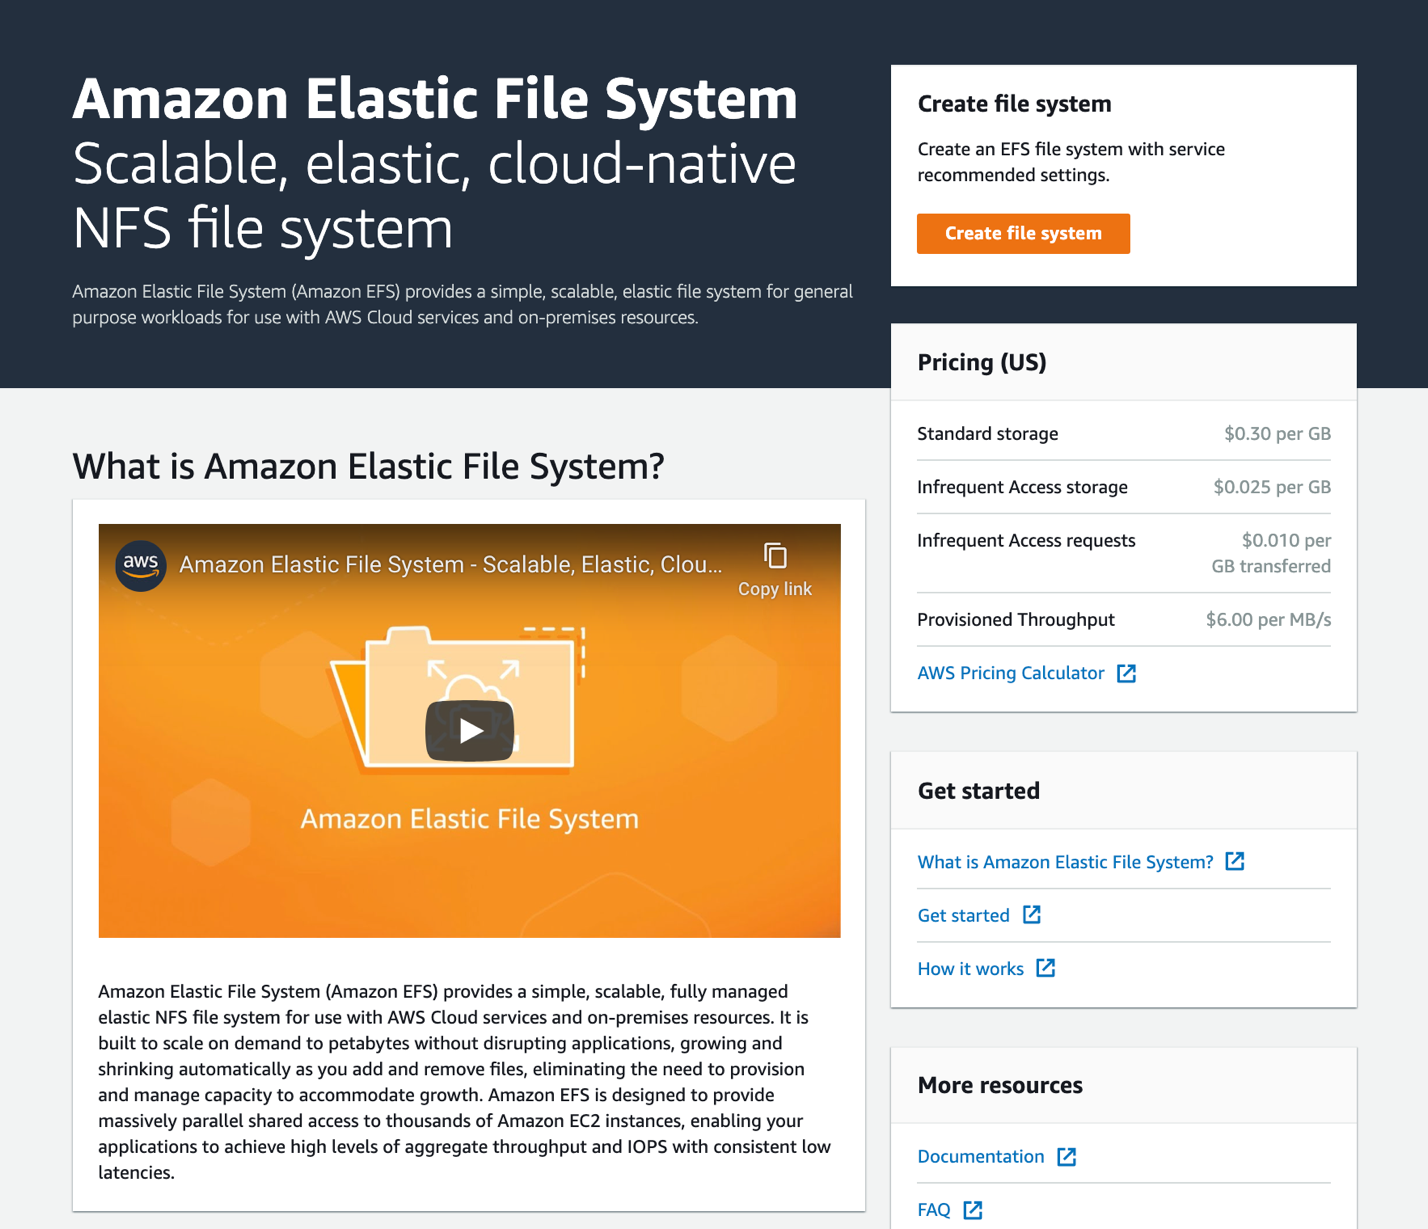
Our main focus with this console update is to make it even easier for customers to get started using Amazon EFS and take advantage of best practices and recommendations. The new landing page displays information about EFS, including pricing, its benefits, services that EFS integrates with (like AWS Fargate and AWS Lambda), and how to get started. The following screenshot provides a first look at the updated EFS console.
Getting started quickly
Speaking of getting started, we’ve streamlined the experience for creating a new file system so you can get up and running more quickly, in as little as two clicks. When you choose Create file system, you are prompted to provide a name and select a virtual private cloud (VPC). You can then choose to create the file system with just these inputs, or you can customize your settings using a ‘wizard’ workflow you may already be used to.
If you choose to create your file system from here, we automatically apply our default and recommended settings. We create a mount target in each Availability Zone in the AWS Region, so you can access your file system from any client in your VPC. We also apply the default security group to each mount target. Keep in mind that you can always change your VPC and mount target security groups later. Your file system is created with the following configuration:
- General Purpose performance mode
- Bursting Throughput mode
- 30-day lifecycle management policy
- Encryption at rest enabled using your default AWS managed KMS key for Amazon EFS (aws/elasticfilesystem)
- Automatic backup enabled using AWS Backup

You can also choose Customize to configure each setting, in which case you are brought to the full wizard workflow. In the wizard, you can apply tags to your file system, change your performance or throughput mode, use a different KMS key to protect your file system, and configure IAM authorization rules for your Network File System (NFS) clients.

Automatic backups
Another EFS feature we’ve recently launched (both in our console and API) is the ability to automatically add extra data protection for your file system using AWS Backup. We launched native EFS file system backup and restore when AWS Backup launched in January, 2019. AWS Backup is great for easily centrally managing your backups across many resources and AWS services.
Previously, if you wanted to back up your EFS file system, you would use the AWS Backup console or API to create a backup plan. You would configure that plan so that your file system was in scope either using your file system ID or file system tags. That workflow is of course still supported, but for users who may not be centrally managing backups across a variety of services, we’ve made it even easier to enable backup for your file systems. It’s now as simple as either a check box in the console or a single API call.

For any file system you choose to enable automatic backups for, AWS Backup uses a shared backup plan and stores them in a unique backup vault that is automatically created on your behalf. By default, your file systems are backed up daily, and recovery points are stored with a 35-day retention policy. You can customize the rules for your backup plan inside AWS Backup, and you can enable or disable automatic backups for your file systems at any time.
File systems summary
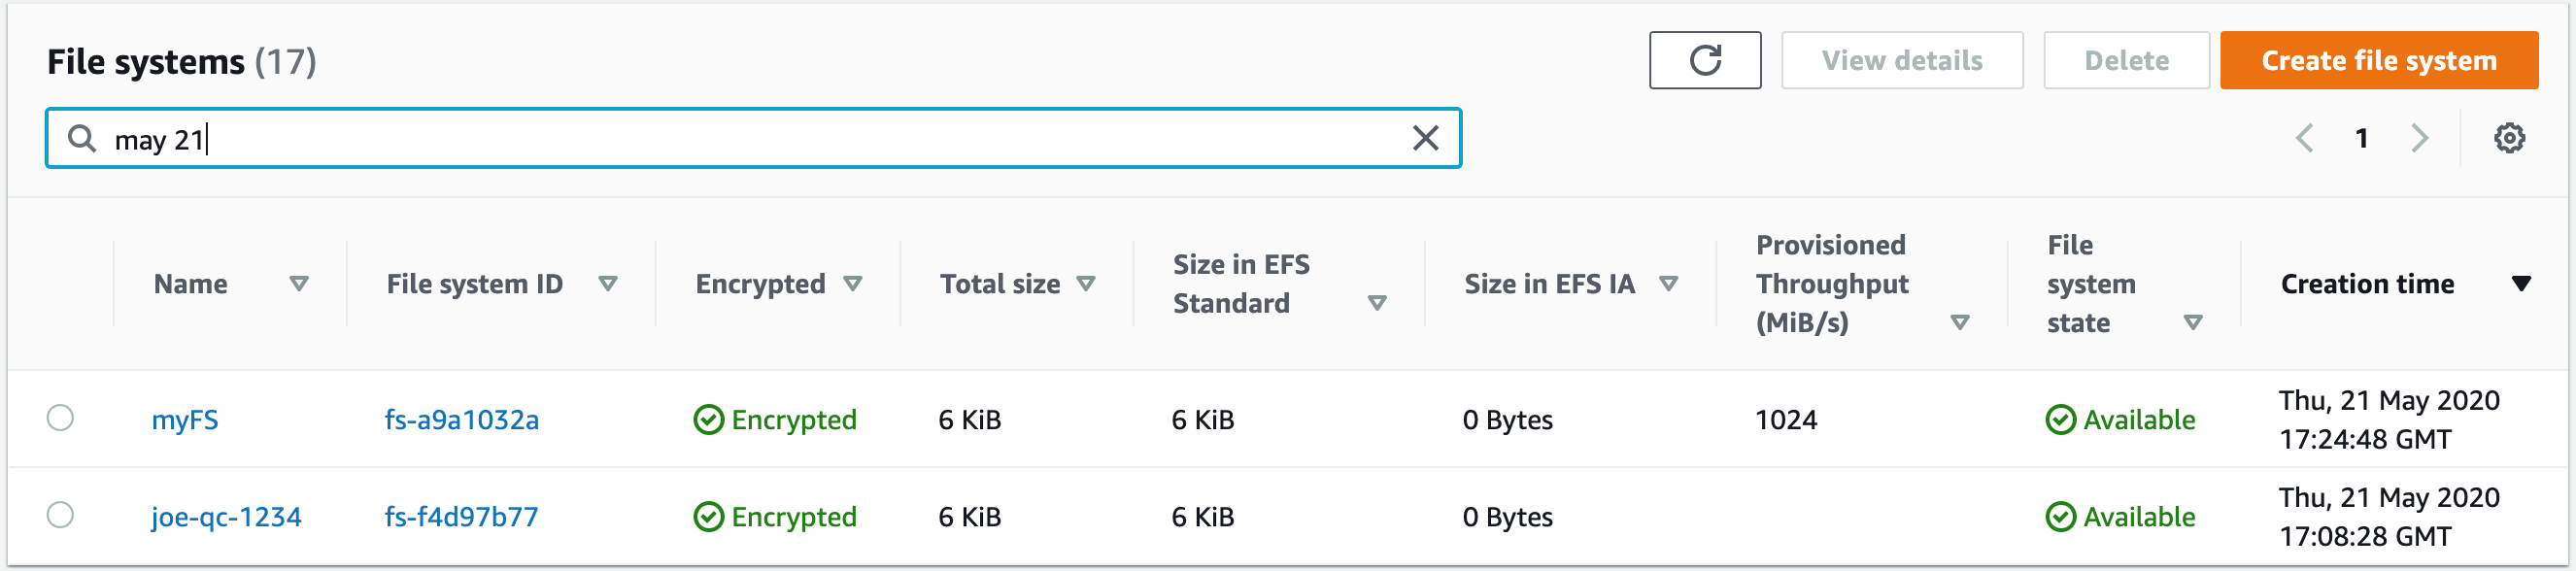
If you’ve managed Amazon EFS file systems before, you’re probably used to looking at your inventory in a tabular summary view. With the new console, we’ve enhanced this view in a number of ways. We’ve added a search bar that lets you filter your file systems based on specific criteria, including encryption being enabled, the amount of throughput provisioned, tags, and creation date.
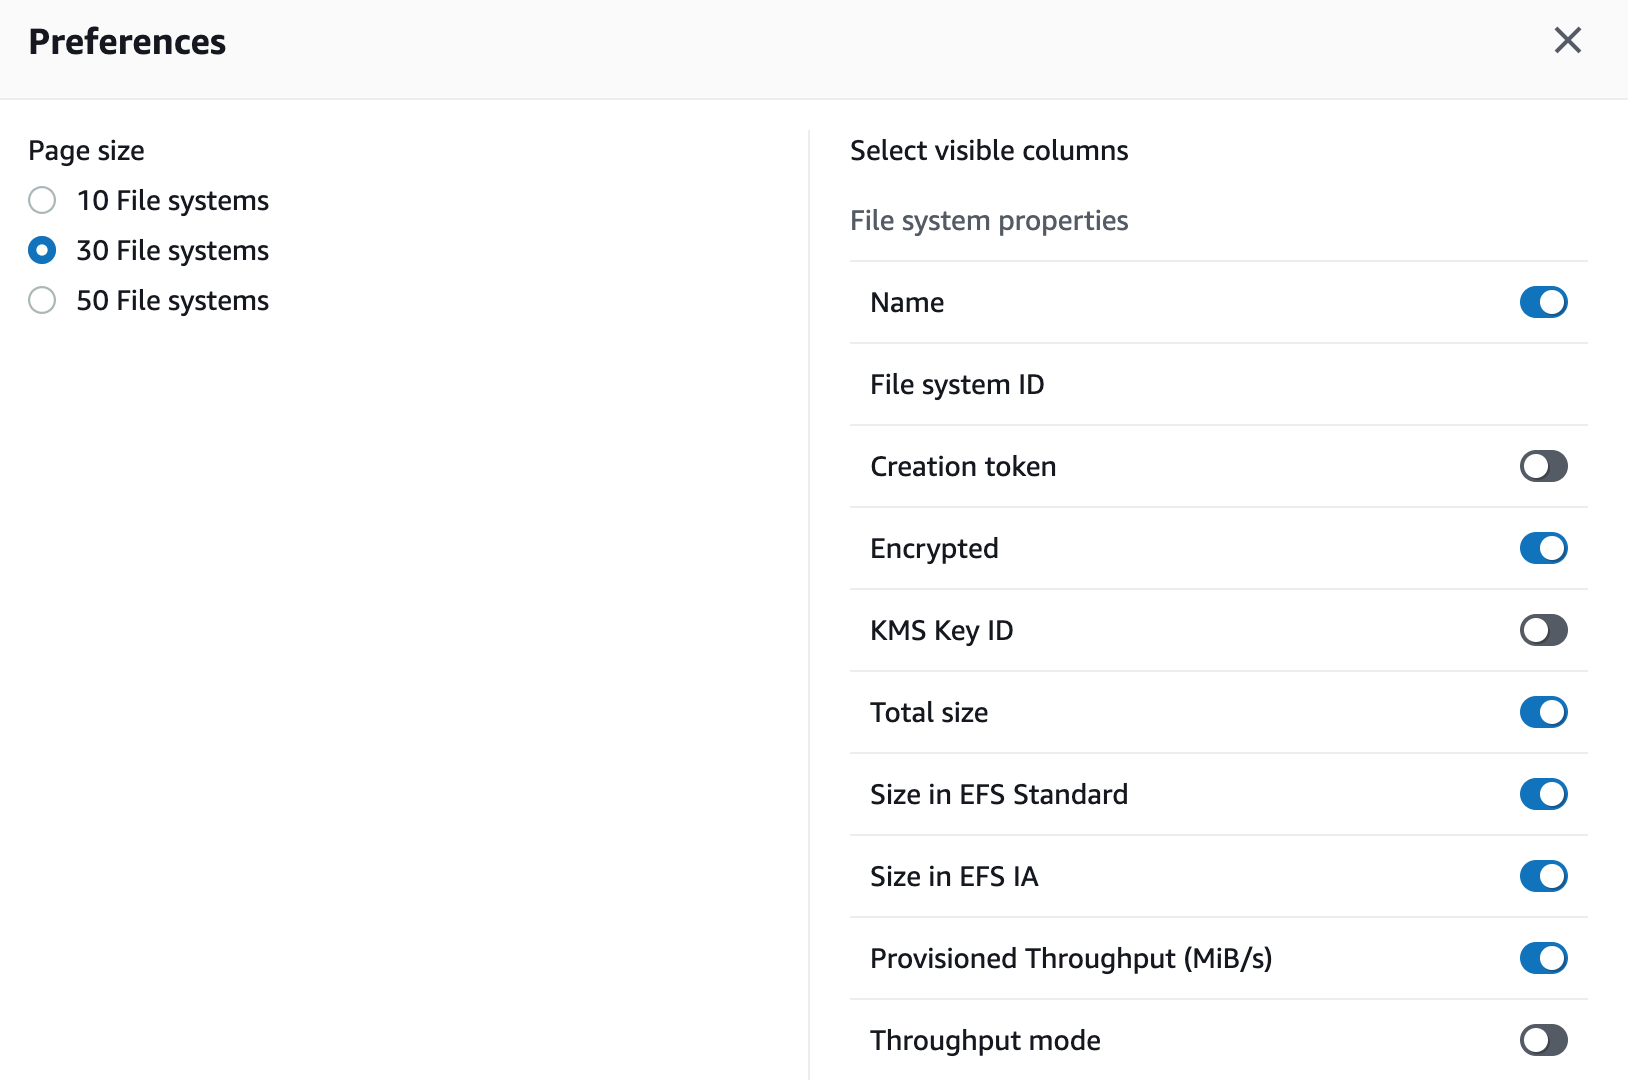
We’ve also added an option for you to customize which attributes appear in your view. Using the gearbox in the top-right corner of the preceding screenshot, you can select which properties you want to view and which you want to hide. You can also configure preferences for page size and line wrapping, and we plan to add additional fields that you can customize over time.
File system detail
Let’s say you want to view additional details or change settings on one of your file systems. Here, I’ve drilled into the one I named “test-fs.” The improved and simple presentation includes an added tabset, similar to other AWS service consoles, that groups information and functionality.

In the bottom half of the screen, you can view your storage capacity broken down by storage class in the Metered size tab. We added a visual representation to help you quickly glean how much of your storage is in EFS Standard vs. EFS Infrequent Access. We also added a Monitoring tab that helps you understand your file system’s behavior using Amazon CloudWatch (more on monitoring later in this post). You can configure access control and permissions for your file system using the File system policy and Access points tabs. For example, you can add a policy that requires a specific IAM identity access your file system using a given Access Point. Additionally, if you want to configure your Amazon EFS mount targets or switch which VPC your file system is presented in, you can do so in the Network tab.
Last, we made it easier to attach your file system to a given client from within the Amazon EFS console. You may already be familiar with attaching an EFS file system to an EC2 instance while you’re launching a file system. In the new EFS console, we made it simpler for you to grab the mount command you need to mount the file system to your clients.

By choosing Attach at the top of the file system detail screen, you can add our recommended mount command to your clipboard with the click of a button. If you’re not using the Amazon-provided DNS, you can select Mount via IP and pick your Availability Zone to get a mount command specific for your clients in that Availability Zone.
Access Points
We’ve also revamped the workflows for Amazon EFS Access Points. Access points simplify managing application access at scale to your Amazon EFS file systems. Using an access point, you can choose to enforce an operating system (POSIX) identity to all connections, which is particularly useful for serverless and containerized workloads. You can also use access points to isolate application namespaces from each other using virtual root directories. Furthermore, you can craft file system IAM policies that govern which IAM identities are permitted to use your file system and its access points, and with which permissions. In the console, you now have an Access points-specific view for managing access points across your file systems.

Understanding file system behavior with CloudWatch
One of the more substantial capabilities we’ve added to our new console is the ability to monitor CloudWatch metrics natively. Like the file system summary, you can customize which metrics you prefer to display by default, using the gearbox in the top-right hand side of the section. We’ve also included the notion of throughput utilization. Throughput utilization uses metric math to compute how much throughput your file system is consuming against its limit, no matter if you’re in Bursting Throughput mode or using Provisioned Throughput. This derived metric has been available in our open-source monitoring tutorial on GitHub, but we’ve now embedded it natively in our console.

Additionally, if you have any CloudWatch alarms configured against your CloudWatch metrics for your file systems, we put them in context by superimposing them on the metric graph. You can also change the time window over which you’re analyzing your data. Toggle to a Single Value view to get a numerical representation of the most recent data points, or hop over into the CloudWatch console for more advanced capabilities.
Let us know what you think!
We’re really excited to release these updates to the Amazon EFS console and help benefit our customers. Based on early feedback we’ve gotten so far, we know that we’ve made EFS even easier to use, and we have more ideas on how to continue doing so.
We hope this overview provides a useful primer of the things you can do with the new console. At AWS, 95% of our roadmap is directly driven from customer feedback, so please share ideas and requests you have on our new console or on Amazon EFS in the comments section. And of course, give it a spin in the Amazon EFS console.