AWS Open Source Blog
Deploy machine learning models to Amazon SageMaker using the ezsmdeploy Python package and a few lines of code
Customers on AWS deploy trained machine learning (ML) and deep learning (DL) models in production using Amazon SageMaker, and using other services such as AWS Lambda, AWS Fargate, AWS Elastic Beanstalk, and Amazon Elastic Compute Cloud (Amazon EC2) to name a few. Amazon SageMaker provides SDKs and a console-only workflow to deploy trained models, and includes features for creating or updating endpoints, auto scaling, model tagging, model monitoring, and for creating production variants and multi-model endpoints.
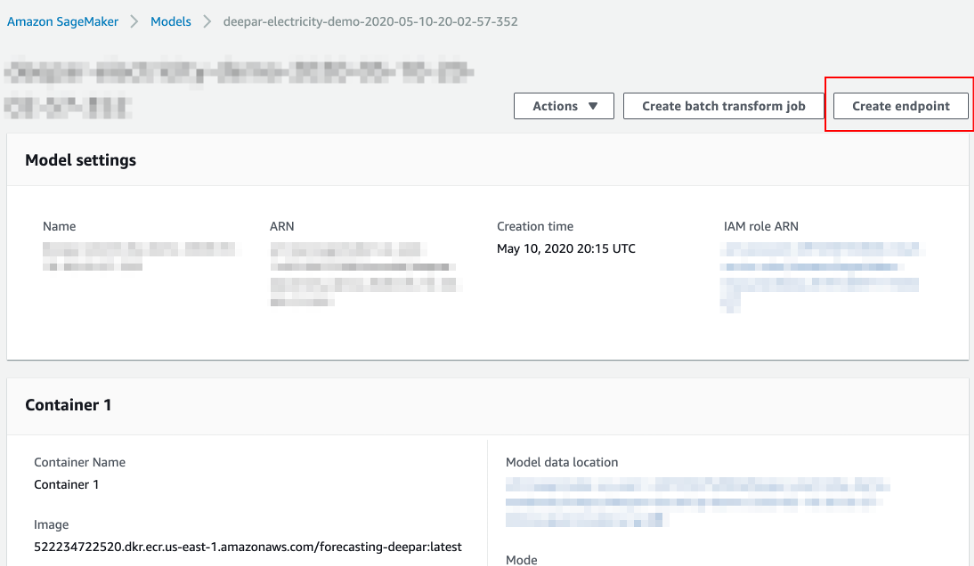
Once you have a model, deploying it to an endpoint is as simple as clicking Create endpoint on the console or using the SageMaker or AWS SDK for Python (Boto3) with the appropriate input parameters.
However, this is strictly true when using the SDK for a particular framework, a first-party container (like the one for DeepAR below), or if you have a pre-built container image ready to deploy to an endpoint along with model artifacts; a necessary step in this process is also to provide the path to a compressed tar.gz file containing the model file(s).
What if you have one or more model files locally (think of a serialized scikit-learn pickle file, PyTorch .pth file, and so on) and you want to deploy a model with minimum effort? In this post, we introduce a Python-based SDK called ezsmdeploy that lets users deploy a model by passing in one or more model files for deployment, an inference script, and any other additional requirements used by the inference script.
Introducing the ezsmdeploy SDK
Ezsmdeploy Python SDK helps you easily deploy machine learning models and provides a rich set of features, such as the ability to pass one or more model files (yes, through multi-model deployments), to automatically choose an instance based on model size or based on a budget, and to load-test endpoints using an intuitive API. Ezsmdeploy uses the Amazon SageMaker Python SDK, which is an open source library for training and deploying machine learning models on Amazon SageMaker. This SDK, however, focuses on simplifying deployment from existing models. As such, this SDK is for you if:
- You have a serialized model (a pickle, joblib, JSON, TensorFlow SavedModel, PyTorch .pth, etc.) file and you want to deploy and test your model as an API endpoint.
- You have a model or multiple models stored as local files, in local folders, or in Amazon Simple Storage Service (Amazon S3) as tar files (model.tar.gz).
- You don’t want to create a custom Docker container for deployment and/or you don’t want to deal with Docker.
- You want to make use of advanced features, such as AWS Auto Scaling, Amazon Elastic Inference, multi-model endpoints, model inference data capture, and locust.io-based load testing, without the heavy lifting.
- You still want to have control over how to perform inference by passing in a Python script.
Note that for some SageMaker estimators, deployment from pre-trained models is easy; consider the TensorFlow SavedModel format, for example. You easily can tar your save_model.pb and variables file and use the sagemaker.tensorflow.serving.Model to register and deploy your model. Nevertheless, if your TensorFlow model is saved as checkpoints, HDF5 file, or as TensorFlow Lite file, or if you have deployments needs across multiple types of serialized model files, this may help standardize your deployment pipeline and avoid the need for building new containers for each model.
Installing ezsmdeploy
To install ezsmdeploy:
pip install ezsmdeploy To install within a virtual environment:
python -m venv env

source env/bin/activate

pip install ezsmdeploy[locust]
Key features of ezsmdeploy
First, let us take a look at what a minimal deployment looks like in terms of number of parameters. At minimum, ezsmdeploy requires:
- One or more model files.
- A Python script with two functions:
load_model(modelpath): Loads a model from a modelpath and returns a model object, andpredict(model,input): Performs inference based on a model object and input data.
- A list of requirements or a
requirements.txtfile.
For example, you can do:
ezonsm = ezsmdeploy.Deploy(model = 'model.pth',
              script = 'modelscript_pytorch.py',
              requirements = ['numpy','torch','joblib'])
This creates a container with the additional dependencies of numpy, torch, and joblib, uses your model script ('modelscript_pytorch.py') and your serialized PyTorch model ('model.pth'), and deploys the model to an endpoint. In this case, because instance type is not specified, ezsmdeploy measures the size of your model, and chooses an instance based on running at least four workers with this model size per best practices.
A few other features that may be useful are mentioned here for completeness, and maintained on the PyPi website for ezsmdeploy.
- Load multiple models by passing in a list of models—for example,
model = ['model1.pth','model2.pth']. - Set
autoscaletoTrueif required to switch on auto scaling for your endpoint. - Pass in a list of additional package dependencies or point to
requirements.txtfile to automatically parse what you need to run your model script. - If you do not pass in an
instance_type, ezsmdeploy will choose an instance based on the total size of the model (or multiple models passed in), take into account the multiple workers per endpoint, and optionally take into account abudgetthat will chooseinstance_typebased on a maximum acceptable cost per hour. You can choose an instance as well. - Pass in a value for ei or Elastic Inference (e.g.,
ml.eia2.medium) to add an accelerator to your deployed instance. Refer to the Elastic Inference documentation to learn more. - Set
monitortoTrueif you would like to turn on data capture for this endpoint. Currently, asampling_percentageof 100 is used. Refer to the Amazon SageMaker Model Monitor documentation to learn more. - Once your model is deployed, you can use locust.io—an easy-to-use, distributed, user load testing tool—to load test your endpoint. To use Locust, you can change your installation procedure to include the optional
locustdependency as follows:pip install ezsmdeploy[locust]
How to write the model_script.py
Make sure the model script has a load_model() and predict() function. Although you can still use SageMaker’s serializers and deserializers, assume that you will get a payload in bytes, and that you must return a prediction in bytes. What you do in between is up to you. For example, your model script may look like:
def load_model(modelpath):
    clf = load(os.path.join(modelpath,'model.joblib'))
    return clf

def predict(model, payload):
    try:
        # in remote / container based deployment, payload comes in as a stream of bytes
        out = [str(model.predict(np.frombuffer(payload[0]['body']).reshape((1,64))))]
    except Exception as e:
       out = [type(payload),str(e)] #useful for debugging!

return out
How to manually tweak what is happening under the hood
Ezsmdeploy generates a source folder src for all deployments. You can edit the source folder, and use this along with the ezsmdeploy or SageMaker SDKs to deploy your models. Additionally, the SDK is open source and pull requests are welcome.
End-to-end examples
You can find end-to-end examples in the GitHub repo for TensorFlow, PyTorch, MXNet, and scikit-learn.
Conclusion
In this blog post, we introduced ezsmdeploy, a package that helps deploy custom machine learning and deep learning models with a single API call, along with features such as auto scaling, multi-model endpoints, locust-based load testing, Elastic Inference, and model monitoring. Refer to the SageMaker documentation to learn how endpoint hosting works and best practices for deploying models.
Feature image via Pixabay.