AWS for M&E Blog
How to: Amazon Interactive Video Service with React mini-player demo
Amazon Interactive Video Service (Amazon IVS) is designed to take care of all the technical complexities of delivering low latency live video to viewers anywhere. Amazon IVS comes with its own Player SDK, allowing you to focus your time on building engaging interactive experiences.
In this post, we show you how to build something you may see on modern news or video sites: the video player shrinking and “floating” when the viewer scrolls down the page, so that they can stay engaged with the live content as they scroll. Using Amazon IVS, with React, you can implement a floating mini-player as a React component.
Check out the live demo here to see what it looks like – scroll down the page to see the live video player shrink and “float”. Let’s get started!
In this post, we cover:
- Setting up a React web application. (15 min)
- Modifying the example to point to your own Amazon IVS live stream. (5 min)
Before we begin
This demo web application is an educational tool to show how you can implement a mini-player as a React component using the Amazon IVS Player SDK. It is not intended for production use. Please use this demo code as a reference and adhere to the best practices for your production environment.
If needed, you can refer to this guide to build a full-stack React application with AWS Amplify if you do not have a production environment, or if you want to learn best practices and apply this knowledge to your own!
Prerequisites
- Node.js (Installing Node.js)
- Yarn (Installing Yarn)
The following steps describe the process on macOS, but they can also be completed on any operating system that supports the prerequisites.
Tutorial
Step 1. Clone the repository
First, let’s clone the Amazon IVS React Mini-Player Demo source code from GitHub using your method of choice. The following steps describe how to do this using the Terminal app on macOS.
- Open the Terminal
- Navigate to a directory where you want to store the app code. For example:
cd ~/git. - Clone the demo code repository:
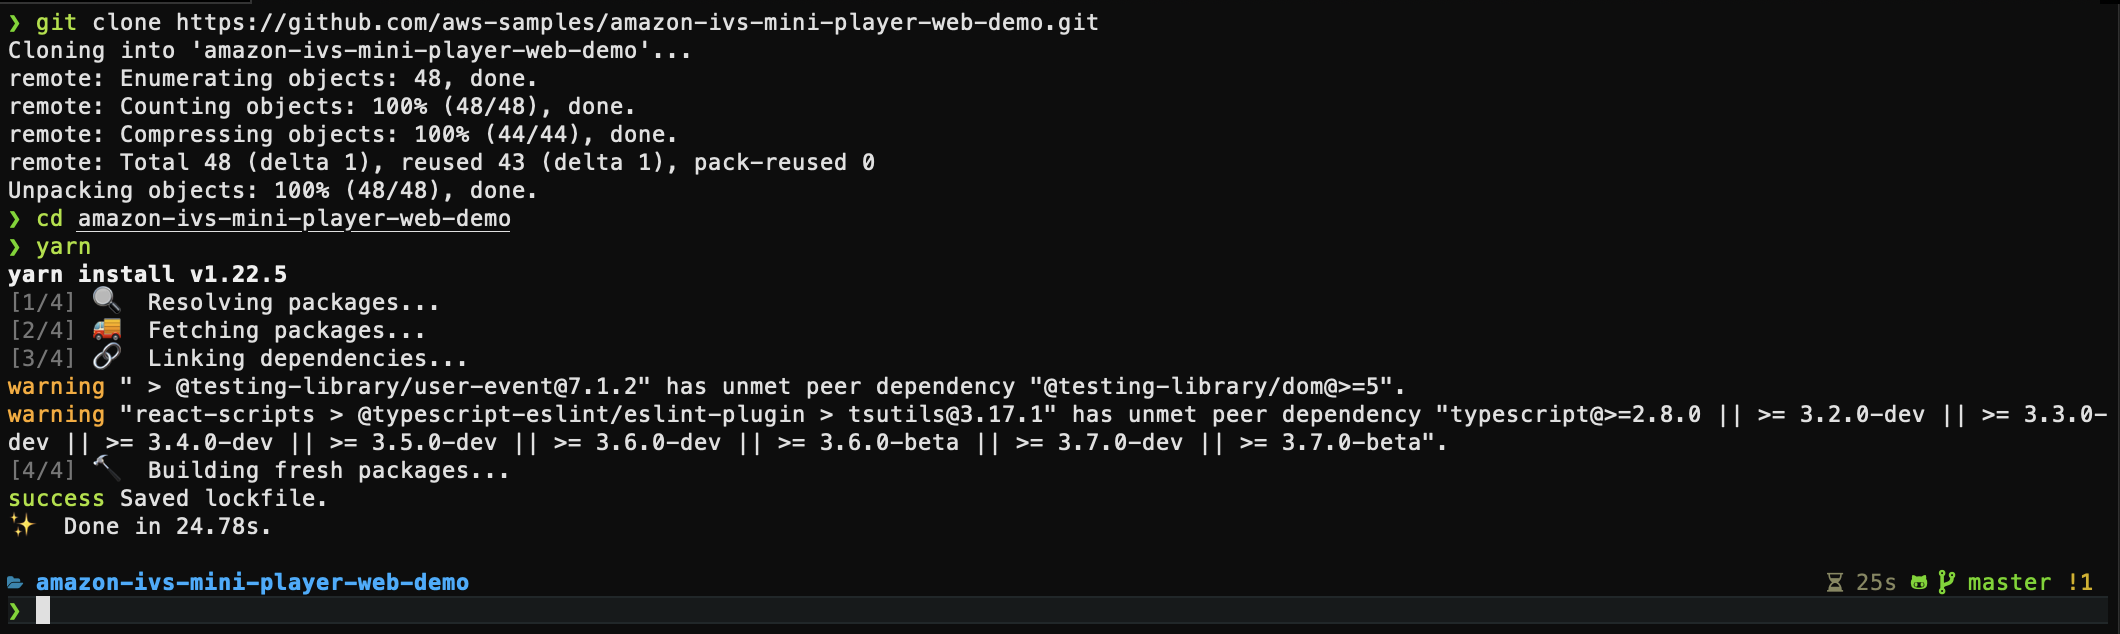
git clone https://github.com/aws-samples/amazon-ivs-mini-player-web-demo.git

 cd amazon-ivs-mini-player-web-demo/
Step 2. Use Yarn to prepare web application
In this tutorial, we use yarn to download all the packages and run the demo locally.
Run this command in your Terminal session:
yarn
Note: it may take a few minutes to download all the required dependencies.
Step 3. Use Yarn to run web application locally
Now we have downloaded all the dependencies. We can use yarn start to run the web application locally.
yarn start
Yarn should open a browser tab for you. If not, navigate a web browser to http://localhost:3000
After the page loads, scroll down to see the mini-player:

Using your own Amazon IVS stream
Now that we have successfully built and started the React web application, you may want to replace the sample stream with your own. If you have a Amazon IVS channel running in your account, skip Step 1 and go directly to Step 2.
Step 1. Create and Stream to Amazon IVS
This demo comes with an Amazon IVS demo stream. We encourage you to use your own stream, so you can visualize the experience with your own content. Please use the following documentation to create a new Amazon IVS channel and stream to it:
- Creating a channel: https://docs.aws.amazon.com/ivs/latest/userguide/GSIVS-create-channel.html
- Setting up a streaming software: https://docs.aws.amazon.com/ivs/latest/userguide/GSIVS-live-streaming.html
Tip: If you prefer to use FFmpeg to stream a VOD file from your local machine or from a remote Amazon EC2 instance, use this script and change the variables at the top of the file for your own stream configuration. The script’s FFmpeg parameters are set to use the “Basic” channel type to save on costs. Make sure to also configure your Amazon IVS channel to “Basic” in the “Channel Type” section. Note that Basic channels only allow up to 1.5 Mbps bitrate and 480p resolution. For better quality and higher resolution, use a Standard channel type.
Step 2. Finding active streams in your account
You can find the Playback URL in the Amazon IVS console. Navigate to the “Live channels” page, then click on your live channel. This takes you to the channel’s details page, where you can find the “Playback configuration” section. There, you can get the “Playback URL” and replace the playbackUrl variable in Step 2.

Step 3. Update the App.jsx file
Copy your channel’s Playback URL and replace the value of STREAM_PLAYBACK_URL in src/App.jsx on Line 9.

Step 4. Save the file and watch
When you save the file, the browser should refresh on its own. If not, refresh the browser to see the update.

Step 5: Customize the mini-player position, controls, and animation
By default, the mini-player transitions to the bottom-right corner of the viewport on scroll. The mini-player also displays the following controls when you hover over it: restore, dismiss, mute/unmute.
The MiniPlayer component exposes these properties so you can customize its position and controls easily.
To do so, open src/App.jsx in your text editor. Lines 16, 17 and 18 are where we will make the changes.
Mini-player controls
Three controls are available in this project:
- “restore” (
CONTROLS.resize) - “dismiss” (
CONTROLS.close) - “mute/unmute” (
CONTROLS.mute)
You can reorder or remove them if desired. For instance, if you only want the mute/unmute button, set line 16 to:
controls={[CONTROLS.mute]}
The order of the controls is defined by the order in which you define them. For instance, if you want the order to be “mute/unmute”, “restore”, “dismiss”, change line 16 to:
controls={[CONTROLS.mute, CONTROLS.resize, CONTROLS.close]}
Mini-player position
There are four pre-defined positions available:
- top-left (
POSITION.topLeft) - top-right (
POSITION.topRight) - bottom-left (
POSITION.bottomLeft) - bottom-right (
POSITION.bottomRight)
For example, to change the mini-player position to bottom-left, update line 17 to:
position={POSITION.bottomLeft}
Mini-player transition animation
By default, the player transitions from its default size to its mini-player size with easing. If you prefer there not be a transition (for example, instant transformation between default and mini-player), delete transition on line 18.
Cleanup
To end the Yarn session, use the ctrl + c command in Terminal to shut down the running process. Make sure you also stop your live stream so you do not incur additional costs.
More about Amazon IVS
Amazon IVS is a managed live streaming solution that is quick and easy to set up, and ideal for creating interactive video experiences. Simply send your live streams to Amazon IVS and the service does everything you need to make low-latency live video available to any viewer around the world, letting you focus on building interactive experiences alongside the live video. Learn more.