AWS for Games Blog
Customize the Game Analytics Pipeline Schema using AWS Cloud9
Authored by Molly Sheets and Greg Cheng
Requirements for game analytics vary between games and studios when defining specific data tracked per user. Some studios prefer data pipelines that process data anonymously in order to meet regulatory and privacy compliance standards. Others require unique identifiers to deliver on complex analysis, logging, AI/ML, monetization, and visualization features.
The one-click deployable Game Analytics Pipeline solution, available in the AWS Solutions catalog, is privacy-centric and does not track unique identifiers, such as user id or session id, by default. When deployed without modifications, it is a great option for developers who need an out-of-the-box analytics solution that keeps user data anonymous and provides a reliable, fault-tolerant, and fully managed AWS infrastructure.
This blog post demonstrates how to modify the schema for the Game Analytics Pipeline solution through the infrastructure as code provided in the GitHub repository. Developers learn how to add personal identifiers, such as user ids, client ids, and session ids, by configuring a custom AWS Glue table and schema for data ingestion using AWS Cloud9, and how to redeploy the infrastructure as code for a completely custom schema. Once the customized solution has been deployed, data can be sent to the pipeline in JSON format through direct ingestion using the AWS Kinesis Data Streams SDKs, or through the Amazon API Gateway endpoint deployed with the solution via REST API calls.
Disclaimer: The code in this blog is meant for tutorial purposes only. The solution is not deployed using production-ready settings. Developers will need to size their Kinesis Data Streams for production and determine how much data will be ingested into the pipeline.
Requirements
Before starting this tutorial, developers should have the following:
- An AWS account
- Access to the GitHub repository for the Game Analytics Pipeline solution
- Intermediate knowledge of game analytics data schemas
- 60 Minutes
Create an AWS Cloud9 instance & clone the Game Analytics Pipeline
Developers new to infrastructure as code and AWS CloudFormation should consider using AWS Cloud9 as the integrated development environment (IDE) to update these files.
AWS Cloud9 is a cloud-hosted IDE, and while it supports any code development that requires the use of an IDE, it is well suited for writing, running, and debugging CloudFormation infrastructure as code repositories as it integrates seamlessly with the AWS CLI. Cloud9 includes preconfigured tools and support for JavaScript, Python, and PHP while simultaneously enabling developers to work and access their code repository from anywhere. Cloud9 instances run on a managed Amazon EC2 instance with no need to maintain or install a local IDE.

1. Visit AWS Cloud9 in the AWS Console and choose Create environment.
2. Provide the environment with a unique name and description and then choose Next step.

3. For Environment type, choose Create a new EC2 instance for environment (direct access).
4. For Instance type, leave the default selection of t2.micro. The t2.micro Amazon Linux EC2 instance is free-tier eligible.
5. Under Cost-saving setting, developers who need additional time to complete this tutorial or update their schemas should consider adjusting the hibernation settings to After one hour or later. Otherwise, keep the default setting.

When developers select the direct access managed EC2 instance setting, data is stored in an associated 8-GB Amazon Elastic Block Store (EBS) volume. After a developer has finished a coding session, the instance automatically hibernates based on the cost-saving setting. The data is backed up and made available when the Cloud9 instance is relaunched. Additionally, developers only incur costs when actively developing in Cloud9, not when the environment is hibernating.
6. Choose Next step. Check the environment name and settings, and choose Create environment. The Cloud9 environment will take a few minutes to finish spinning up the new resource allocated to your IDE.
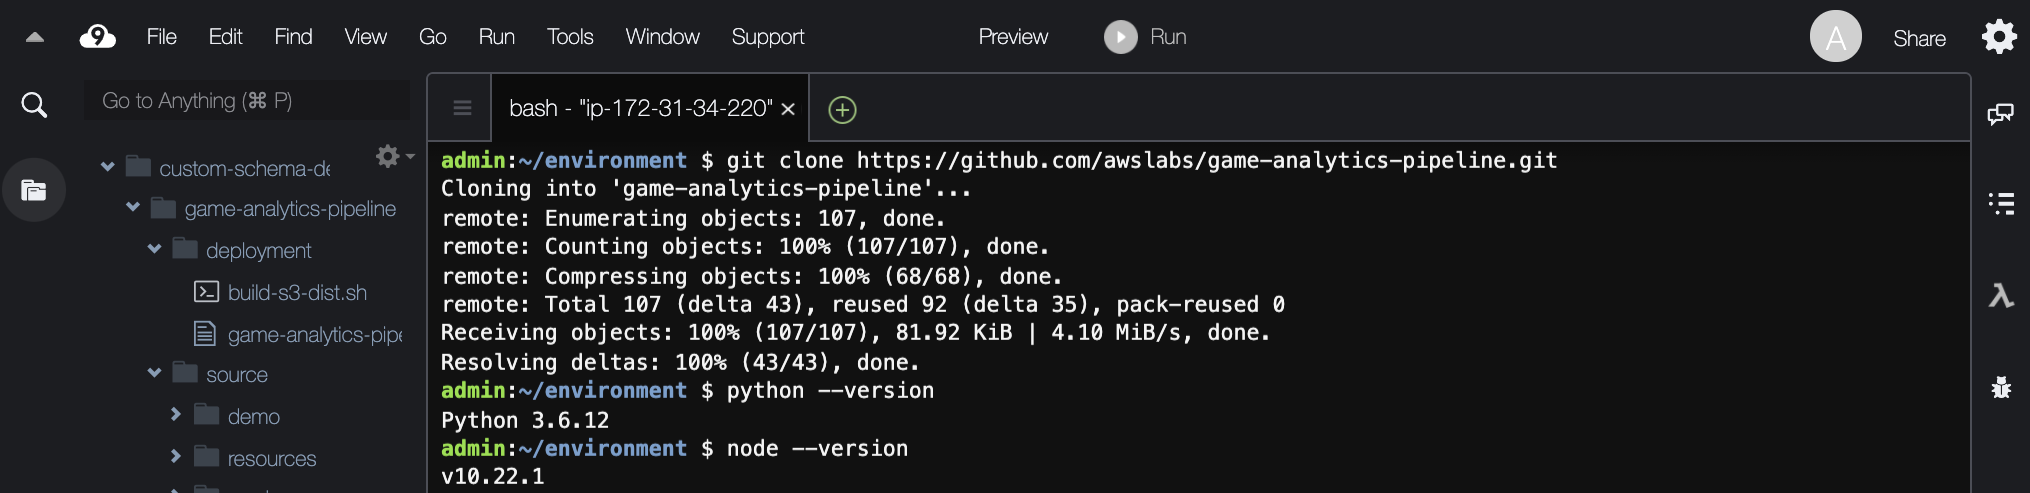
7. Once the resource has spun up, close the welcome screen by pressing the “x” button to create space. Drag the terminal tab starting with bash- up until your window configuration looks like the following figure.

8. Clone the GitHub repository for the Game Analytics Pipeline into your Cloud9 instance by pasting the following command into the terminal: git clone https://github.com/awslabs/game-analytics-pipeline.git

9. You will see that the game-analytics-pipeline directory has successfully cloned to the Cloud9 environment. Click the carrot next to the game-analytics-pipeline folder to expand the file structure.
10. The GitHub repository requires Node.js 12.x and Python 3. Before moving forward, developers should ensure the required versions are updated on the Cloud9 environment.
-
- First, check Python. Run the following code:
python --version - Next, check Node.js by running the following code:
node --version
- First, check Python. Run the following code:
11. Because our node is out of date, we will need to update Node.js. We also want to make sure our environment has the latest updates. Run the following code: sudo yum -y update
Note: This command may return “No packages marked for update.” This means that the dependencies in your Cloud9 instance are already up-to-date.

12. We have a few more updates to ensure the Cloud9 environment is ready to create a custom schema for the game analytics pipeline. Run the following code:
curl -o- https://raw.githubusercontent.com/creationix/nvm/v0.33.0/install.sh | bash
This code installs NVM which will be used to install the latest version of Node in step 12. Run the following code to start using it in the same terminal window: . ~/.bashrc
13. Now, install the latest version of node. Run the following code: nvm install node
You should see that the latest version of node is installed, v14.12.0 in this example, but you can check by running node --version again.

You have successfully cloned the Game Analytics Pipeline repository to your Cloud9 environment and updated the environment to the latest version of Node.js. You are now ready to update the necessary files for your custom schema for the game analytics pipeline.
Note: If you are not using Cloud9, we recommend managing versions of dependencies, such as Python and Node.js, using virtual environments to avoid complications. For more information on virtual environments (venv) and an example using Python, check out the Python documentation here. Another service to look at for managing and installing dependencies is Homebrew.
Update the game-analytics-pipeline.template file
The game-analytics-pipeline.template file defines the solution’s infrastructure as code. It includes the AWS Glue Data Catalog table which is used as the metastore for the solution’s data lake and associated dependencies. The Glue portion (which begins at line 554 of the file) must be updated as developers begin creating their own custom schemas.
1. In the navigation pane, choose the file under the deployment folder titled game-analytics-pipeline.template to load it into a Cloud9 tab.
2. Scroll to line 605. You will see the following:

3. This section defines the Glue columns and associated data type. Replace line 605 to 625 with the following code:
          Columns:
            - Name: event_id
              Type: string
            - Name: event_type
              Type: string
            - Name: event_name
              Type: string
            - Name: event_version
              Type: string
            - Name: event_timestamp
              Type: bigint
            - Name: client_id
              Type: string
            - Name: user_id
              Type: string
            - Name: session_id
              Type: string
            - Name: application_id
              Type: string
            - Name: application_name
              Type: string
            - Name: event_data
              Type: string
            - Name: metadata
              Type: string
This code adds in user_id, session_id, and client_id as unique identifiers. It also removes app_version as an example, but you can keep app_version as well as add any other fields you would like to capture. Your schema can be customized to fit your needs. You need to be consistent with your custom schema when modifying the event_schema.json and event.js files (the code found in the following two sections).
Update the event_schema.json file
The event_schema.json file defines the expected top level schema of events sent to the game analytics pipeline including expected data types, pattern, and a pre-defined description of each parameter under an event’s properties.
1. Open the event_schema.json file in Cloud9. This can be found under game-analytics-pipeline/source/services/events-processing/config/event_schema.json

2. Scroll to line 18 and replace the entire “definitions” section with the following code:
    "definitions": {
        "event": {
            "type": "object",
            "properties": {
                "event_id": {
                    "type": "string",
                    "pattern": "^[0-9a-f]{8}-[0-9a-f]{4}-[1-5][0-9a-f]{3}-[89ab][0-9a-f]{3}-[0-9a-f]{12}$",
                    "description": "The unique identifier for the event, formatted as UUID v4 string."
                },
                "event_type": {
                    "type": "string",
                    "pattern": "^[A-Za-z0-9-_.]+$",
                    "description": "Identifies the type of event"
                },
                "event_name": {
                    "type": "string",
                    "pattern": "^[A-Za-z0-9-_.]+$",
                    "description": "Name of the event that occurred"
                },
                "event_timestamp": {
                    "type": "number",
                    "description": "The time in seconds since the Unix epoch at which this event occurred (set by producer of event)."
                },
                "client_id": {
                    "type": "string",
                    "pattern": "^[0-9a-f]{8}-[0-9a-f]{4}-[1-5][0-9a-f]{3}-[89ab][0-9a-f]{3}-[0-9a-f]{12}$",
                    "description": "The unique identifier for the client that generated the event, formatted as a UUID v4 string."
                },
                "event_version": {
                    "type": "string",
                    "pattern": "^[A-Za-z0-9-_.]+$",
                    "description": "An API version for this event format."
                },
                "user_id": {
                    "type": "string",
                    "pattern": "^[A-Za-z0-9-_]+$",
                    "description": "The unique identifier of the user this event is associated with, formatted as UUID v4 string. It is recommended to set this field if you want to perform player-based analytics."
                },
                "session_id": {
                    "type": "string",
                    "pattern": "^[A-Za-z0-9-_]+$",
                    "description": "The unique identifier for the user session associated with this event, formatted as a UUID v4 string. It is recommended to set this field if you want to perform session-based analytics."
                },
                "event_data": {
                    "type": "object"
                }
            },
            "required": ["event_id", "event_type", "event_timestamp", "client_id", "event_name"]
        }
    }
This code adds user_id, session_id, and client_id parameters to the schema and removes app_version as an example. All three properties are considered unique identifiers.
Update the event.js File
The event.js file applies sanitization, transformation, and filtering rules to ingested events before they are stored in Amazon Simple Storage Service (Amazon S3) by the events-processing AWS Lambda function. This file validates records against the previously adjusted event_schema. Additionally, events that do not come from a valid application are appended with a metadata field as to whether they are considered valid (registered) or invalid (unregistered). This allows developers to keep all raw events even if they are not valid and to query those events which can be particularly useful when investigating client or server-side data that does not match a required schema.
One use case for this type of processing function is to detect and filter fraudulent in-app purchases. For example, on mobile clients, jailbroken devices may send records that look like in-app purchases but do not have valid purchasing receipts. A Lambda function could check a sent record’s purchasing receipt parameter with an external API that verifies receipts and append the record as valid or fraudulent before it is put into the raw data store. This helps developers downstream to ensure that records sent by jailbroken devices can have actions taken on them and not mixed with revenue dashboards.
In this case, we are adding 3 unique identifiers. To ensure our ingested records will pass the checks in the events-processing function, two areas of the event.js file must be modified.
1. Open the event.js file in Cloud9. This can be found under game-analytics-pipeline/source/services/events-processing/config/lib/event.js
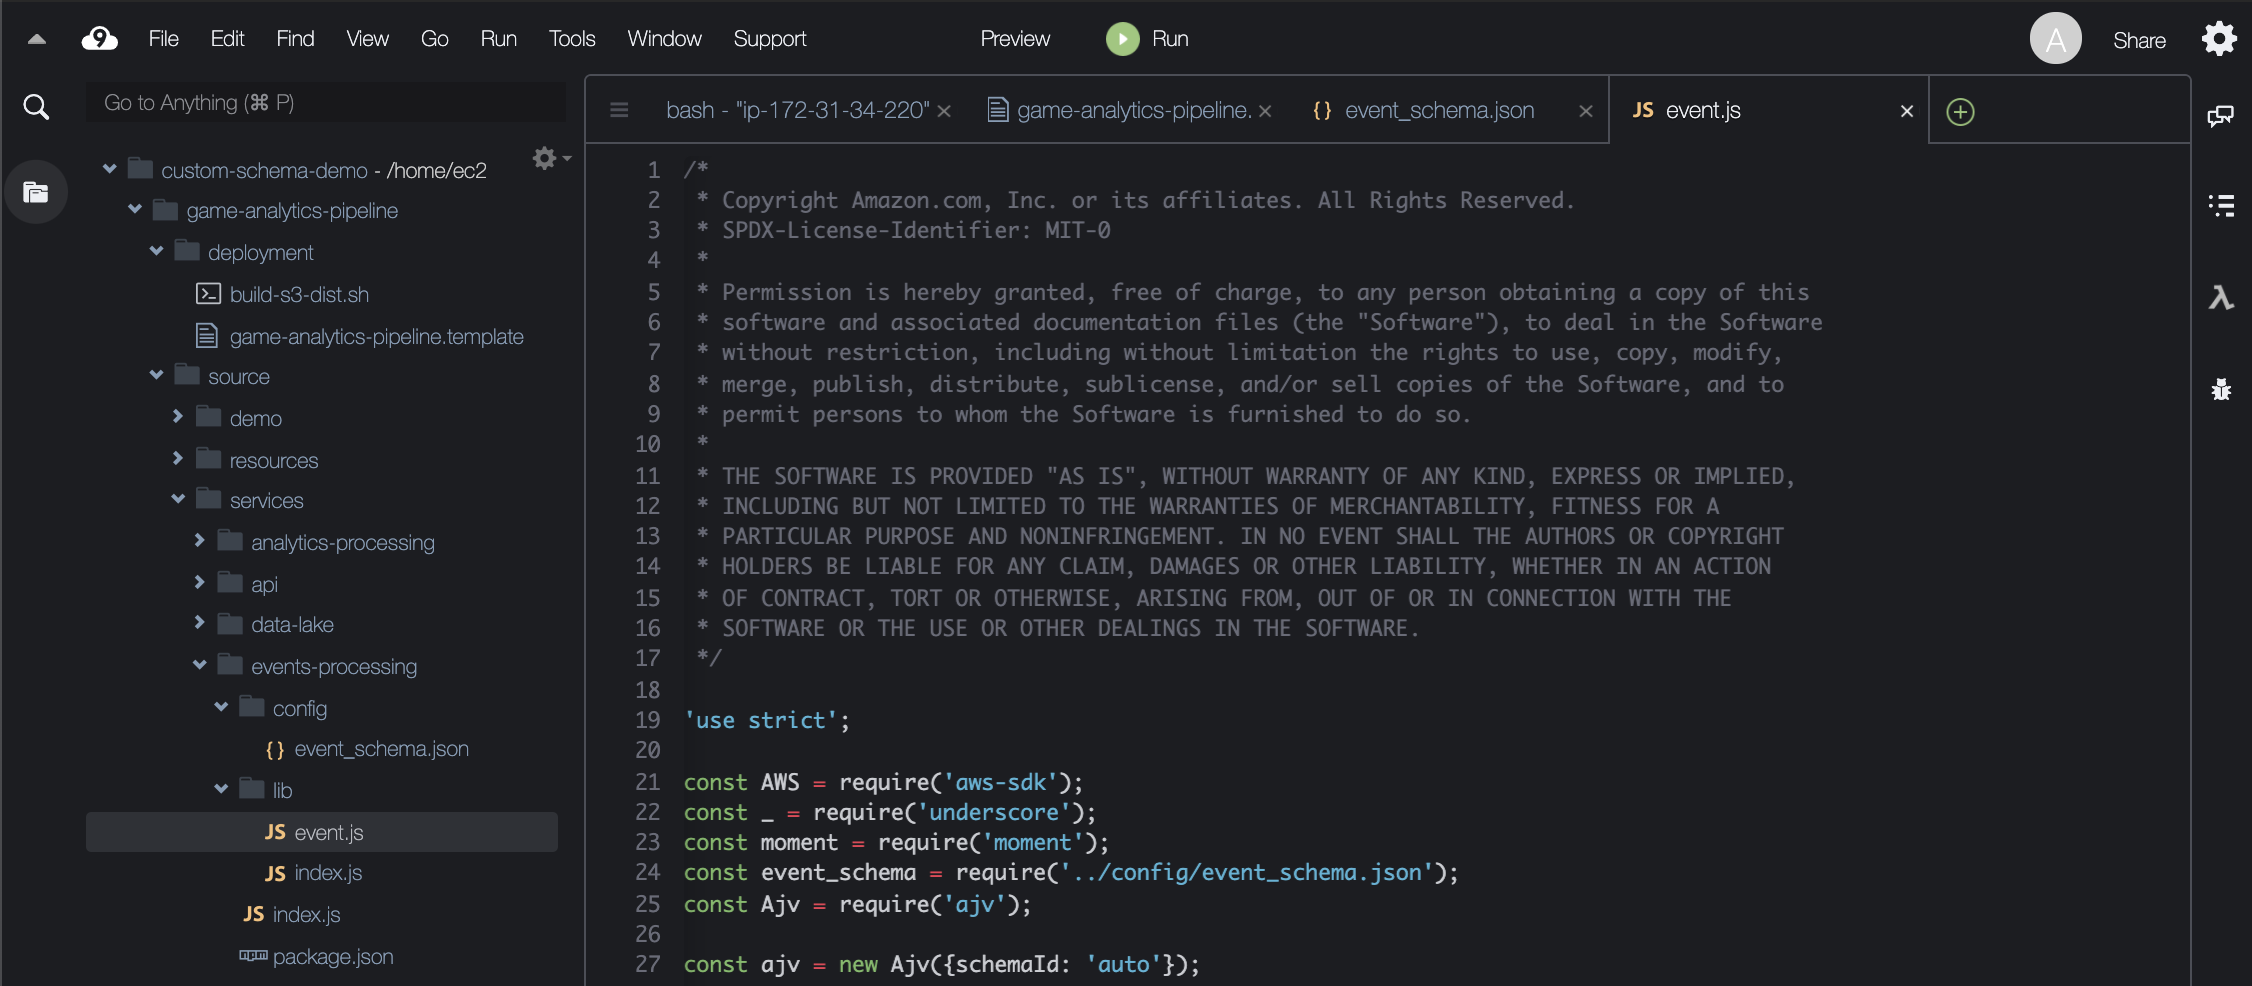
2. Scroll to line 110. Replace lines 110 – 130 with the following code:
        if(event.hasOwnProperty('event_id')){
          transformed_event.event_id = String(event.event_id);
        }
        if(event.hasOwnProperty('event_type')){
          transformed_event.event_type = String(event.event_type);
        }
        if(event.hasOwnProperty('event_name')){
          transformed_event.event_name = String(event.event_name);
        }
        if(event.hasOwnProperty('event_timestamp')){
          transformed_event.event_timestamp = Number(event.event_timestamp);
        }
        if(event.hasOwnProperty('client_id')){
          transformed_event.client_id = String(event.client_id);
        }
        if(event.hasOwnProperty('event_version')){
          transformed_event.event_version = String(event.event_version);
        }
        if(event.hasOwnProperty('user_id')){
          transformed_event.user_id = String(event.user_id);
        }
        if(event.hasOwnProperty('session_id')){
          transformed_event.session_id = String(event.session_id);
        }
        if(event.hasOwnProperty('event_data')){
          transformed_event.event_data = event.event_data;
        }
The second section that must be updated is on lines 158 – 178. Unregistered events, that is events that are processed by the Lambda function without a valid application_id, are not validated against the primary schema to avoid unnecessary processing. Those events are appended with an application_id and marked as unregistered.
3. Replace lines 158 – 178 with the following code:
        if(event.hasOwnProperty('event_id')){
          unregistered_format.event_id = String(event.event_id);
        }
        if(event.hasOwnProperty('event_type')){
          unregistered_format.event_type = String(event.event_type);
        }
        if(event.hasOwnProperty('event_name')){
          unregistered_format.event_name = String(event.event_name);
        }
        if(event.hasOwnProperty('event_timestamp')){
          unregistered_format.event_timestamp = Number(event.event_timestamp);
        }
        if(event.hasOwnProperty('client_id')){
          unregistered_format.client_id = String(event.client_id);
        }
        if(event.hasOwnProperty('event_version')){
          unregistered_format.event_version = String(event.event_version);
        }
        if(event.hasOwnProperty('user_id')){
          unregistered_format.user_id = String(event.user_id);
        }
        if(event.hasOwnProperty('session_id')){
          unregistered_format.session_id = String(event.session_id);
        }
        if(event.hasOwnProperty('event_data')){
          unregistered_format.event_data = event.event_data;
        }
That’s it! Adjusting these three files in tandem to match the desired top-level schema will ensure newly defined events register with the pipeline. For events that require additional custom parameters, the event_data field can be used as an unstructured data field (string of nested parameters) that can be further unboxed downstream or during analysis.
Deploy Your Custom Game Analytics Pipeline
Now that you have successfully modified the game analytics pipeline for your own use case, which now includes a custom schema, you will need to redeploy the pipeline. Follow steps 3 – 7 of the README.md file in the GitHub repository for the pipeline to deploy the infrastructure.
The README leads developers through how to build the deployment package and store it by version into an S3 bucket before deploying the infrastructure as code itself.
With CloudFormation used in conjunction with Cloud9, developers can easily teardown, update, and redeploy environments. Storing infrastructure as code in code repositories enables developers to create their own CI/CD pipeline for a custom game analytics pipeline, increasing agility through cloud-backed updates to the cloud resources.
Final Thoughts & Considerations
With any analytics pipeline and event schema, it is important to consider the intent for tracking a particular parameter before making these changes. Developers must weigh not only the volume of data being collected and sent to a pipeline, but also the individual value of a property in a schema against the complexity of how that property will be used by analysts and downstream systems. The successful schemas collect parameters that aim to benefit analysis, such as retention insights and user cohorts, or to achieve a business goal, such as gameplay personalization and targeted advertising.
Choosing to either add a property to a top-level schema versus pass it in a nested string, such as in the event_data field, depends on the frequency with which the parameter will be applied to events. The top-level or primary schema as defined in this document is an ideal spot for fields that are shared across events, such as user_id or session_id, which will often be queried by downstream systems.
For information on how to pass data to the game analytics pipeline and ingest directly to Kinesis, including code examples for using the event_data field, check out our blog “Generate Custom Game Events from Unity Integrated with the Game Analytics Pipeline.” For detailed instructions on how to query and visualize data ingested by the game analytics pipeline as well as understand how to ingest data please review the Implementation Guide and Developer Guide.