AWS Partner Network (APN) Blog
Hybrid and Multi-Region Kubernetes Orchestration Using Kublr
By Imtranur Rahman, Partner Solutions Architect – AWS
By Oleg Chunikhin, CTO – Kublr
 |
Both multi-region/hybrid architectures and Kubernetes-based cloud-native technology stacks provide a number of benefits to the organizations that successfully implement them.
These benefits include improved reliability and DevOps processes efficiency, shorter time to market for the business applications, combining the cost savings of on-premises infrastructure with the elasticity of cloud, and future readiness.
Starting with a Kubernetes and hybrid infrastructure may be intimidating, however, as both pose unique challenges.
In this post, we’ll show you how provisioning and managing Kubernetes clusters across multiple regions can be simplified with Kublr, which is developed by EastBanc Technologies, an AWS Select Tier Services Partner.
Kublr helps to ensure quick deployment of a production-ready, operationally mature, multi-region, cloud-native container management platform-based Kubernetes.
Architecture
Kublr is a Kubernetes management platform which accelerates and controls the deployment, scaling, monitoring, and management of Kubernetes clusters.
The diagram below describes two main elements of Kublr architecture:
- Kublr Platform (Kublr Control Plane) is a centralized management platform for Kubernetes clusters.
- Kublr Kubernetes Clusters are provisioned by Kublr Control Plane and managed through the platform.
When provisioning Kubernetes Clusters, Kublr Control Plane will provision all necessary infrastructure, such as Amazon Virtual Private Cloud (VPC), subnets, auto scaling groups, and Amazon Elastic Block Store (Amazon EBS) disks for Kubernetes etcd data, and will initialize it to run Kubernetes components.

Figure 1 – Kublr Control Plane.
Kublr Platform is the main management portal for the provisioned Kubernetes clusters. It consists of a number of integrated management components that, themselves, are deployed into a Kubernetes cluster as Helm packages.
The architecture of the Kubernetes cluster hosting the Kublr Control Plane component is exactly the same as the architecture of the managed Kubernetes clusters, whether they are running in the cloud or on premises.
The following diagram shows a typical Amazon Web Services (AWS) configuration for a Kublr-managed Kubernetes cluster, and, by extension, of a Kublr Control Plane cluster.

Figure 2 – Kublr network architecture.
The following diagram shows a typical network traffic flow inside Amazon VPC for a Kublr-managed Kubernetes cluster, and, by extension, of a Kublr Control Plane cluster.

Figure 3 – Kublr network traffic flow.
Each Kublr Kubernetes cluster deployed in an AWS region is provisioned as a single AWS CloudFormation stack. By default, the stack will contain a VPC as well as subnets, auto scaling groups, an internet gateway (IGW), network address translation (NAT) gateways, routing tables, security groups, load balancers, and other AWS resources to support the provisioned Kubernetes cluster.
For this post, we will:
- Deploy a Kublr Control Plane in an us-east-1 AWS region.
- Use the Kublr Control Plane to deploy two Kubernetes clusters in us-east-1 and us-west-1 regions correspondingly.
Prerequisites
- AWS account with admin privileges: We assume you already have an AWS account with admin privileges.
- An IAM account with cluster provisioning privileges: Kublr will use this account to provision required infrastructure. We’ll describe the creation of an AWS Identity and Access Management (IAM) account in the following section.
- Docker Desktop installed on your local machine: Docker is required to run Kublr installer to bootstrap Kublr Control Plane in an AWS region.
- Direct internet access: The local machine should have direct internet access to be able to connect to AWS API and Kubernetes API of the clusters provisioned in your AWS account.
Deploy Kublr Control Plane
Step 1: Create an IAM Account for Kublr
- Open the AWS Management Console and select AWS IAM.
- Create an AWS IAM policy for a Kublr account:
- Select Policies from the navigation bar on the left.
- Click the Create Policy button.
- Select the JSON tab.
- Paste the default Kublr policy that can be downloaded here.
- Click Next until you are in the Review policy tab.
- Enter the policy name; for example, “KublrPolicy.”
- Click Create policy to finish policy creation.
- Create an IAM user account for Kublr:
- Select Users from the navigation bar on the left.
- Click the Add user button.
- Enter a user name, such as “kublr,” and check Access key – Programmatic access.
- Click the Next – Permissions button.
- Select the Attach existing policies directly tab.
- Enter the policy name (“KublrPolicy”) in the Filter policies field and select the policy from the filtered list.
- Click Next until you reach the Create user tab, and click the Create user button.
- When the user is created, Access key ID and Secret access key will be displayed. Save these values, as they will be required in the next steps.
Step 2: Start Kublr Installer Container
Kublr is deployed via a Kublr installer Docker image, which can be run on any machine with Docker. IT can be used to bootstrap a fully-functional Kublr Control Plane in the cloud, on premises, or in any other environment supported by Kublr.
- Run Docker installer container on your local machine:
docker run --name kublr -d -p 9080:9080 kublr/kublr:1.21.2

Figure 4 – Kublr Installation.
- After the Docker container is started, open user https://localhost:9080/ in your browser. Note the browser may display a warning about a self-signed certificate used and ask to accept it.
- On the login page, enter the default admin account credentials:
- User name: admin
- Password: kublrbox
- Kublr may also request registration information on the first login: name, email, and accept a terms of use policy.
- After successful login, the Kublr installer user interface (UI) is displayed.
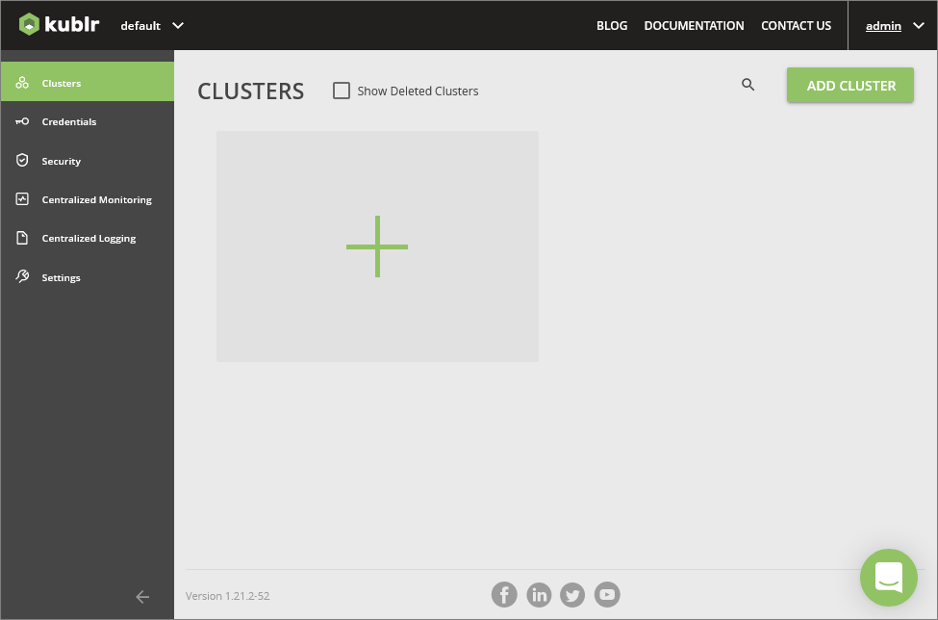
Figure 5 – Kublr Installer UI.
Step 3: Register AWS IAM Account in Kublr Installer Container
For the Kublr installer to be able to provision a full Kublr Control Plane in AWS, an IAM account credential should be registered in a Credentials object.
- Click on Credentials in the navigation bar on the left.
- Click on the large + button in the UI and a credential registration screen will be displayed.

Figure 6 – Add credential.
- Enter the name for the credentials object (for example, “aws”) in the Credentials Name field.
- Select AWS Credentials in the Credentials Type field. Additional fields will be revealed after that.
- Enter the access key ID and the secret access key saved at Step 1 in the fields Access Key and Secret Key, correspondingly.
- Click Save Credentials.
Step 4: Deploy Kublr Control Plane
After you have registered the IAM account in the Kublr installer container, you have everything ready for full Kublr Control Plane deployment.
- Click on Clusters in the navigation bar on the left.
- Click on the large + button in the UI. The installer will ask whether you want to deploy a full Kublr Control Plane (Platform) or a simple Kubernetes cluster (Cluster).
- Select Platform and click the Continue setup button.

Figure 7 – Kublr Control Plane deployment.
The next few screens allow you to configure the platform Kubernetes cluster and the platform’s parameters
In the first screen, you can specify the cluster name (or keep the autogenerated one), select the AIM credentials object (“aws”) registered previously, select region (“us-east-1”) and the version of Kubernetes to use (it’s safe to keep the default).
After specifying these parameters, click the Configure instances button.

Figure 8 – Kublr Control Plane instance selection.
The next screen allows you to define the cluster topology: the number of master and worker nodes, their instance types, availability zones, SSH keys to provision on the nodes if necessary, and so on.
It’s usually safe to keep the default values automatically suggested in the UI, but sometimes the cluster creation may fail due to the specified instance types unavailable in the specified AWS Availability Zones (AZs). In this case, you can delete the partially created cluster (it will be in an “Error” state marked with a red error icon) and repeat the attempt, specifying different AZs for master and worker instance groups’ “Advanced” sections.
Click on the Setup features button after you’re done with configuring instance groups.

Figure 9 – Kublr Control Plane configuration.
The features configuration screen allows you to configure a number of parameters of the Kublr Control Plane being deployed. You may safely keep the default values for the purposes of this post; the only required value is the platform password.
After entering the password, click the Review and create button.

Figure 10 – Kublr platform password.
In the next screen, you can review the configured cluster parameters and click the Confirm and install button; the platform creation process will start.
The platform creation will take ~15-20 minutes. During this time, Kublr installer will create a CloudFormation stack. The stack will initialize all of the required AWS resources, including the auto-scaling groups and Amazon Elastic Compute Cloud (Amazon EC2) instances on which a Kubernetes cluster will be started and Kublr Helm packages will be deployed into that cluster.
While the cluster is being created, you can navigate to the Kublr installer UI, check infrastructure-related events in the “Events” tab, and see how Kubernetes and Kublr components installations are progressing.
The Kublr Control Plane is fully up and running when its status is “Running” and green in the “Cluster” tab, and all the components are marked green in the “Status” tab.
The standard Kublr Control Plane 1.21.2 components include “Kublr Operator,” “Kublr System,” “KubeDB,” “Monitoring,” “Logging,” “Ingress,” and “Control Plane” (the list of components may be different for other versions of Kublr).
Step 5: Open Kublr Control Plane UI
When Kublr Control Plane is successfully deployed, you can open its web UI. The platform web UI endpoint URL is available in the “Cluster” tab.

Figure 11 – Kublr Control Plane UI.
Click on the link and you’ll see a familiar login screen. Use the admin account credentials with user name admin and the password you specified in the “Features” screen when deploying the platform.
Step 6: (Optional) Stop or Delete the Kublr Installer Container
Now that the full Kublr Control Plane is up and running, you don’t need the Kublr installer container anymore, so you can stop and/or delete the container.
This can be done via the following command line interface (CLI) commands:
docker stop kublr
docker kill kublr
docker rm kublr
We recommend keeping the container for now, as it makes it easier to clean up the AWS resources after you’re done testing Kublr (see the Step 11 below).
Deploy Kubernetes Clusters in AWS Regions
Provisioning Kubernetes clusters via Kublr Control Plane UI is similar to the way we have provisioned the Kublr Control Plane itself via the Kublr installer UI.
Step 7: Register AWS IAM Account in Kublr Control Plane
Open the Kublr Control Plane UI and register the IAM account created on Step 2 in the Kublr Control Plane. To do this, you can follow the same procedure as described in the Step 3 above.
Step 8: Deploy Kubernetes Cluster in us-east-1 Region
Deploying a Kubernetes cluster via the platform UI is similar to deploying a Kublr Platform via the Kublr installer container UI. To do this, you can follow the same procedure as described in Step 4 above.
Step 9: Deploy Kubernetes Cluster in us-west-1 Region
You can deploy the second cluster in the us-west-1 region in parallel with the first one. Just follow the same procedure as on the previous step, but select the us-west-1 region in the first screen instead of us-east-1.
Two clusters in different regions will be deployed in parallel, and in a few minutes you should see them up and running by clicking on “Clusters” in your Kublr Control Plane UI navigation bar.
Step 10: Review Cross-Region and Cross-Location Operational Tools
As the clusters are started and become ready, you can review the multi-cluster operational tools available for the Ops teams to make sure the clusters and applications running on them are up, running, and healthy.
Select the Centralized Monitoring item in the navigation bar on the left, click the Grafana button, and you will get into the Kublr’s centralized monitoring Grafana UI.
The system features a number of pre-configured dashboards displaying multiple important metrics collected from the managed Kubernetes clusters, their infrastructure, and the applications running in them.
Most importantly, the clusters are connected automatically and by default to the centralized monitoring systems without the need to manually configure anything. Irrespective of the clusters’ location—whether they are in the cloud region, on premises, or running on virtual or physical bare metal machines—they will be present in the monitoring system uniformly.

Figure 12 – Kublr centralized monitoring dashboard.
The same approach is used for centralized log collection. Select the Centralized Monitoring item in the navigation bar on the left, click the Kibana button, and you will get into the Kublr’s centralized logging Kibana UI.
Similar to monitoring, pre-configured dashboards can be used to analyze log statistics and drill down to the individual log entries coming from different clusters, namespaces, and nodes on different levels for the stack—from the operating system to the application containers logs.

Figure 13 – Kublr centralized log dashboard.
Step 11: Cleanup
When you are ready to clean up the AWS resources used by the Kubernetes clusters and by the Kublr Control Plane:
- In the Kublr Control Plane UI, click on the cluster-us-east-1 panel to open the cluster view.
- Click on the three-dot button in the top right corner.
- Select Delete from the menu.
- Confirm cluster removal in the dialog.
- Repeat these steps for the cluster-us-west-1 cluster.
- Wait for the Kublr Control Plane to finish cleaning up the clusters’ resources and to remove the clusters from the UI.
- Assuming you did not delete the container in Step 6:
- In the Kublr installer container UI, do the same for the platform.
- Wait for the installer container to finish cleaning up the platform AWS resources and delete the platform from the UI.
- Delete the container as described in Step 6 above.
- If you deleted the container in Step 6:
- Open the AWS console and select CloudFormation.
- Find the CloudFormation stack created for the platform.
- Delete the CloudFormation stack.
- Sometimes the stack cannot be deleted due to certain AWS resources that prevent it from being removed automatically (such as a non-empty Amazon S3 bucket). If this happens, analyze the stack removal error message, remove the offending resources manually, and retry the stack deletion.
Conclusion
To summarize what we achieved in this post with AWS and Kublr:
- Multi-region deployment of multiple Kubernetes clusters, which could as easily be a hybrid or multi-cloud deployment.
- Centralized metrics and logs collection, storage, and analysis for (potentially) hybrid Kubernetes cluster deployments integrated and working out-of-the-box for each cluster deployed.
- Strong cross-location identity management and security system for multiple Kubernetes environments that can be used as-is or integrated with external identity providers such as AWS IAM, Okta, and others.
References
- https://kublr.com/
- https://kublr.com/on-demand-videos/
- https://docs.kublr.com/
- https://docs.kublr.com/installation/aws/aws_console/
- https://docs.kublr.com/installation/aws/aws/
- https://docs.kublr.com/overview/general-architecture/
- https://docs.kublr.com/overview/deployment-details/
- https://docs.kublr.com/overview/deployment-details/
- https://support.kublr.com/
.
EastBanc Technologies – AWS Partner Spotlight
EastBanc Technologies is an AWS Partner that developed Kublr to ensure quick deployment of a production-ready, operationally mature, multi-region, cloud-native container management platform-based Kubernetes.
Contact EastBanc Technologies | Partner Overview
*Already worked with EastBanc Technologies? Rate the Partner
*To review an AWS Partner, you must be a customer that has worked with them directly on a project.