Artificial Intelligence
Improve your data science workflow with a multi-branch training MLOps pipeline using AWS
In this post, you will learn how to create a multi-branch training MLOps continuous integration and continuous delivery (CI/CD) pipeline using AWS CodePipeline and AWS CodeCommit, in addition to Jenkins and GitHub. I discuss the concept of experiment branches, where data scientists can work in parallel and eventually merge their experiment back into the main branch. I also show you how to create an Amazon SageMaker projects template that you can use from within Amazon SageMaker Studio.
SageMaker projects give organizations the ability to set up and standardize developer environments for data scientists and CI/CD systems for MLOps engineers. With SageMaker projects, MLOps engineers or organization admins can define templates that bootstrap the machine learning (ML) workflow with source version control, automated ML pipelines, and a set of code to start iterating over ML use cases. With SageMaker projects, organizations can set up dependency management, code repository management, build reproducibility, and artifact sharing and management. SageMaker projects are provisioned using AWS Service Catalog products.
SageMaker projects already provides a few MLOps CI/CD pipeline templates, which are the recommended way to get started with CI/CD in SageMaker. These training templates let you modify a single predefined branch called main, and all changes to this branch launch a training job. In some cases, though, you may want to use a multi-branch (trunk-based) training pipeline. This type of pipeline lets you get more flexibility and better performance with a thorough review of the code and experiment results before approving models and merging changes into main. This solution enables you to create several experimental branches that each launch their own training job and create their own model artifact. We can then use pull requests to approve some of these models, using a modified SageMaker template available in GitHub.
When data scientists are working on a new model, that work is often experimental, meaning that unsuccessful experiments may be discarded and those with good results can go into production. Each data scientist may be working on a particular attempt at improving the current objective function. While one may be trying out a different architecture, another may be trying a new set of hyperparameters, for instance.
Whatever may be the case, these experiments should be version controlled, tracked, and automated. When the winning experiment is found and becomes eligible to be merged into the main branch, it can be assessed by a lead data scientist. They can view the exact code that was run, identify the key metrics output by the experiment, and have the results of any automated tests before model approval and release. When each experiment has its own branch, you can automate training whenever a Git push is run. This way, we can make sure that all metrics and tests for the model are stored in Studio.
The following image illustrates a potential Git history of two data scientists experimenting on the same project.

This post includes the following sections:
- Architecture overview
- Deploy the baseline stack
- Configure the template to be used from within Studio
- Create a new project
- Create and release a new experiment with CodePipeline and CodeCommit
- Configure the Jenkins instance (optional)
- Create and release a new experiment with Jenkins and GitHub (optional)
- Review experiments from pull requests
Architecture overview
The following architecture shows how you can automate the creation of a new CodePipeline pipeline whenever someone creates a new branch. The pipeline also runs when changes are made to that specific branch. Additionally, the architecture shows a release pipeline that runs when a merge happens in the main branch and marks the related model as approved in the model registry.
This is all based on the concept of feature branches in trunk-based development.

The architecture workflow includes the following steps:
- The data scientist makes a Git push of a new experiment branch to the remote repository in CodeCommit.
- Amazon EventBridge listens for branch create events and invokes an AWS Lambda function.
- The function invokes AWS CloudFormation to create a new stack that contains the CodePipeline definition that is used for the new branch.
- The CodePipeline pipeline is triggered automatically after creation. In the final stage, the pipeline triggers CodeBuild, which builds a Docker image, pushes it to Amazon Elastic Container Registry (Amazon ECR), updates the SageMaker pipeline, and invokes it.
- The SageMaker pipeline runs all the steps required to train the model and store it in the model registry.
- After the pipeline runs, the model awaits approval.
- The data scientist creates a pull request in the CodeCommit repository, to have the new branch merge with the main branch.
- The lead data scientist approves the pull request if the model is satisfactory.
- Another Lambda function is triggered as part of releasing the model pipeline.
- The function approves the model in the model registry.
Optionally, you may not want to use CodePipeline and CodeCommit for the CI/CD pipeline. For that purpose, we also provide the required template to provision the necessary infrastructure to integrate with a Jenkins and GitHub option, as shown in the following diagram.

This architecture includes the following workflow:
- The data scientist creates a new branch with the
experiment/prefix and commits their experiment code, pushing the changes to the remote repository. - CodeBuild launches the job in Amazon SageMaker Pipelines.
- The pipeline trains the model and stores it in the model registry.
- The model is stored with the status
Pending. - If the experiment is successful, the data scientist creates a pull request to the main branch.
- When the pull request is approved, it triggers the release pipeline.
- The release pipeline invokes a Lambda function that approves the model in the model registry.
Prerequisites
For this walkthrough, you should have the following prerequisites:
- An AWS account
- The AWS Command Line Interface (AWS CLI) installed
- Git installed
- A Jenkins instance (optional)
Deploy the baseline stack
The purpose of the baseline stack is to provision the standard resources used as seed by the SageMaker projects template to create new projects.
Clone the sample repository and deploy the baseline stack with the following code:
In the preceding example, you may instead deploy the stack to support Jenkins and GitHub by using ./deploy.sh -p jenkins.
Configure the template to use in Studio
To configure your template, complete the following steps:
- Create a portfolio in the AWS Service Catalog, providing entries for Portfolio name, Description, and Owner.

- Assign a new product by choosing Upload new product.

- Enter the details for Product name, Description, and Owner.

You also specify the CloudFormation template to be used by Service Catalog in provisioning the product.
- For Choose a method, select Use a CloudFormation template.
- Enter the CloudFormation template deployed by the baseline stack:
https://cloud-formation-<AWS-ACCOUNT-ID>-us-east-1.s3.amazonaws.com/model_train.yaml.

- On the navigation pane, choose Products.
- On the Tags tab, add the SageMaker visibility tag
sagemaker:studio-visibilityto the product with valuetrue.

- In the navigation pane, choose Portfolios.
- On the Constraints tab, choose Create constraint.
- Select the role that was created by the baseline stack (
MultiBranchTrainMLOpsLaunchRole).

Next, you need to add permission to groups, roles, and users to use the product.
- Choose Portfolios in the navigation pane.
- On the Groups, roles, and users tab, choose Add groups, roles, users.
- Add the relevant groups, roles, and users that should have permission to provision the product (for this list, I add the role
Adminand my SageMaker execution role).

The template is now available in Studio.
- Open Studio and navigate to the Create project page.
- Choose Organization templates.
You can see the AWS Service Catalog product you created.

Create a new project
You’re now ready to create a new project.
- Choose the template you created.
- Choose Create project.
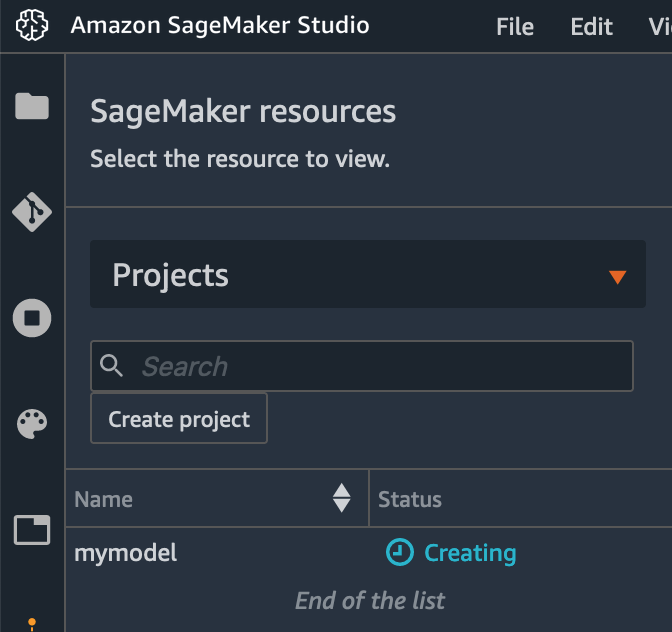
- For Name, enter a name.

Wait for the project to be created. You should see the project with the status Creating.
- Add the sample code to the created repository (continue from the previously used terminal):
Create and release a new experiment with CodePipeline and CodeCommit
To create and release a new experiment, complete the following steps:
- Either clone the CodeCommit repository or start from the previous terminal to submit the experiment code to the repository:
After a few seconds, a new pipeline is created in CodePipeline.
You can see the pipeline running, and you should see the Train step update to In progress.

The Train step of the pipeline launches a new SageMaker Pipelines pipeline that trains the model.
In Studio, under SageMaker resources, choose Pipelines on the drop-down menu. You should see the pipeline running.

When the pipeline is complete, a new model gets stored in the SageMaker Model Registry with Pending status.
You can choose Model registry on the drop-down menu to view the model on the SageMaker resources page.

At this point, the data scientist can assess the experiment results and push subsequent commits, attempting to achieve better results for the experiment goal. When doing so, the pipeline is triggered again and new model versions are stored in the model registry.
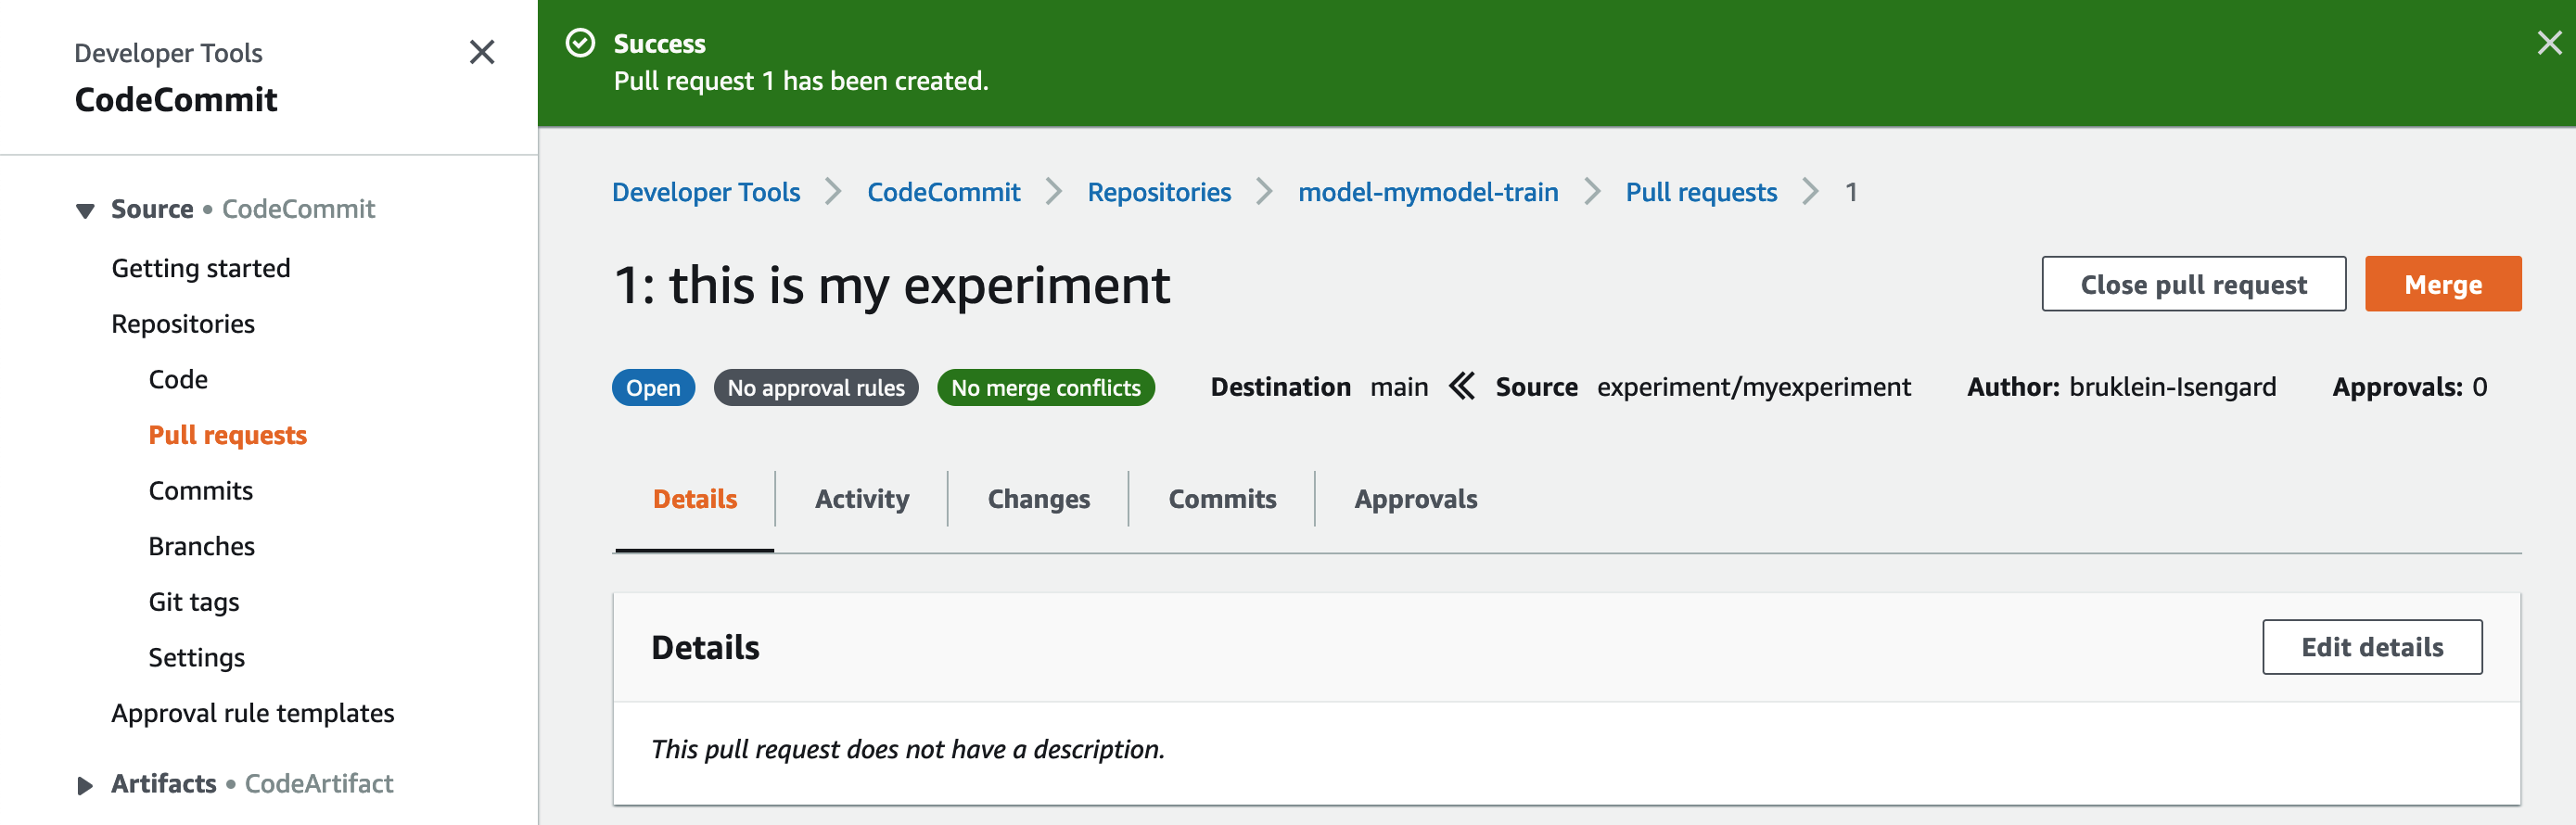
If the data scientist deems the experiment successful, they can create a pull request, asking to merge the changes from the experiment/myexperiment branch into main.
- On the CodeCommit console, under Repositories in the navigation pane, choose your repository.
- Choose Code in the navigation pane.
- Choose Create pull request.

- Choose the destination, generally main, and the source branch, which in this case is
experiment/myexperiment.

After you create the pull request, you can review both the code and the experiment’s results, by using Amazon SageMaker Experiments.
You can also find the experiment results by using the Git commit ID of the latest commit in the branch that is being merged. With this ID, you can go to Studio, under SageMaker resources, and choose Experiments and trials. You can find all the experiments for your model, in this case named model-mymodel, and also the trials, named after the commit ID.

- On the CodeCommit console, choose Merge.
- Select Fast forward merge.
- Choose Merge pull request.

When the merge is complete, the respective model gets approved automatically in the model registry. Also, because we chose to delete the experiment branch after the merge, the provisioned experiment pipeline is automatically deleted.

Configure the Jenkins instance (optional)
To configure the Jenkins instance, you must install the required plugins, configure the train pipeline, and configure the release pipeline.
Install the required plugins
On the dashboard, choose Manage Jenkins, Manage Plugins, and Available. Install the following plugins:
Configure the train pipeline
To configure the train pipeline, complete the following steps:
- On the dashboard, choose New item.
- Enter the name
model-mymodel-train. - Select Freestyle Project.
- In the Source Code Management section, select Git.
- For Repository URL, enter your URL.
- For Branches to build, enter
*/experiment/*.

- In the Build Triggers section, select Poll SCM.
- For Schedule, enter
H/2 * * * *.

- In the Build Environment section, select Delete workspace before build starts.

- Now you add a build step of type AWS CodeBuild.
- To generate the credentials, go to the user page and choose Create access key.
- Make sure to store the secret to use again in a later step.
- In the AWS Configuration section, select Manually specify access and secret keys.
- Enter keys for AWS Access Key and AWS Secret Key.

- In the Project Configuration section, provide the Region and project name (in this case,
model-mymodel-train).

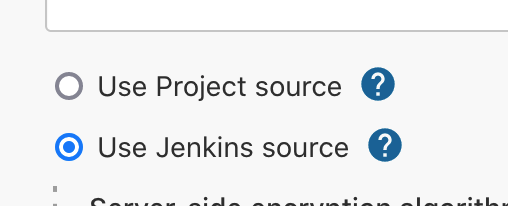
- Select Use Jenkins source.

- For Environment Variables Override, enter the required environment variables for the build script:


[ { BRANCH_NAME, ${GIT_BRANCH} }, { COMMIT_HASH, ${GIT_COMMIT} } ]

Next, you add a file operation build step to delete any remaining files after the build.
- Choose Add build step and File Operations.
- On the Add menu, choose File Delete.
- For Include File Pattern, enter *.


Configure the release pipeline
You’re now ready to configure the release pipeline.
- On the dashboard, choose New Item.
- Enter the name
model-mymodel-release. - Select Freestyle Project.
- In the Source Code Management section, select Git.
- For Repository URL, enter your URL.
- For Branches to build, enter
*/main*.

- In the Build Triggers section, select Poll SCM.
- For Schedule, enter
H/2 * * * *.
- In the Build Environment section, select Delete workspace before build starts.
- Add a build step of type Execute shell.
- In the Command field, add the following command:

echo "MERGE_PARENT=$(git rev-parse HEAD^2)" >> env.properties

- Add build step of type Inject environment variables.
- For Properties File Path, enter
env.properties.

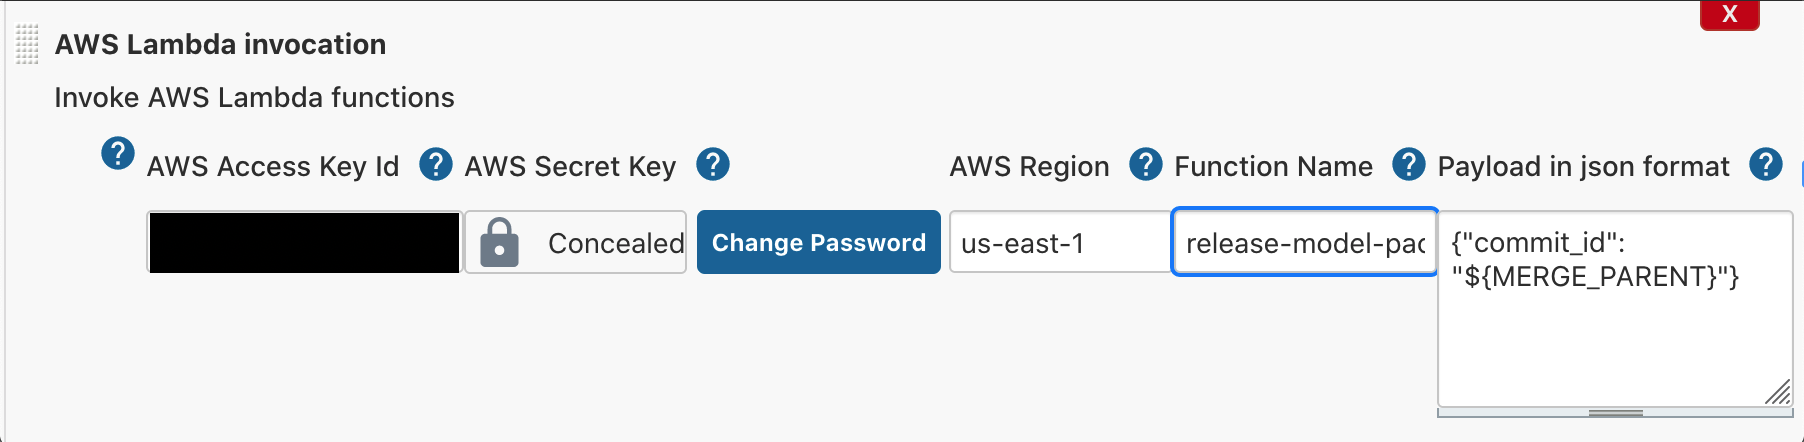
- Add a build step of type AWS Lambda invocation.
- For AWS Region, enter your Region.
- For Function name, enter the name of your function (for this post,
release-model-package-mymodel). - For Payload in json format, enter
{"commit_id": "${MERGE_PARENT}"}.
- Lastly, you add a File Delete build step.
- For Include File Pattern, enter *.


Create and release a new experiment with Jenkins and GitHub (optional)
To create and release a new experiment with Jenkins and GitHub, you first submit the experiment code to the repository, then open a pull request with the successful experiment code.
Submit experiment code to the repository
Either clone the GitHub repository or start from the previous terminal:
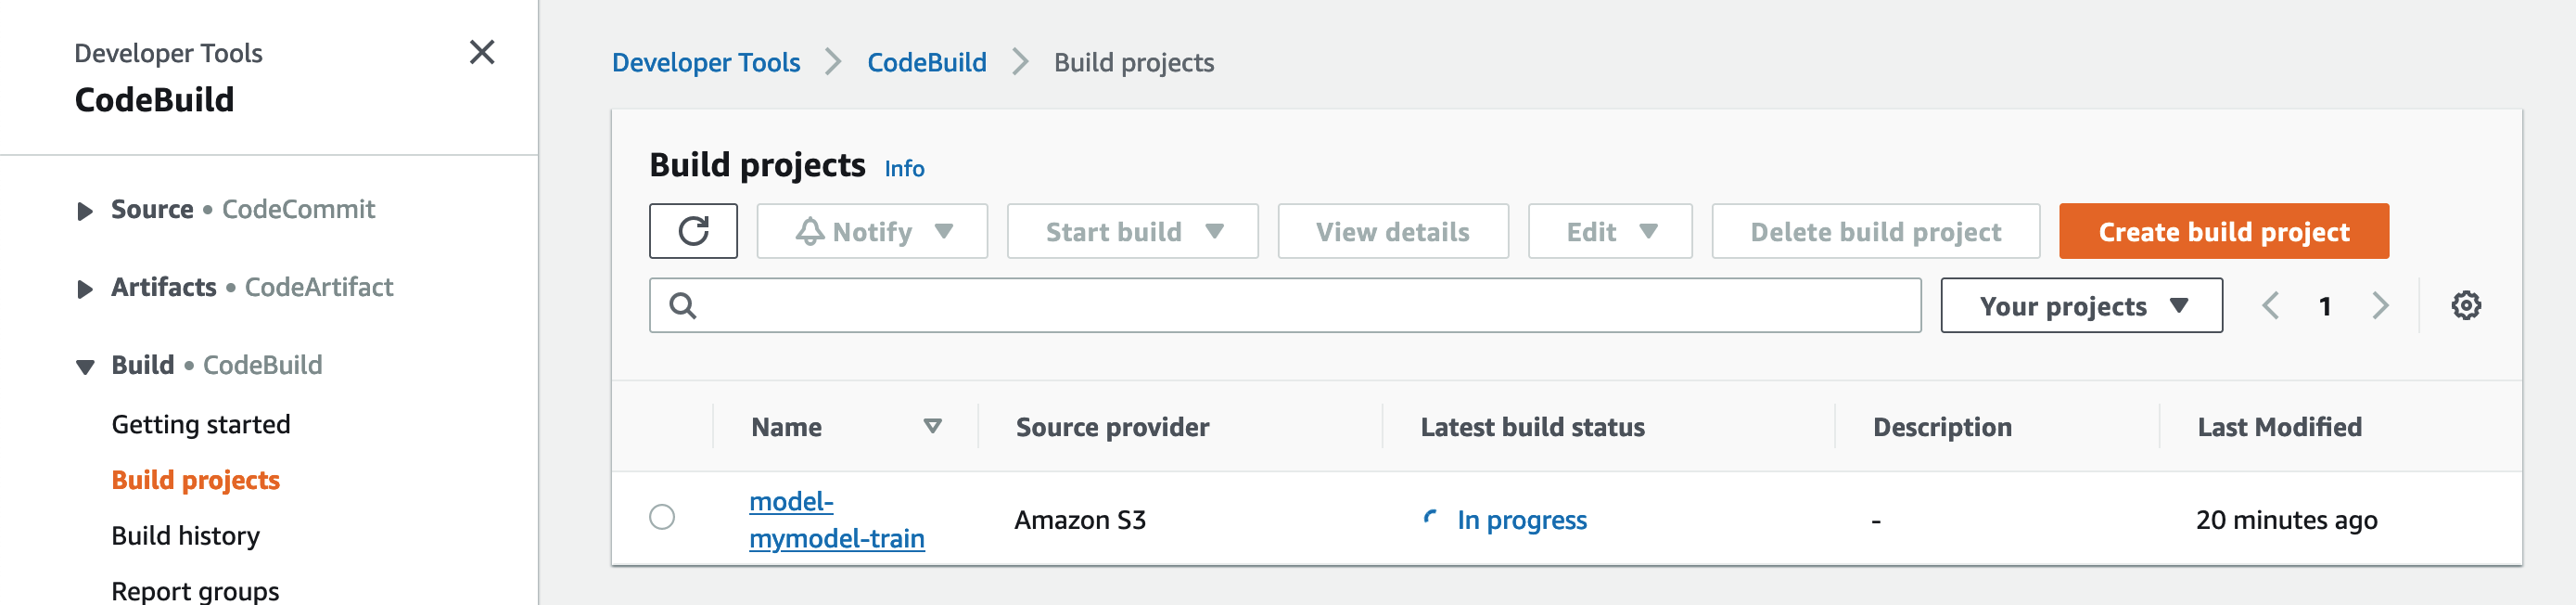
After a few seconds, the CodeBuild build starts running.
The status of the CodeBuild model-mymodel-train project changes to In Progress.
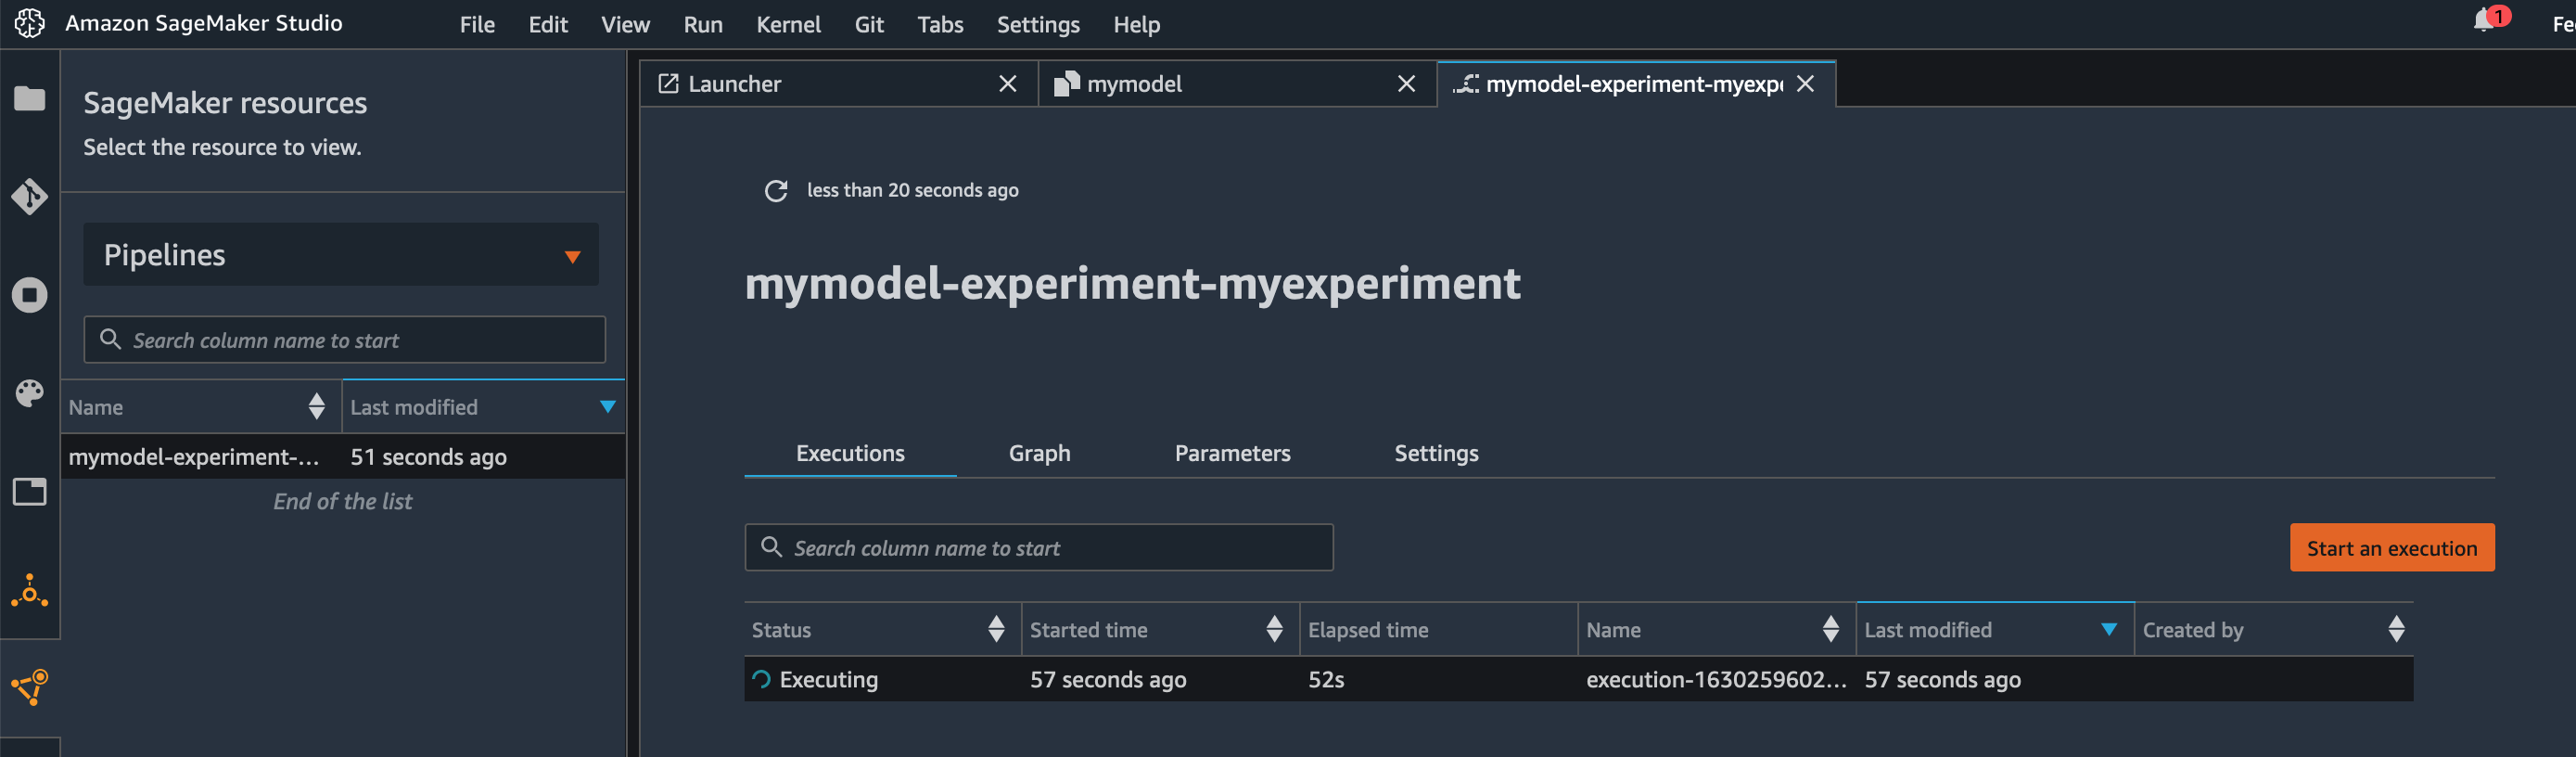
If you look in Studio, in the SageMaker resources section, you can see that the pipeline mymodel-experiment-myexperiment is running.
When the pipeline is complete, a new model gets stored in the SageMaker Model Registry with Pending status.
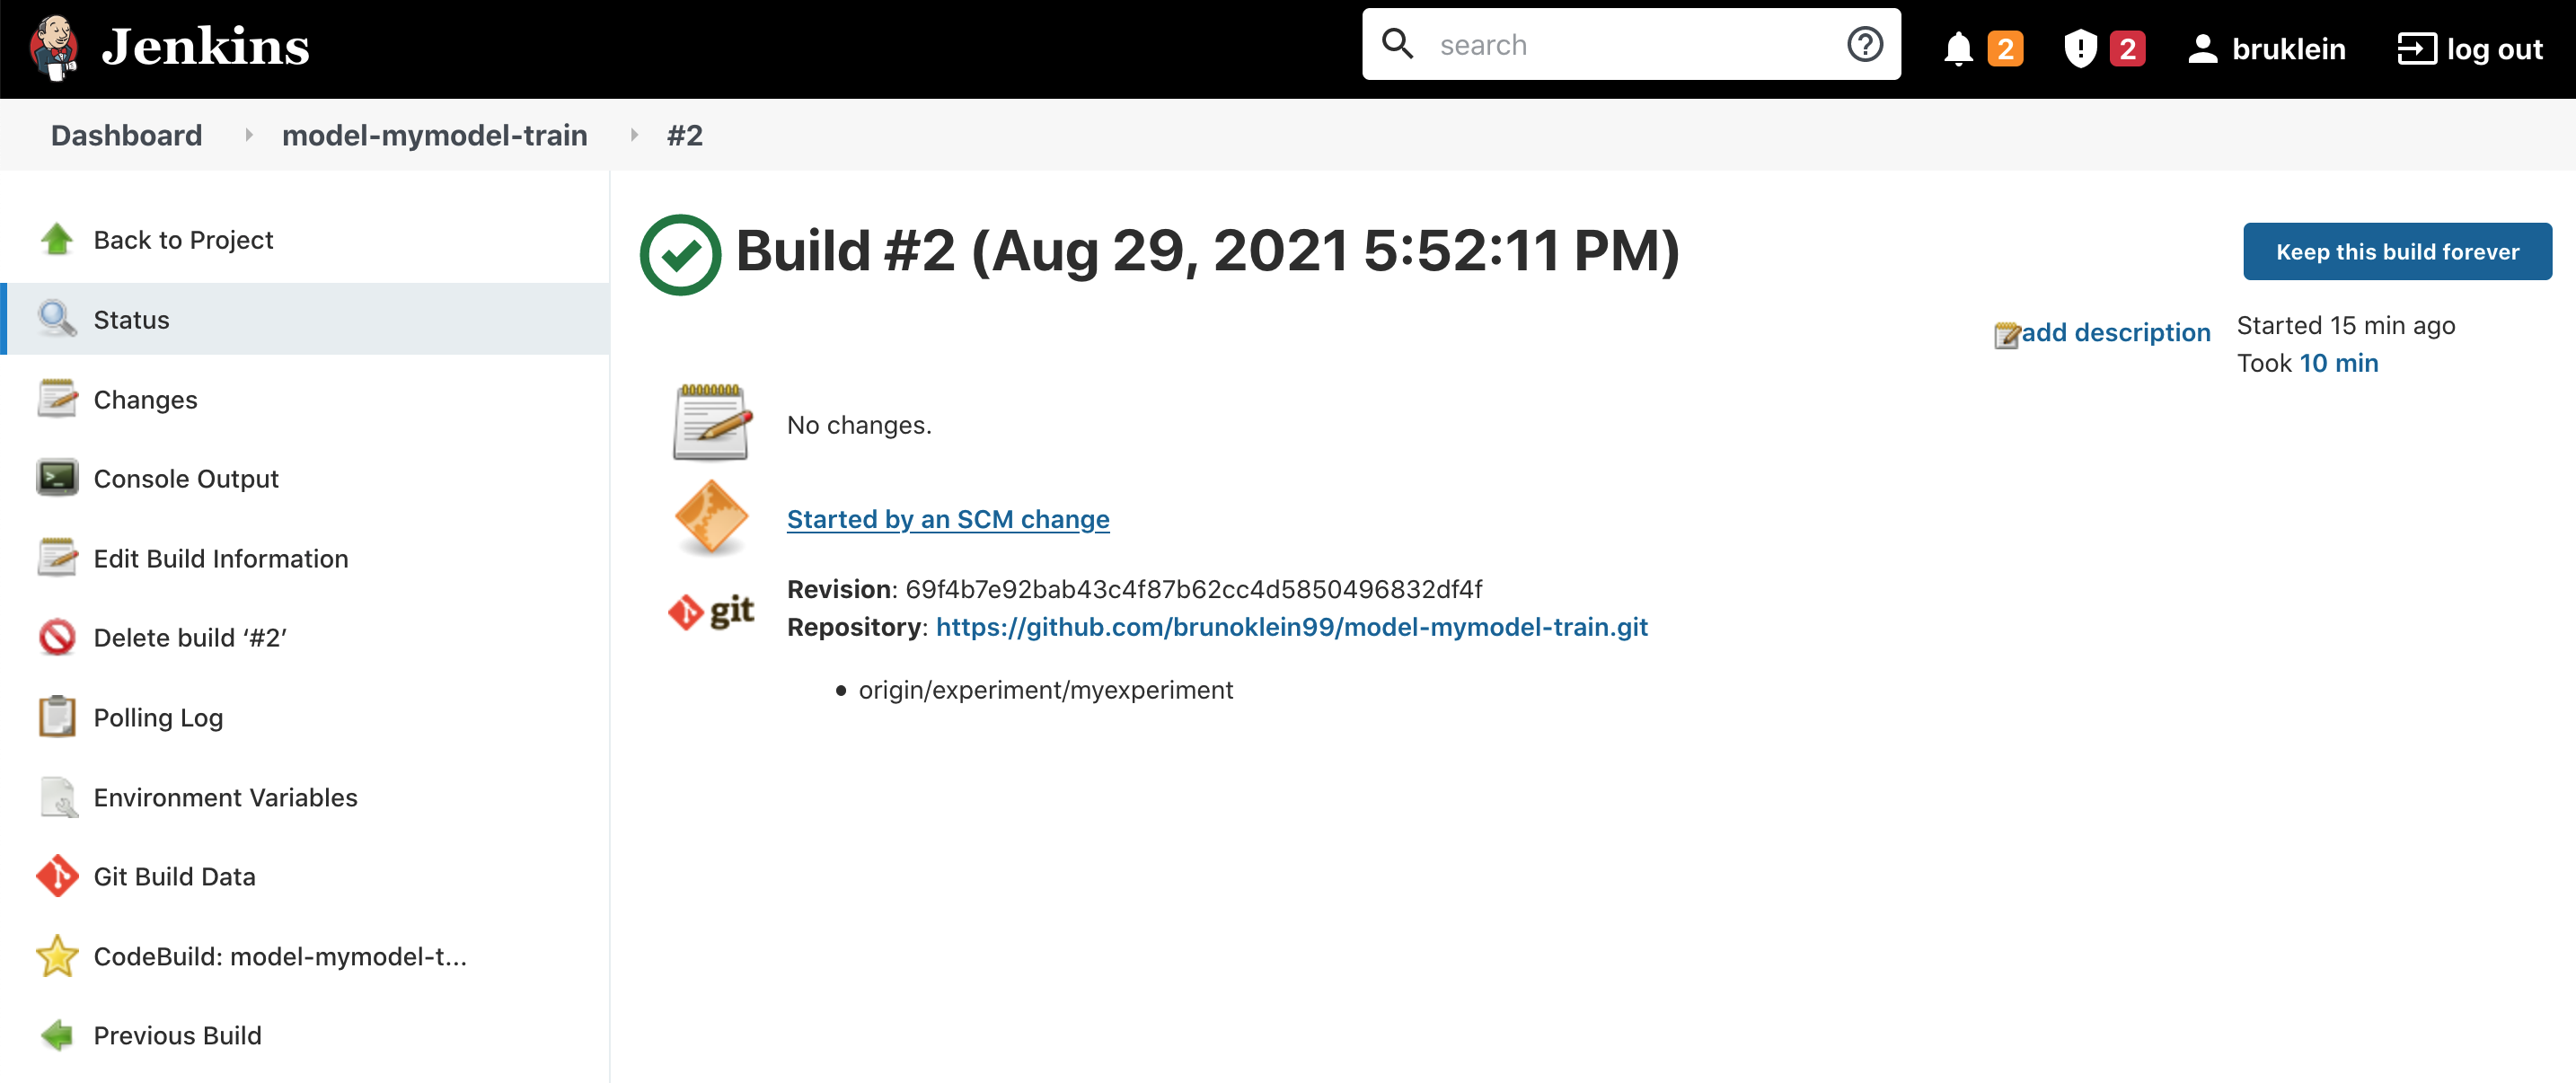
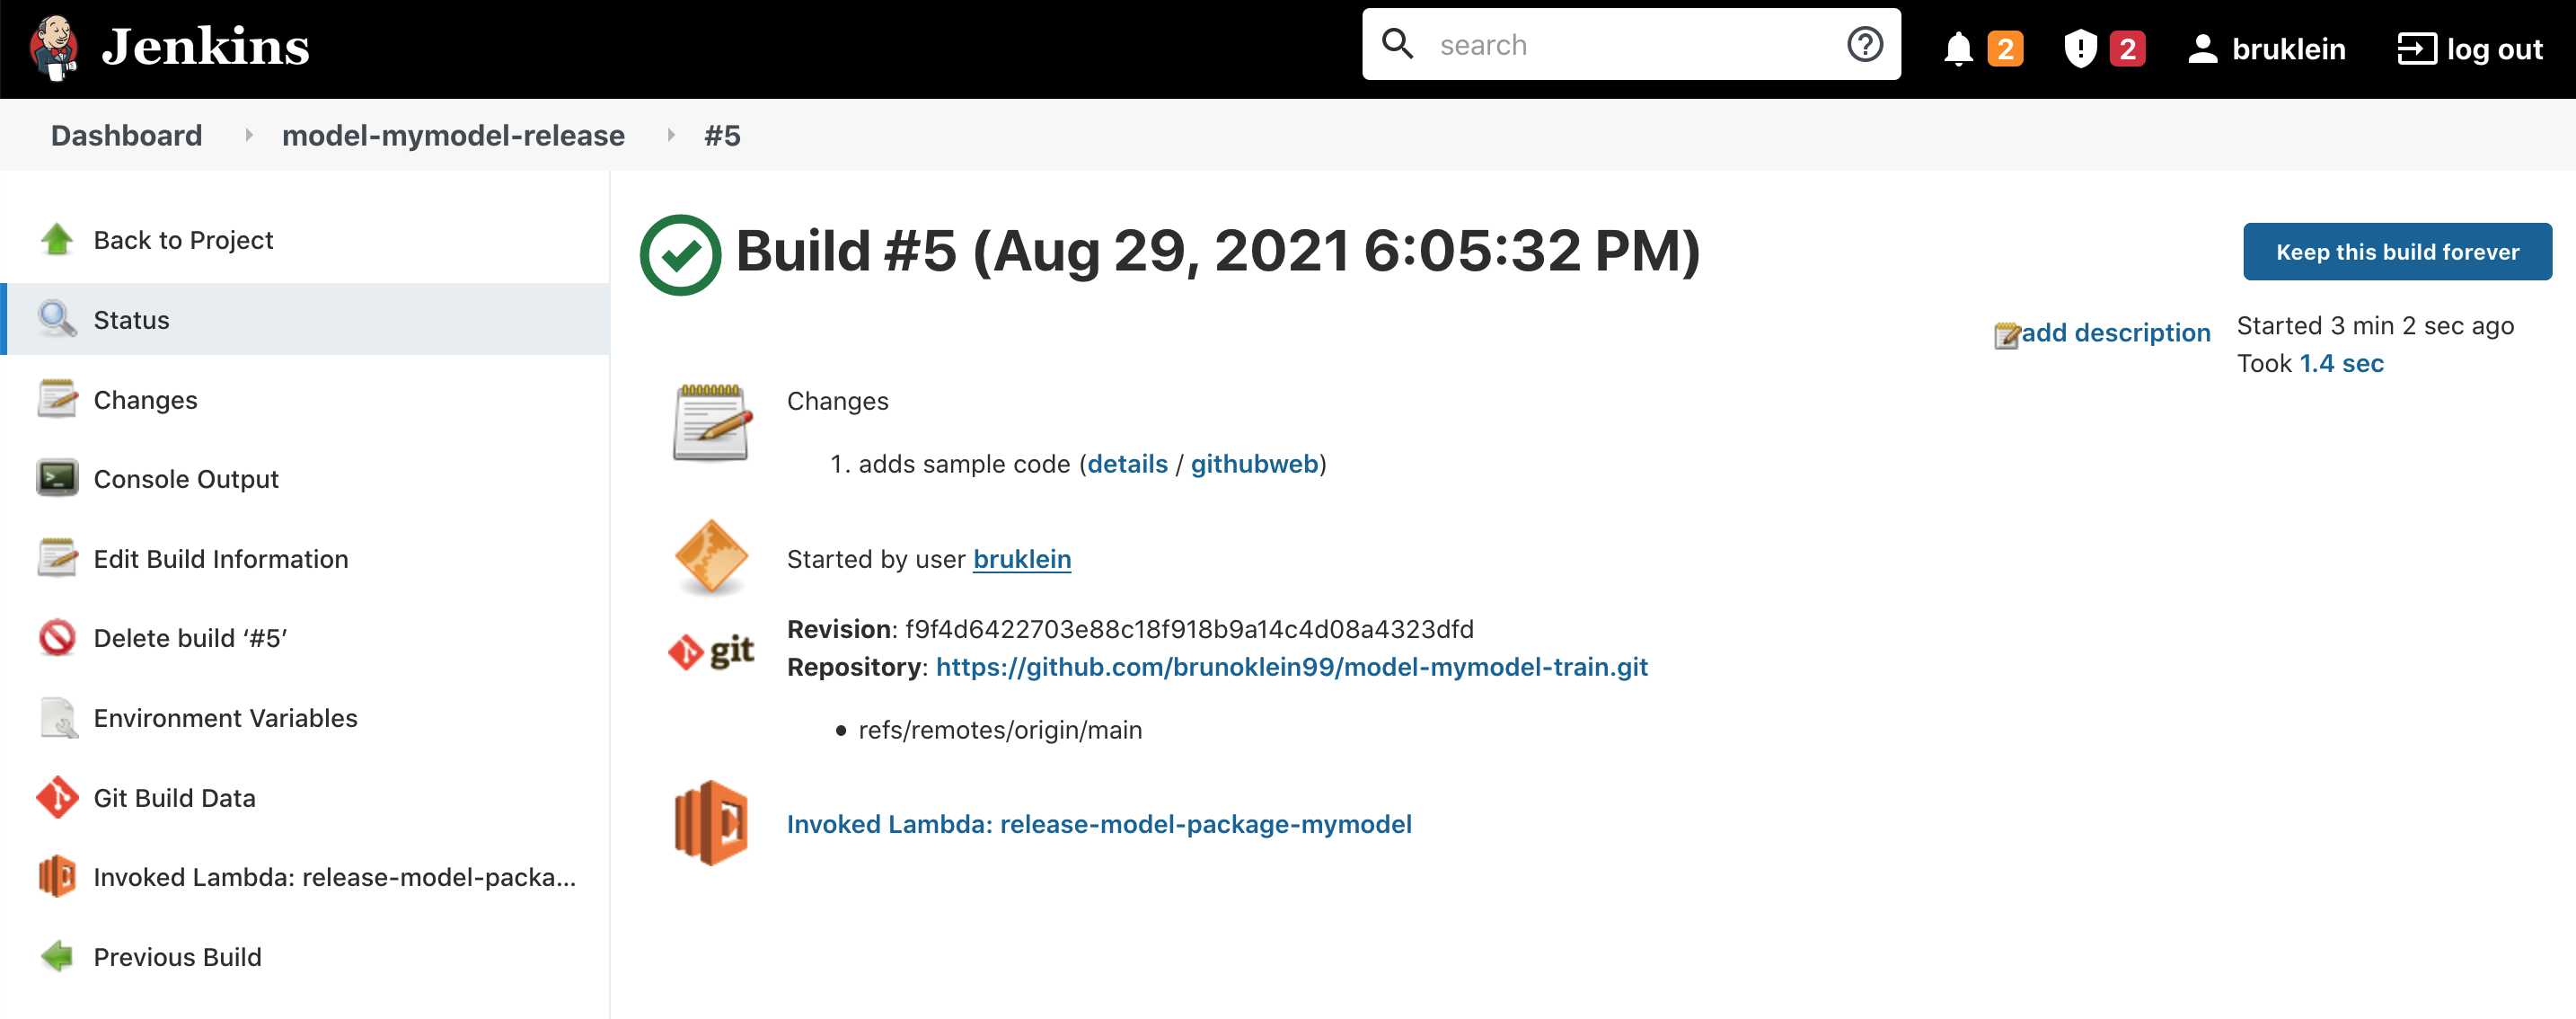
Looking in the Jenkins UI, if we select the model-mymodel-train pipeline and then choose Status, we should see that the pipeline ran successfully.
After the pipeline runs, if we go to Studio in the SageMaker resources section and choose Model registry, we should see the created model with Pending status.

At this point, the data scientist can assess the experiment results and push subsequent commits, attempting to achieve better results for the experiment goal. When doing so, the pipeline starts again and new model versions are stored in the model registry.
If the data scientist deems the experiment successful, they can create a pull request, asking to merge the changes from the experiment/myexperiment branch into main.
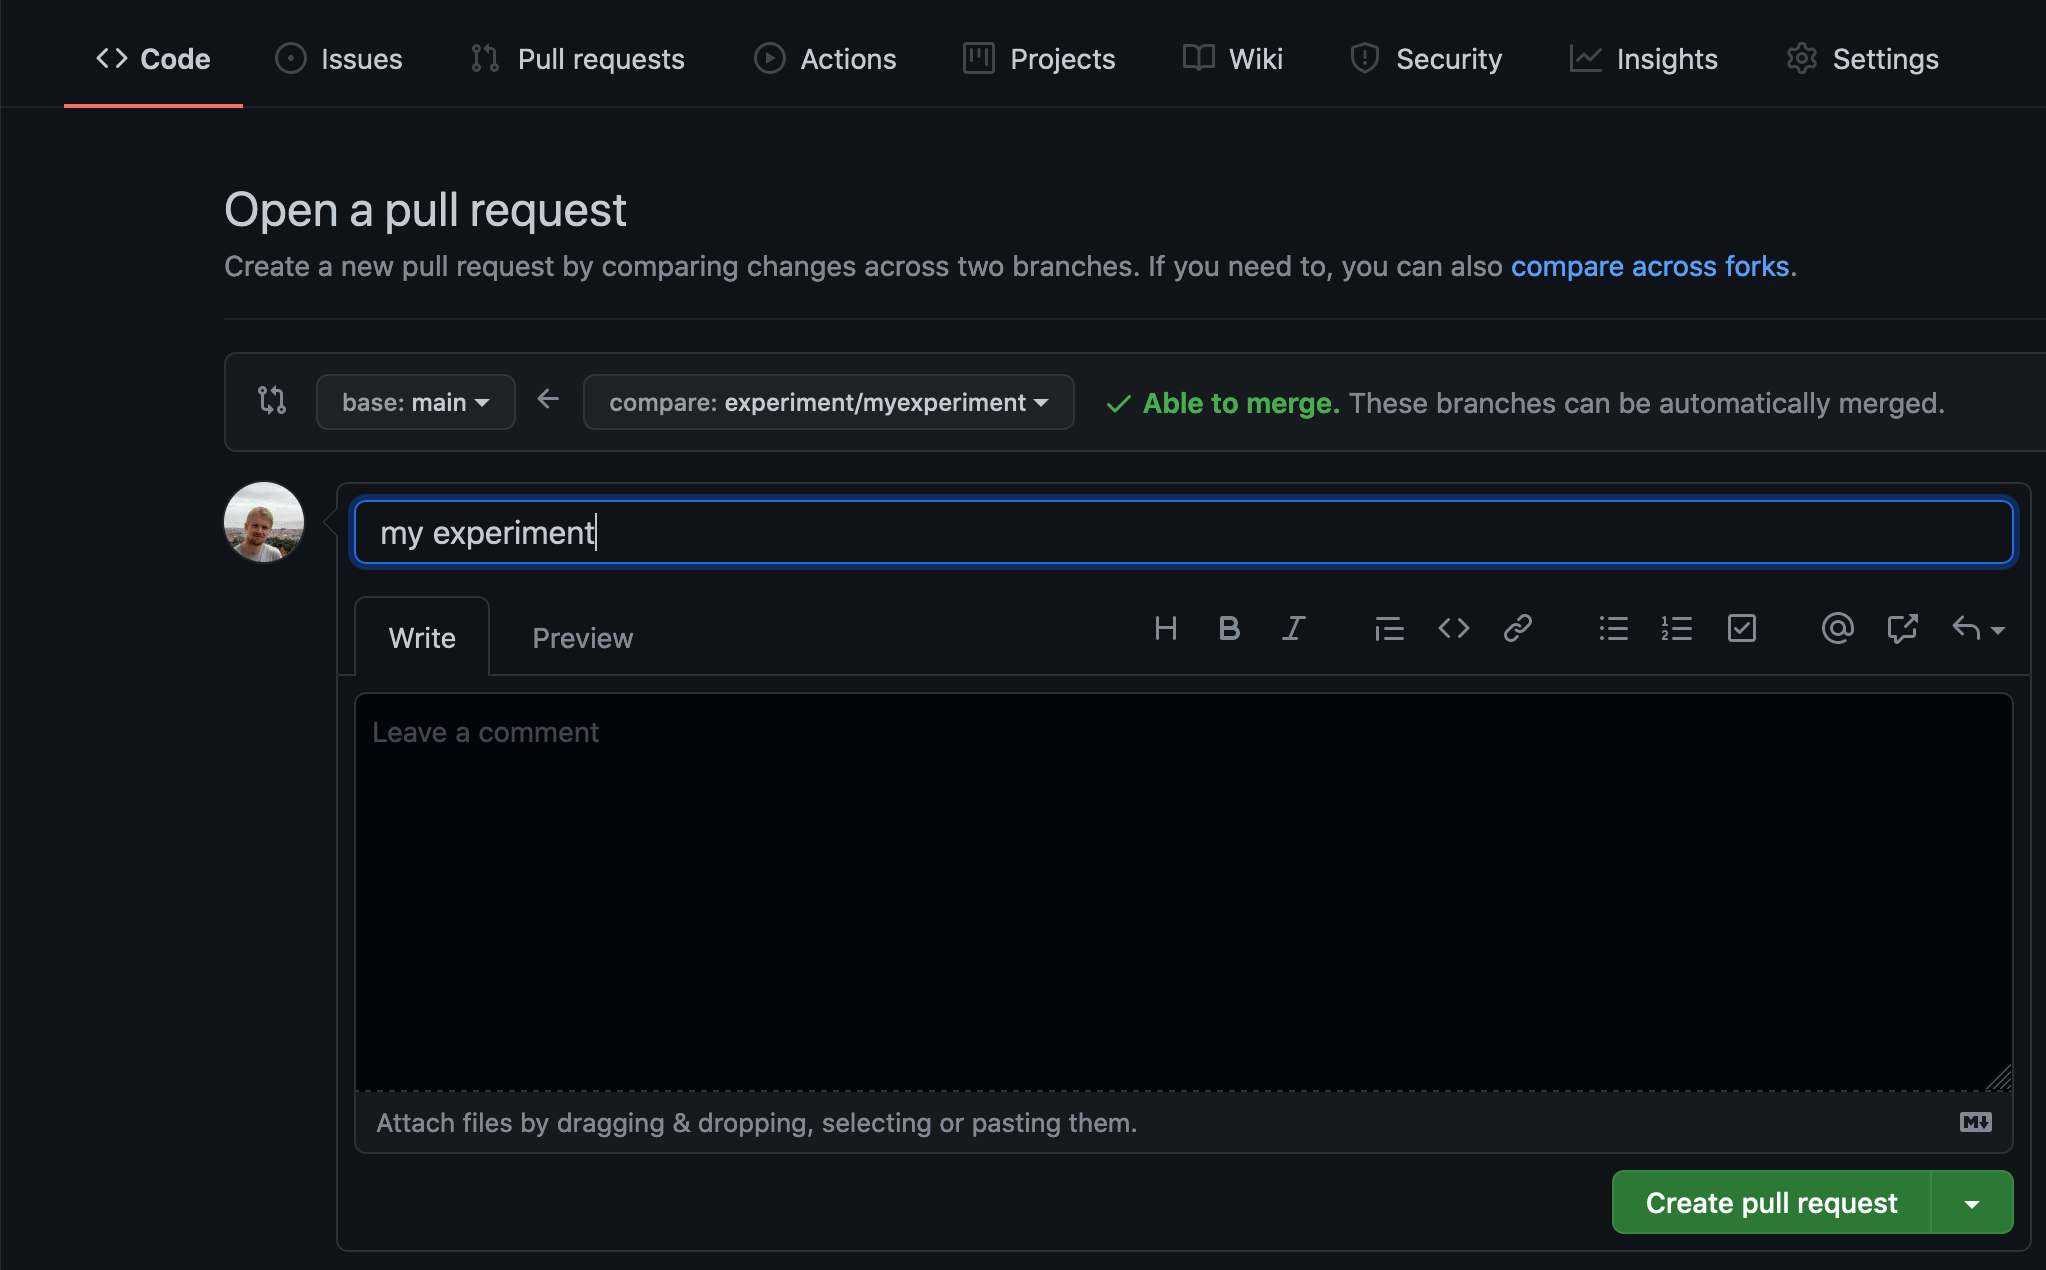
Open a pull request with the successful experiment code
In the GitHub UI, you can open a pull request from the experiment branch experiment/myexperiment into the main branch.
When the pull request gets created, both the code and the results of the experiment can be reviewed in the SageMaker resources section under Experiments and trials. This includes information such as charts, metrics, parameters, artifacts, debugger, model explainability, and bias reports.
If everything looks good, we can merge the pull request by choosing Create a merge commit and then choosing Merge pull request.

As soon as the merge is complete, the respective model gets approved automatically in the model registry. You can view it in SageMaker resources under Model registry.

Review experiments from pull requests
To review experiments from a pull request, data scientists need to identify the commit ID of the latest commit in the pull request. After doing so, they can find the trial with the given commit ID. Alternatively, teams can customize the trial name by building a string and assigning it.
In Studio resources, in the Experiments and trials section, SageMaker allows you to see several different types of metadata and information that can be associated with a model.
There are different aspects of an experiment that can be tracked and considered for approval.
Charts and metrics
You may want to store experiment metrics into the trial using the SageMaker Experiments SDK:
Experiments is integrated with Studio. When you use Studio, Experiments automatically tracks your experiments and trials and presents visualizations of the tracked data and an interface to search the data.
Experiments automatically organizes, ranks, and sorts trials based on a chosen metric using the concept of a trial leaderboard. Studio produces real-time data visualizations, such as metric charts and graphs, to quickly compare and identify the best performing models. These are updated in real time as the experiment progresses.
Parameters
You can log which parameters were used during the experiment using the log_parameters function of the SDK.
Artifacts
Optionally, you may want to add additional arbitrary data tied to the experiment, such as custom charts or visualizations. These are stored by SageMaker in Amazon Simple Storage Service (Amazon S3) at the end of the training job. To store them, you can simply use log_artifacts.
Debugger
Amazon SageMaker Debugger allows you to monitor training jobs in real time. You can detect suboptimal resource utilization as well as issues causing your model to not converge.
Model explainability and bias report
Amazon SageMaker Clarify provides tools to help explain how ML models make predictions. These tools can help ML modelers and developers and other internal stakeholders understand model characteristics before deployment and debug predictions provided by the model after it’s deployed.
Clean up
To clean up the resources created as part of this post, make sure to delete all the created stacks. To do that, empty the S3 buckets manually first, in addition to deleting the models from the model registry.
You can also delete the SageMaker project with the following code:
aws sagemaker delete-project –-project-name mymodel
Conclusion
In this post, I discussed how you can create a model training pipeline fully integrated with Git, using either CodePipeline and CodeCommit, or Jenkins and GitHub. Different data scientists can use this pipeline concurrently so that each of them can experiment independently. When a winning model is found, they can create a pull request and merge their changes into the main branch.
Additionally, because the pipeline is fully automated, ML engineers can add metadata and information about the experiments that is useful from a governance standpoint. For instance, they can collect metrics about the experiments and attach them with the model artifact or detect unwanted bias in the model. Try it out and tell us what you think in the comments!
About the Author
 Bruno Klein is a Machine Learning Engineer in the AWS ProServe team. He particularly enjoys creating automations and improving the lifecycle of models in production. In his free time, he likes to spend time outdoors and hiking.