AWS Public Sector Blog
Creating an outbound calling solution during a pandemic using Amazon Connect
City and state government leaders are on the front line fighting COVID-19. Government agencies need to reach their constituents at a moment’s notice to communicate everything from the location of disease hot spots, calls for volunteers, providing life-saving guidelines, and keeping the public informed about the current state of affairs. They need to be able to reach residents virtually or through electronic methods, since meeting in person isn’t an option.
Amazon Connect is an easy-to-use omnichannel cloud contact center solution that helps organizations provide a personal, dynamic, natural language experience. Amazon Connect can be personalized for governmental agencies large and small, and can help agencies reach their constituents with timely critical information through broadcast voice messaging in over a dozen languages.
Overview of the solution
In this blog, you learn how to create an Amazon Connect instance, set it up in over a dozen languages, and send messages to millions of people in a short period of time.
Amazon Web Services (AWS) designed the solution outlined in this blog for government task force members who need to contact citizens. Government representatives are able to upload phone numbers, create recorded messages in various languages, and then start outbound calls. When the system makes the first phone call, the receiver of the phone call can specify their language of choice so that when subsequent calls are dialed, the system delivers the message in the correct language.
You can also create messages using text-to-speech or by recording your own voice and uploading it to the Amazon Connect system. These messages can share timely information about COVID-19, what people can do to protect themselves, and get relevant updates localized to their area. With this information, citizens can make informed choices on how best to protect themselves and their families.
Prior to setting up your solution, be sure to check your local applicable laws as they relate to wide-scale communication to residents.
Prerequisites
This solution uses:
- Amazon Simple Storage Service (Amazon S3)
- Amazon DynamoDB – NoSQL Database Service
- AWS Lambda – Serverless Compute Service
- Amazon Connect – OmniChannel Cloud Contact Center Service
- Amazon Lex – Automatic speech recognition engine (ASR)
To follow along with the solution presented in this post, you need to understand the following AWS services and features:
- Sign up for AWS. To create an AWS account, see How do I create and activate an AWS account?
- Understand how to set up access to the AWS services described in this blog by creating AWS Identity and Access Management (AWS IAM) policies. See How do I create IAM policies?
- Set up an Amazon DynamoDB instance. The DynamoDB instance will be used to to store user preferences. See How do I create a DynamoDB Instance?
- Set up two AWS Lambda functions: one that will query the DynamoDB instance and one that will call the Amazon Connect API. See How do I create a Lambda Serverless instance?
- Set up Amazon Lex, which will be used to translate text into real-time speech in several languages. See How do I create Amazon Lex?
- Set up an Amazon S3 bucket. This bucket will be used to store user’s phone numbers that will be pulled by a Lambda function and sent to your Amazon Connect instance. See How do I create an S3 bucket?
Make sure that all of the services you launch are in the same AWS Region as this will help reduce latency and limit the amount of security modifications you will need to create. For our template, we use us-east-1 as region.
- Amazon S3
- Amazon DynamoDB
- AWS Lambda
- Amazon Connect
- Amazon Lex
When you create IAM policies, follow the standard security advice of granting least privilege, or granting only the permissions required to perform a task. Determine what users (and roles) need to do and then craft policies that allow them to perform only those tasks.
Technical architecture overview
The administrator uploads a recorded message or creates a text-to-voice message that plays when a person receives your call. The administrator then uploads the text file with the phone numbers, which initiates the first AWS Lambda function calling the Amazon Connect API. Once the call connects, an AWS Lambda function is triggered to check if the customer has a preferred language set in the DynamoDB database. If the language is set, it passes that information to Amazon Connect to play the voice message in that language. If there is no match, Amazon Lex is invoked and prompts the user to specify their preferred language. Once the call recipient chooses the language, it is captured in the DynamoDB database to set the language, which is used automatically on subsequent calls.
The diagram in Figure 1 shows the data flow for this solution.

Figure 1: Technical architecture of solution
To begin, you need an Amazon Connect instance configured for inbound and outbound calls, and you must claim a phone number after you create your instance. The Getting Started with Amazon Connect and Understanding Contact Flows documentation provide valuable background knowledge for this process.
Set up an Amazon Connect instance
1. Search for and select Amazon Connect in the console. This takes you to the Amazon Connect console dashboard.

2. Select “Add an instance“ (this shows if you already have an instance in that Region).
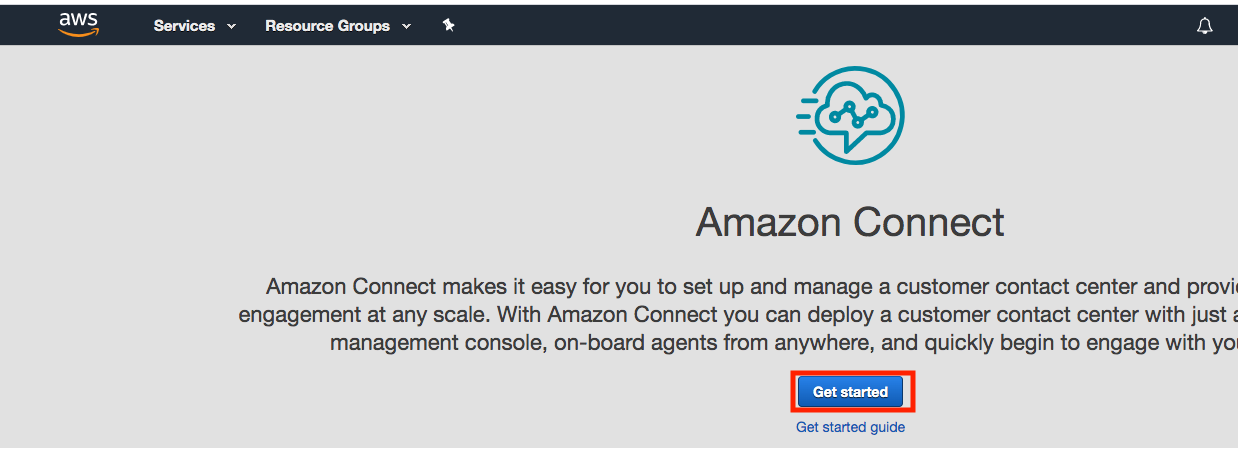
If this is your first Amazon Connect instance, select “Get started.”
Then give the instance a name in the “Access URL:” section and select “Next step.”

On the next screen, add a new admin user for managing and logging in to the Connect instance and select “Next step”.

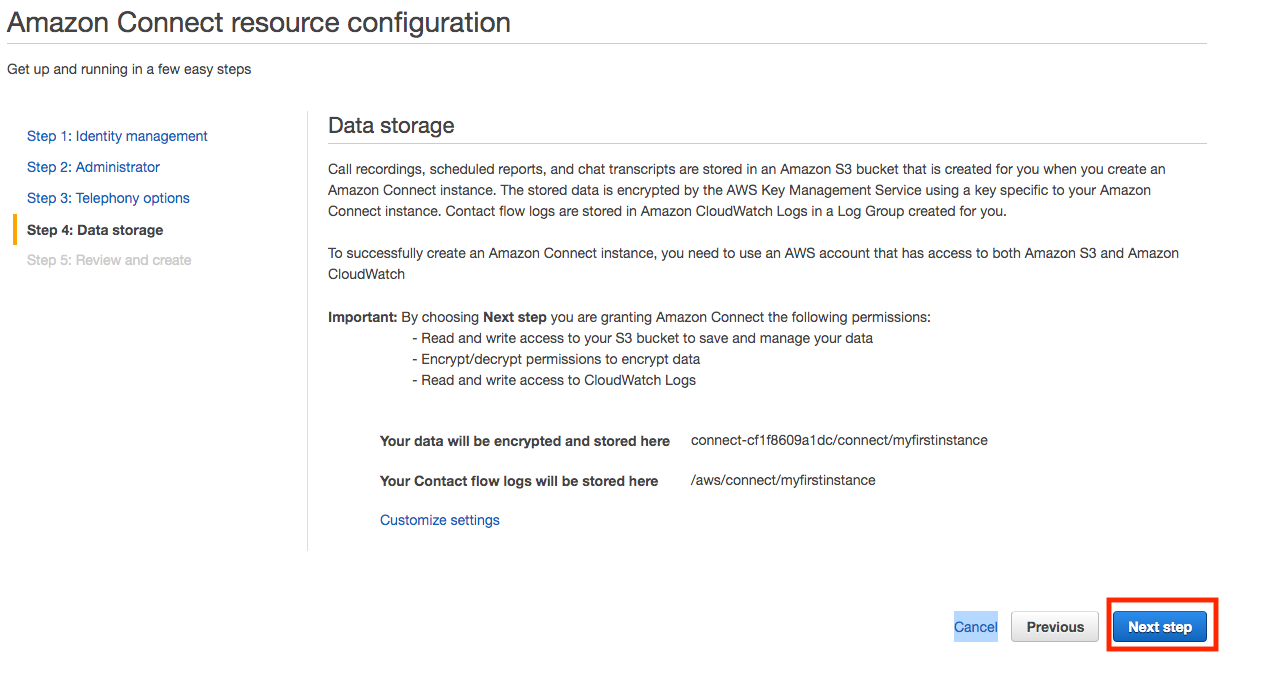
Select “Next step” on this screen.
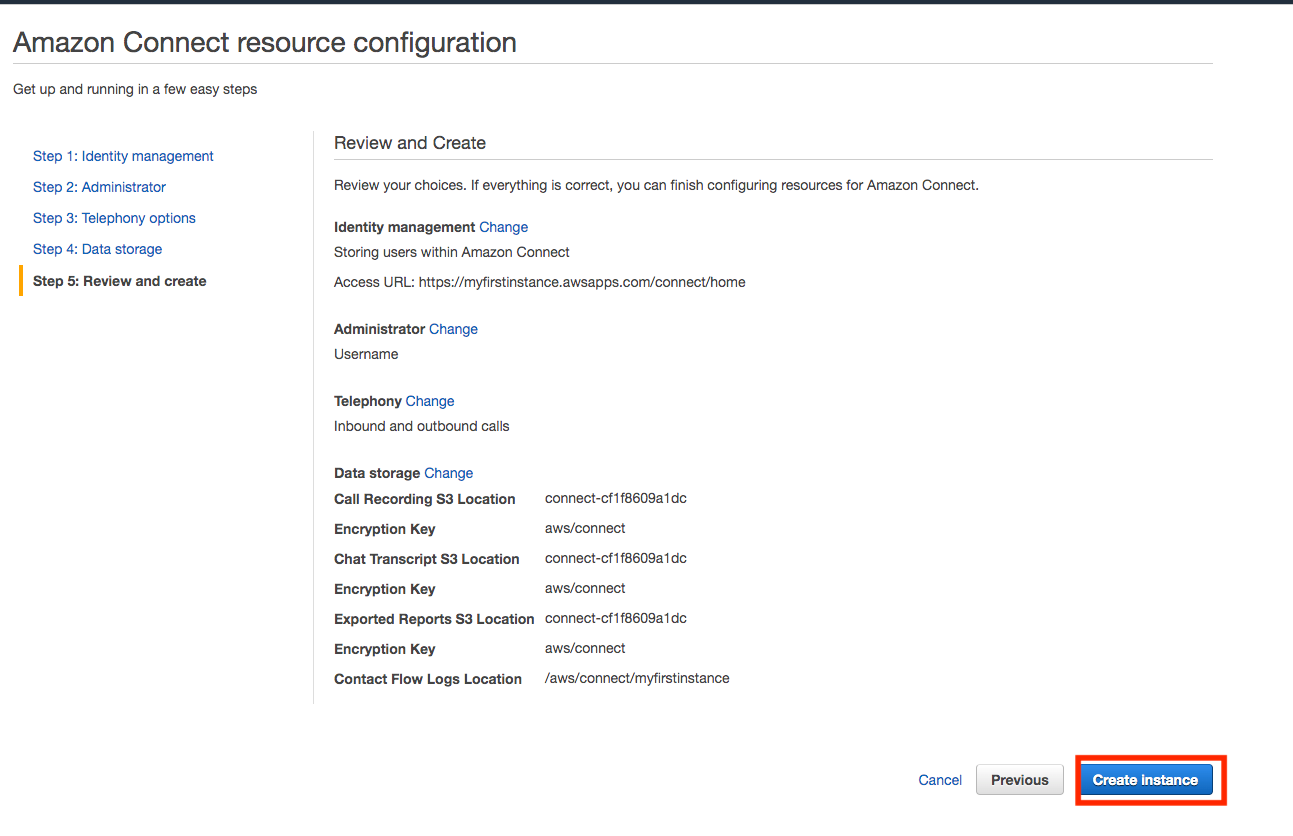
 And finally select “Create Instance”.
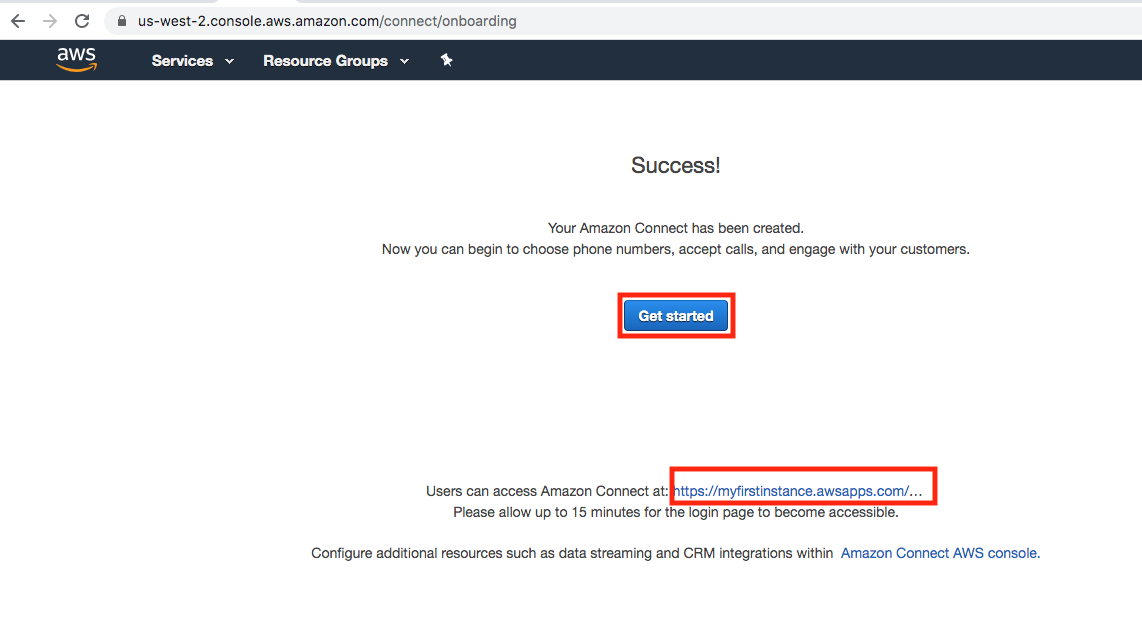
Once the instance is created, select “Get started” or the link to log into the instance.
Once logged in, select “Let’s go.”

3. Next, claim a phone number. You need at least one phone number (DID) to be claimed on the instance to make outbound calls using the API through AWS Lambda.
Go to the Routing section and click on Phone numbers and then select “Claim a number.”


On the next screen, select the country as “United Sates” and click on DID (Direct Inward Dialing) and then select a number and select “Save.”
Please make a note of the number as you will need this later for the CloudFormation template.

Next, select the “Overview” link in the Amazon Connect console page and copy the instance ID as shown below as you use this later for the CloudFormation template.

After the page loads, copy the text after the “Instance/” in the Instance ARN identification. This is the instance ID. You also need this later for the CloudFormation template.
 Upload prompts to play
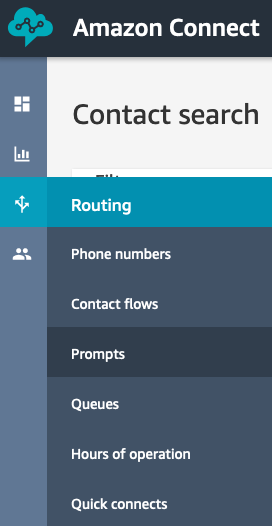
1. Under Routing icon, select “Prompts”:
2. Select “Create new prompt” option:

3. Choose “Upload” to use an existing .WAV file recorded at 8KHz sample rate, or select “Record” to manually record a prompt using your own voice. To use an existing recorded prompt, select “Choose file,” select the prompt from your local machine, and enter a prompt name:
Record Amazon Connect announcements to be played for the users during an outbound call.


After entering the prompt name, select “Create” on the lower right of the screen:
For information on recording a prompt, please see information in the Amazon Connect Admin Guide.
Import the contact flow
1. Download the “multi-language-sample-contact-flow-sample” file, to import the contact flow from this link.
2. Log in to your Connect instance with the username and password you created when you created the instance. The login url for the connect admin should look similar to this: https://YOURINSTANCE.awsapps.com/connect/login.
Once you are logged in, go to the contact flows section and select “Create contact flow”.

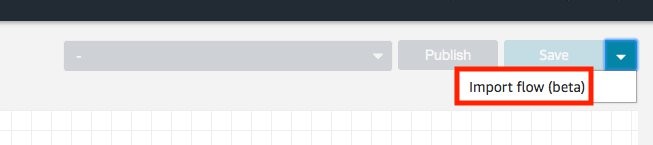
3. Select “import flow (beta)” and select the file downloaded earlier named “multi-language-contact-flow-sample.”

4. From the dropdown menu, select “Import flow (beta)”
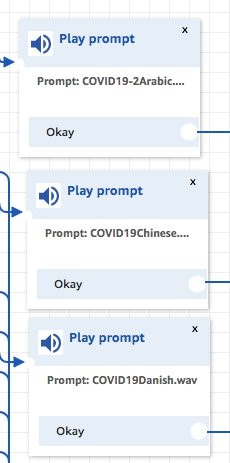
 Before you can publish the flow, you need to configure all the recorded prompts (earlier step) in the flow and the publish it. The play prompt block in the call flow is shown below. This needs to be configured for all prompts in respective languages.
- Now that the voice prompts are imported, they can be used in the flow design. Select “Play prompt call flow process” and then upload your recorded file.
- This needs to be configured for all different prompts for respective languages you need to play messages in.
5. When the flow is imported and configured with the prompts above, select “Publish.” Click on “Show additional flow information,” and make note of the “contact flow id.” This will be added to the Lambda functions. Only copy the last set of data after “…/contact-flow/.”

Use CloudFormation Template to Create Amazon S3, Amazon DynamoDB, and AWS Lambda
1. We will use the CloudFormation template to build the Amazon S3 bucket, Amazon DynamoDB database, and three Lambda functions. To launch the CloudFormation Template, click here or on “Launch Stack”.
![]()
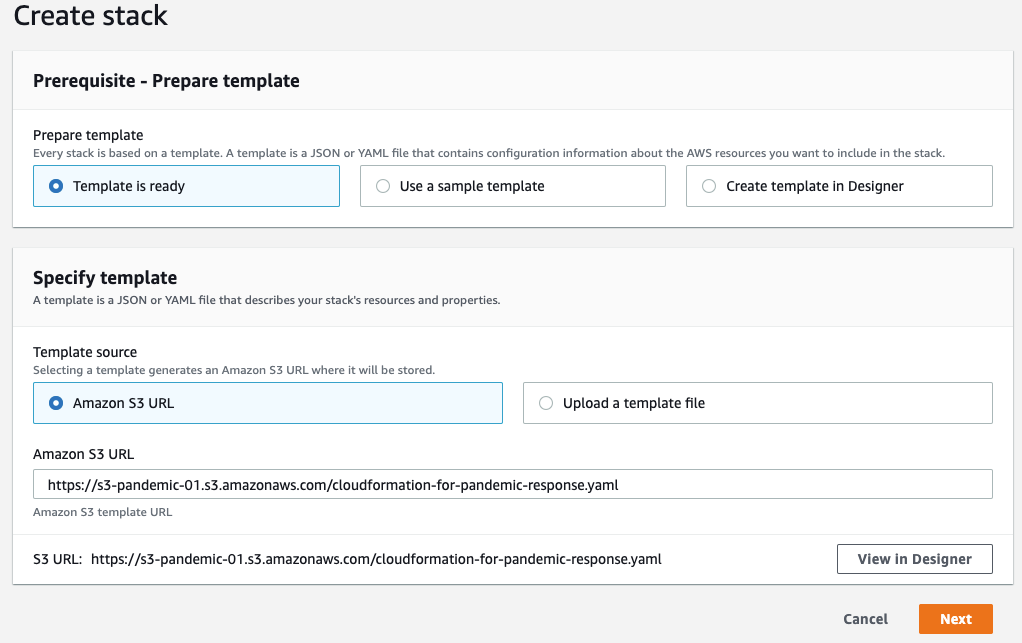
Enter the information in the CloudFormation Template with the following parameters, then select “Next:”
- Flow ID from the Amazon Connect Contact Flow
- Instance ID of the Amazon Connect
- The claimed phone number in Amazon Connect
- The file name you are using to upload the phone numbers of the recipients

Capture the outputs from the CloudFormation Template; you need this information to be used in the flow.
- DynamoDBTable
- LAMBDAOUTBOUND
- LAMBDAREAD
- LAMBDAWRITE
- S3 Bucket Name
AWS recommends you block public access of the S3 bucket created. Learn how to block public access of an S3 bucket.
Create Amazon Lex
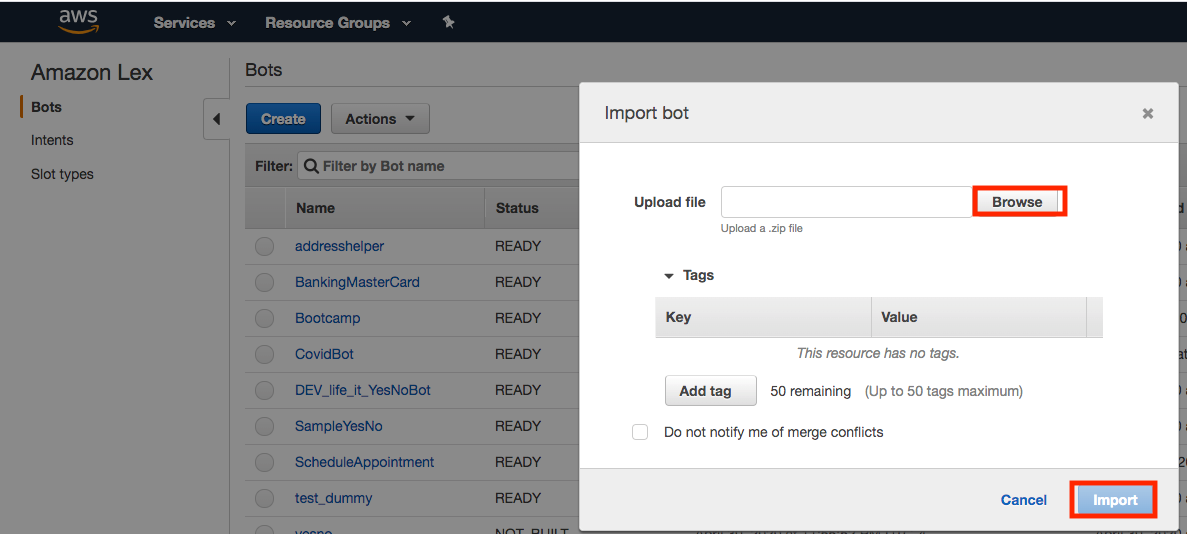
Next, import the Lex Bot to interact with the user to capture their language preference. Download a sample file we created “lex-for-pandemic-response.zip”. You don’t have to unzip the file.
Select “Services” in the AWS console, enter “Lex,” and select the “Amazon Lex” Service.

Then select “Import” option under Actions, from the “Bots” section.

Browse to the location where you downloaded the “lex-for-pandemic-response.zip” file of the Bot and import it.
Once imported, you need to:
- Build the bot
- Publish it with an alias name of your choice

Now that you have the Lex bot and AWS Lambda functions created, allow your contact flow to use them.
Go to Amazon Connect Console page and select the “Contact Flows.
 Then go to the sections of Amazon Lex to select the alias of the bot you created and select “Add.”
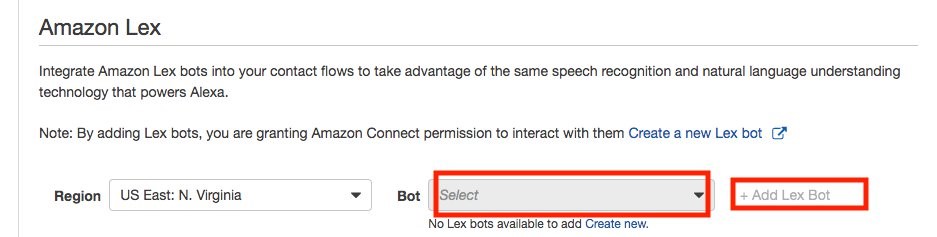
Next, repeat the same step to add the Lambda functions created with the CloudFormation template.
Select the Lambda function and “+Add Lambda Function.”

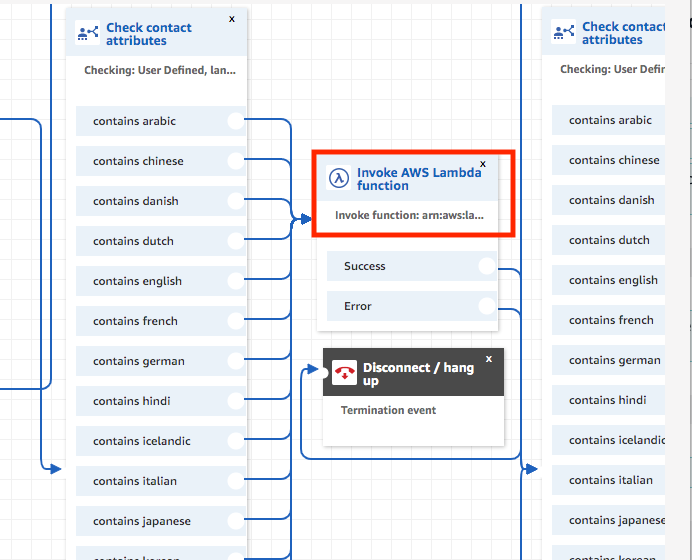
Configure the Lambda function in the call flow to trigger. Add the AWS Lambda function called LAMBDAREAD function from the CloudFormation stack output in the call flow block below.
It checks if there is a preferred language in the DynamoDB for the call recipient. If yes, it plays the prompt in that language.

Add the AWS Lambda function called LAMBDAWRITE from the CloudFormation stack output in the call flow block below. This Lambda function creates an entry in the DynamoDB table for the preferred language and then plays the message in that language. The next time we call the user, they are not prompted to pick a language, saving time and bringing efficiency in the process. This also reduces the time used, resulting in a lower amount of minutes used.
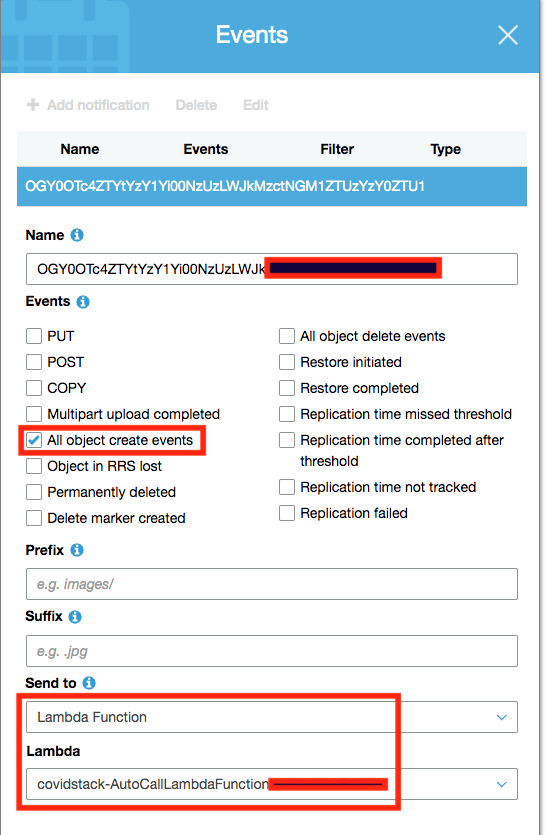
Finally, add a trigger on the S3 bucket to invoke the outbound call API for Amazon Connect to call the recipient.
Go to the S3 service in the AWS console and select “Properties of the Bucket” created as part of the CloudFormation stack.

In the properties, select “Events” and “Add notification.” Then select the “All object create events” and configure to send to the AWS Lambda function LAMBDAOUTBOUND we created as part of the CloudFormation stack.
Now, you are ready and let’s give a try.
This is your playground with the core services to provide the automated outbound call solution, which can be extended or customized for specific needs. Please reach out to your AWS Account Manager or solutions architect if you want to discuss further.
Cleanup
Please remember to delete all of your Amazon Connect Instances, CloudFormation Template, DynamoDB database, Lambda functions, Amazon S3, and IAM Policies once you are done.
Conclusion
In this blog, you learned how to set up an outbound multi-language voice messaging system that can be used in times of emergency. This solution can also be used for large organizations who are disconnected from many of their employees around the country and the world. CEOs can record a message and share updates with their teams and give them timely information about how the company is doing, inform employees about special projects, or let them know when they can return to work and the process for doing that. Please reach out to you AWS Account Team if you have any further questions.
Learn more about Amazon Connect and read more stories on Amazon Connect on the AWS Public Sector Blog, or check out the Contact Center Blog.
Subscribe to the AWS Public Sector Blog newsletter to get the latest in AWS tools, solutions, and innovations from the public sector delivered to your inbox, or contact us.