Category: Amazon EC2 Systems Manager
New – S3 Sync capability for EC2 Systems Manager: Query & Visualize Instance Software Inventory
It is now essential, with the fast paced lives we all seem to lead, to find tools to make it easier to manage our time, our home, and our work. With the pace of technology, the need for technologists to find management tools to easily manage their systems is just as important. With the introduction of Amazon EC2 Systems Manager service during re:Invent 2016, we hoped to provide assistance with the management of your systems and software.
If are not yet familiar with the Amazon EC2 Systems Manager, let me introduce this capability to you. EC2 Systems Manager it is a management service that helps to create system images, collect software inventory, configure both Windows and Linux operating systems, as well as, apply Operating Systems patches. This collection of capabilities allows remote and secure administration for managed EC2 instances or hybrid environments with on-premise machines configured for Systems Manager. With this EC2 service capability, you can additionally record and regulate the software configuration of these instances using AWS Config.
Recently we have added another feature to the inventory capability of EC2 Systems Manager to aid you in the capture of metadata about your application deployments, OS and system configurations, Resource Data Sync aka S3 Sync. S3 Sync for EC2 Systems Manager allows you to aggregate captured inventory data automatically from instances in different regions and multiple accounts and store this information in Amazon S3. With the data in S3, you can run queries against the instance inventory using Amazon Athena, and if you choose, use Amazon QuickSight to visualize the software inventory of your instances.

Let’s look at how we can utilize this Resource Data Sync aka S3 Sync feature with Amazon Athena and Amazon QuickSight to query and visualize the software inventory of instances. First things first, I will make sure that I have the Amazon EC2 Systems Manager prerequisites completed; configuration of the roles and permissions in AWS Identity and Access Management (IAM), as well as, the installation of the SSM Agent on my managed instances. I’ll quickly launch a new EC2 instance for this Systems Manager example.
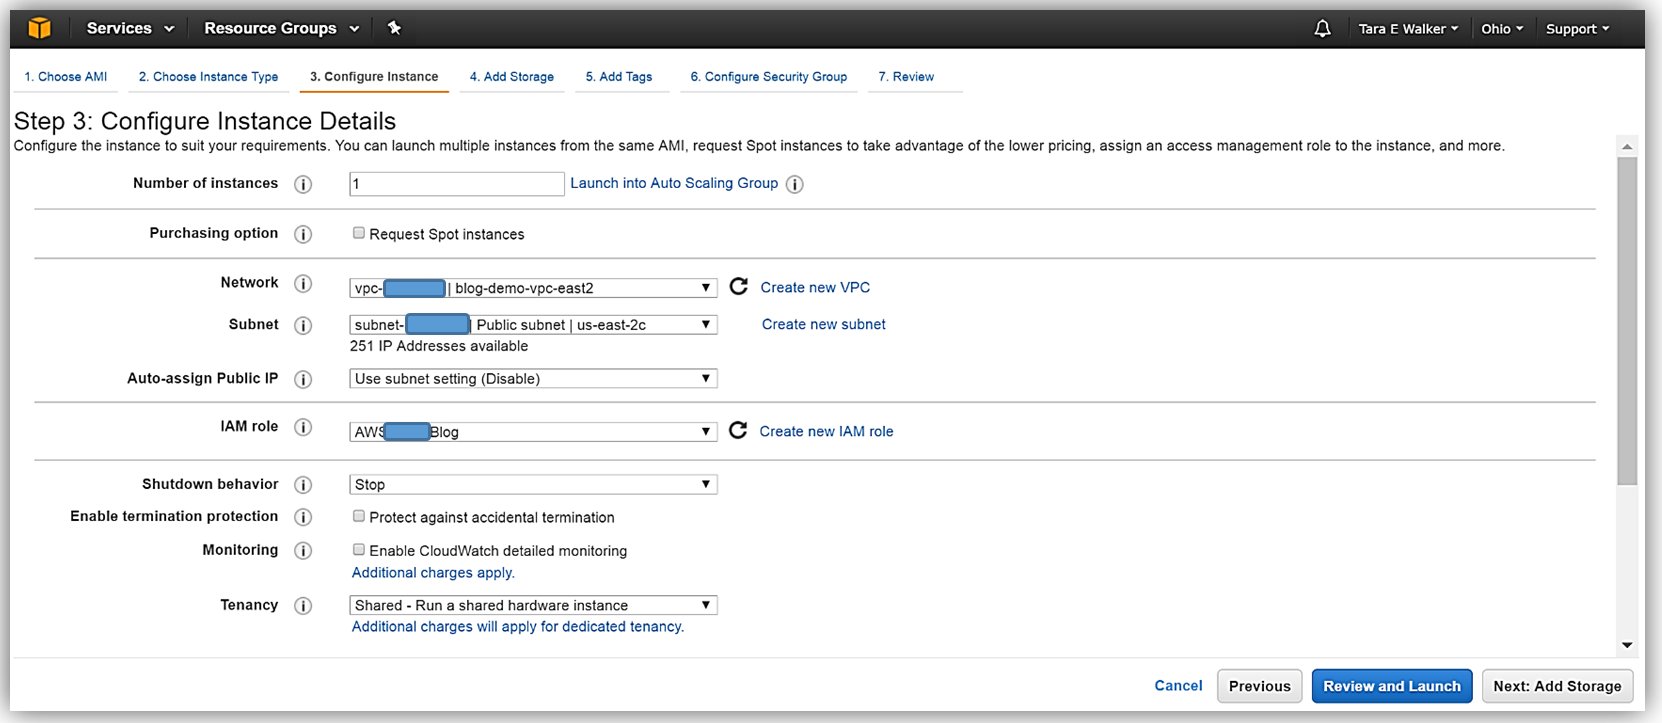
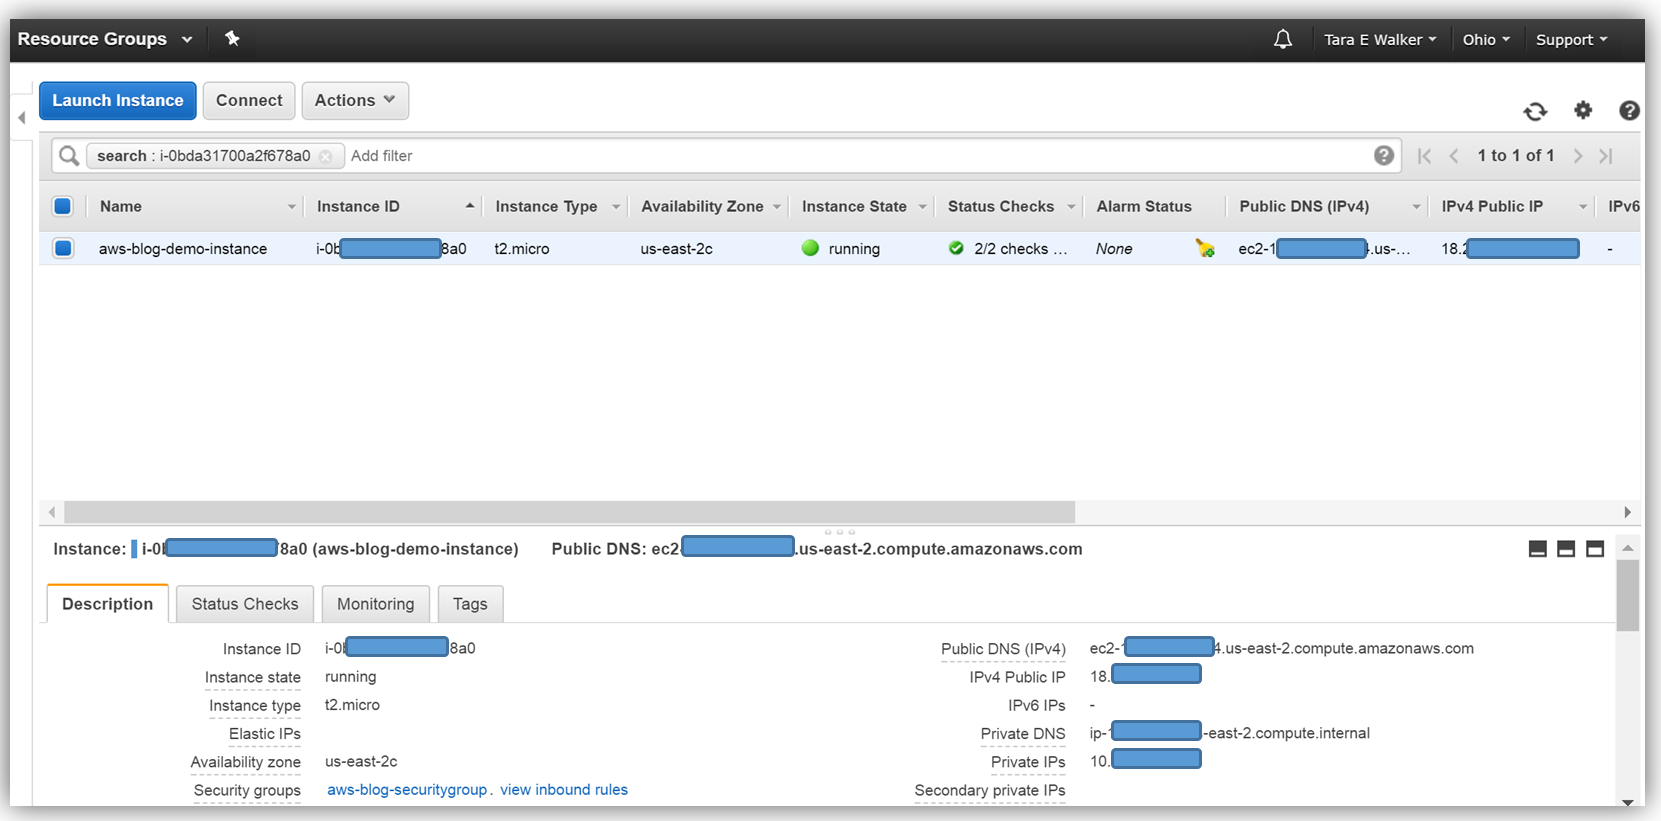
Now that my instance has launched, I will need to install the SSM Agent onto my aws-blog-demo-instance. One thing I should mention is that it is essential that your IAM user account has administrator access in the VPC in which your instance was launched. You can create a separate IAM user account for instances with EC2 Systems Manager, by following the instructions noted here: http://docs.aws.amazon.com/systems-manager/latest/userguide/sysman-configuring-access-policies.html#sysman-access-user. Since I am using an account with administrative access, I won’t need to create an IAM user to continue installing the SSM Agent on my instance.
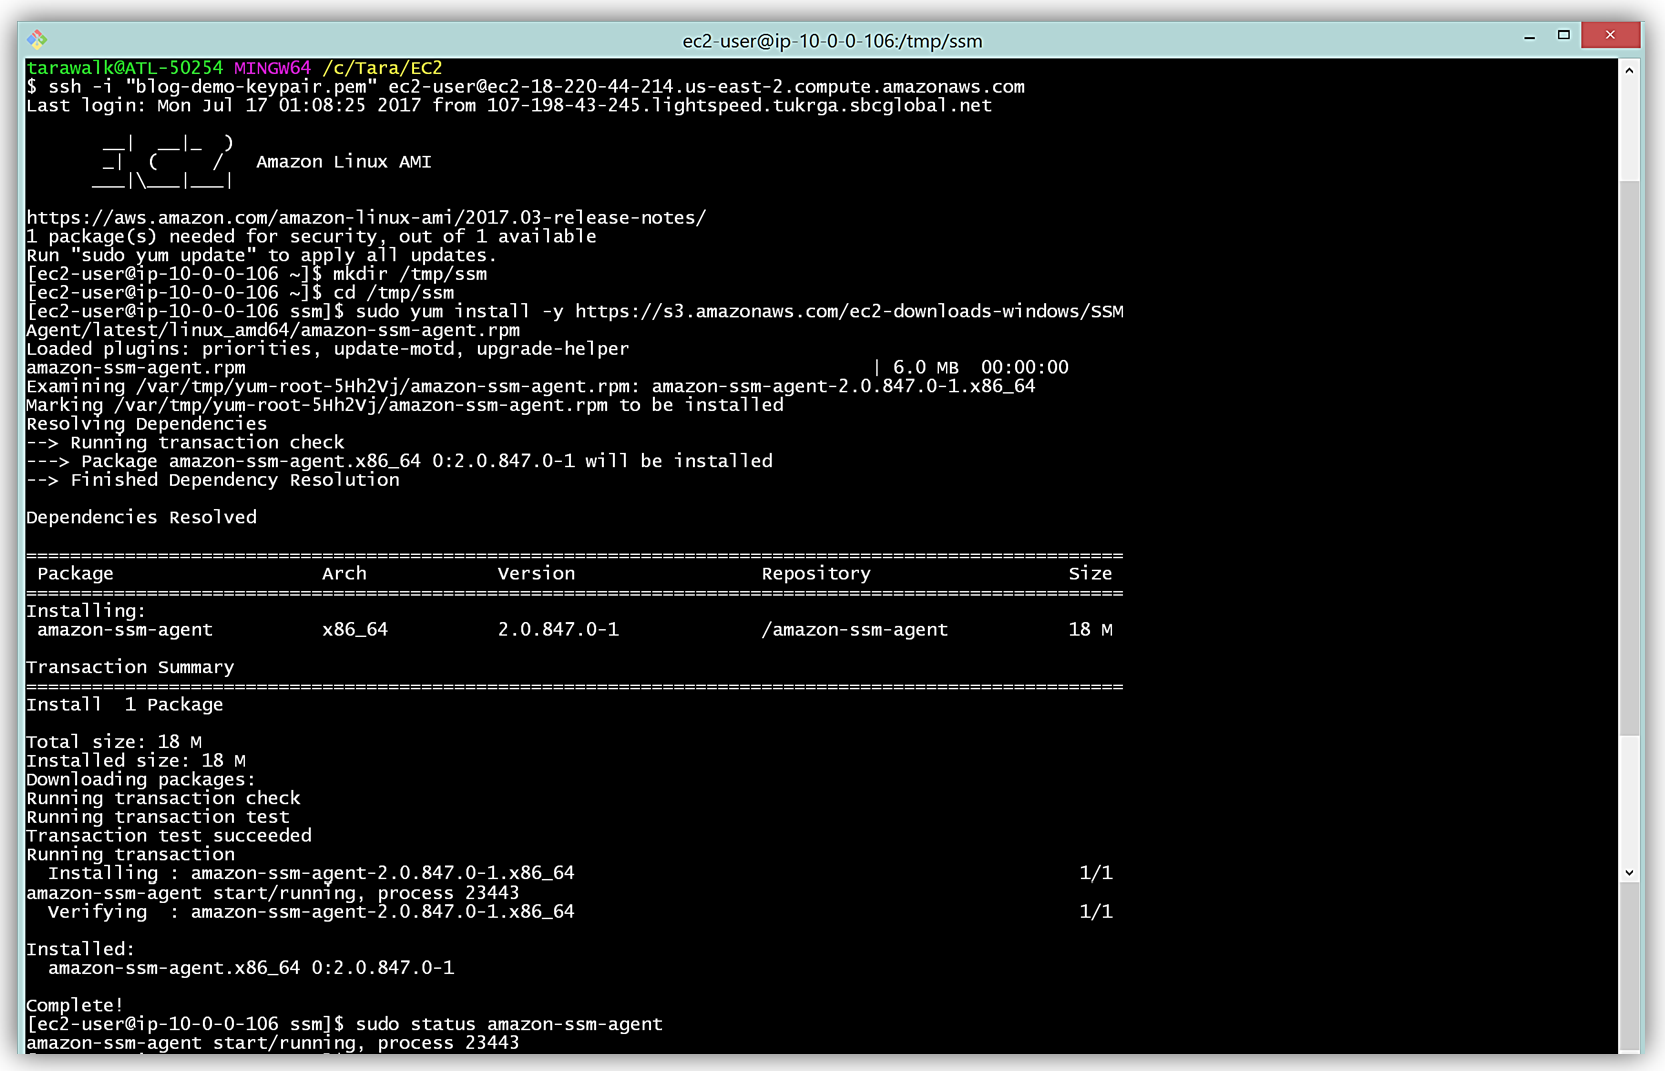
To install the SSM Agent, I will SSH into my instance, create a temporary directory, and pull down and install the necessary SSM Agent software for my Amazon Linux EC2 instance. An EC2 instance based upon a Windows AMI already includes the SSM Agent so I would not need to install the agent for Windows instances.
To complete the aforementioned tasks, I will issue the following commands:
mkdir /tmp/ssm

cd /tmp/ssm

sudo yum install -y https://s3.amazonaws.com/ec2-downloads-windows/SSMAgent/latest/linux_amd64/amazon-ssm-agent.rpm
You can find the instructions to install the SSM Agent based upon the type of operating system of your EC2 instance in the Installing SSM Agent section of the EC2 Systems Manager user guide.
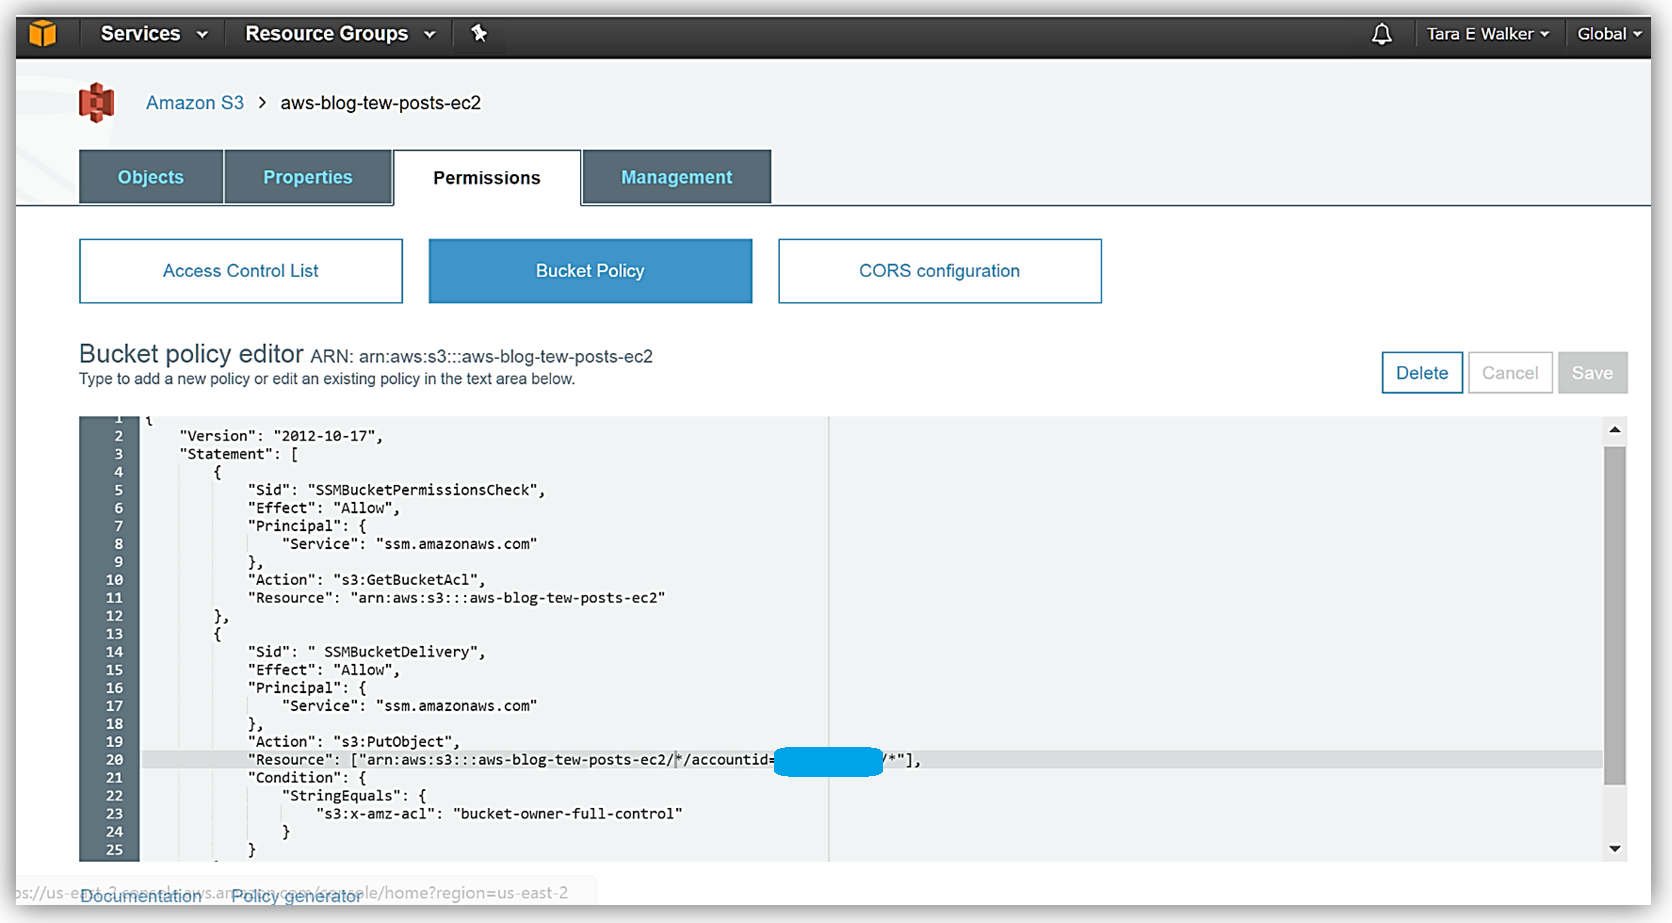
Now that I have the Systems Manager agent running on my instance, I’ll need to use a S3 bucket to capture the inventory data. I’ll create a S3 bucket, aws-blog-tew-posts-ec2, to capture the inventory data from my instance. I will also need to add a bucket policy to ensure that EC2 Systems Manager has permissions to write to my bucket. Adding the bucket policy is simple, I select the Permissions tab in the S3 Console and then click the Bucket Policy button. Then I specify a bucket policy which gives the Systems Manager the ability to check bucket permissions and add objects to the bucket. With the policy in place, my S3 bucket is now ready to receive the instance inventory data.
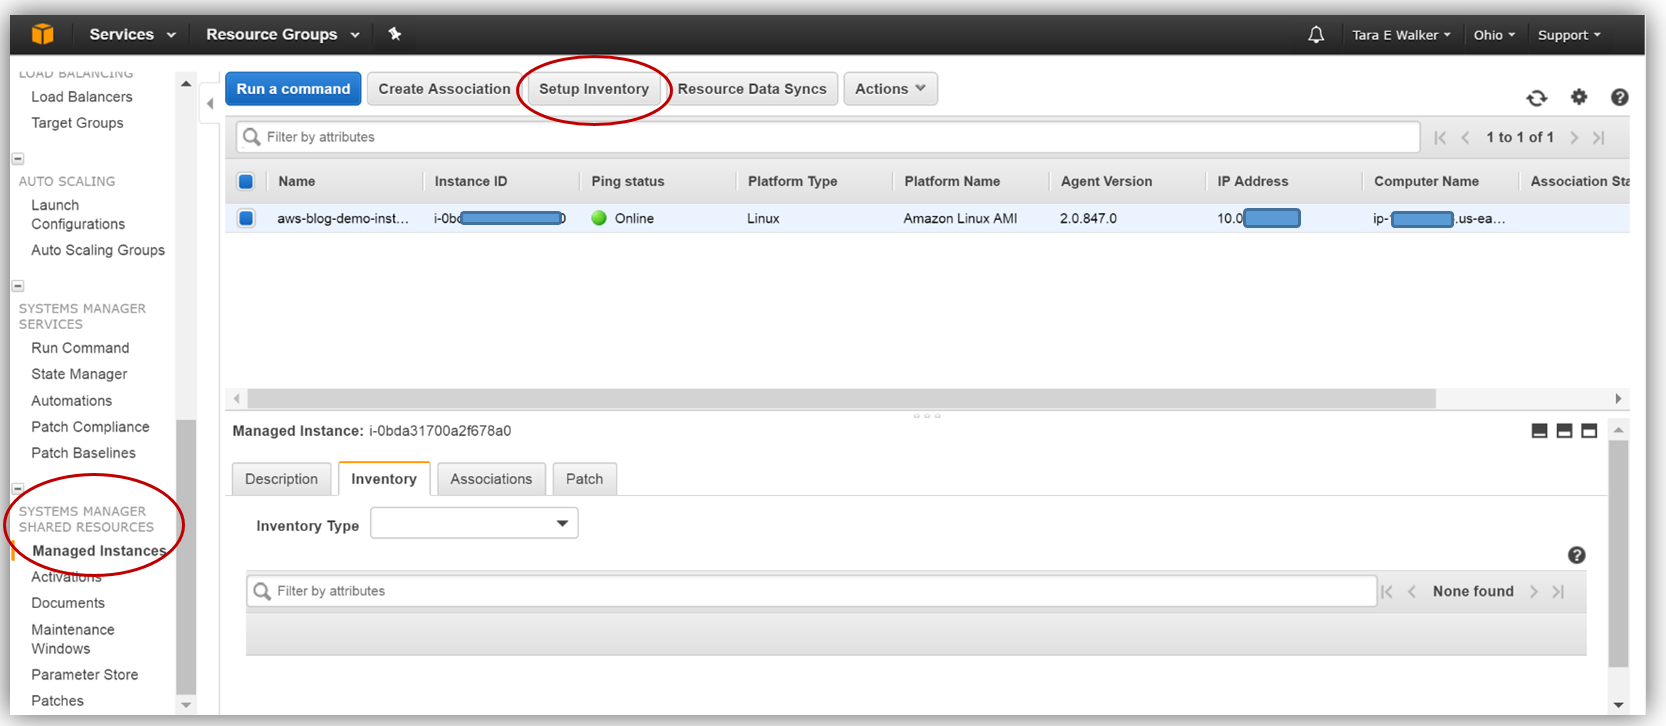
To configure the inventory collection using this bucket, I will head back over to the EC2 console and select Managed Resources under Systems Manager Shared Resources section, then click the Setup Inventory button.
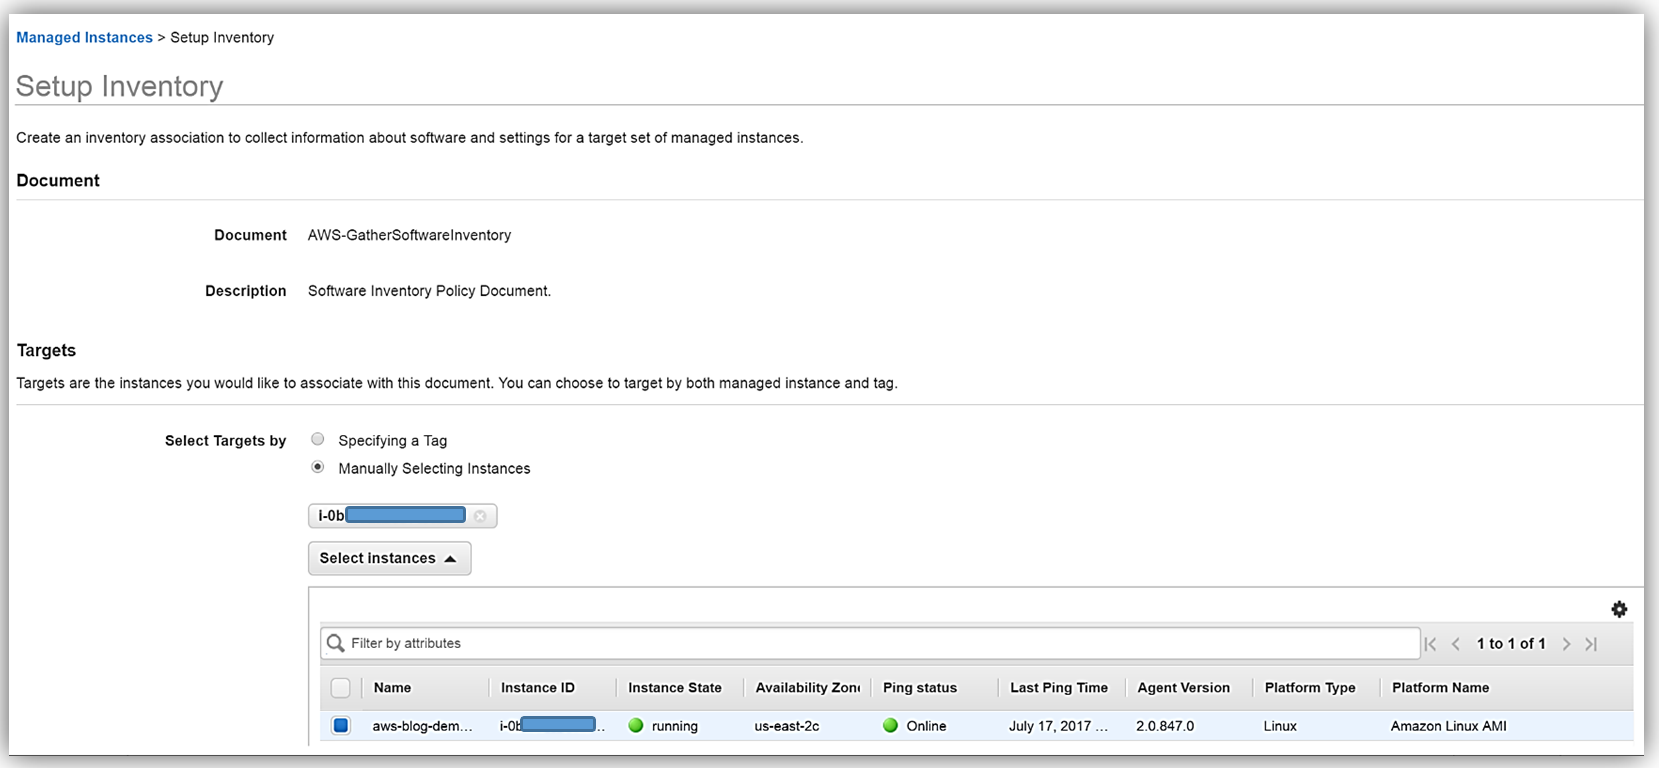
In the Targets section, I’ll manually select the EC2 instance I created earlier from which I want to capture the inventory data. You should note that you can select multiple instances for which to capture inventory data if desired.
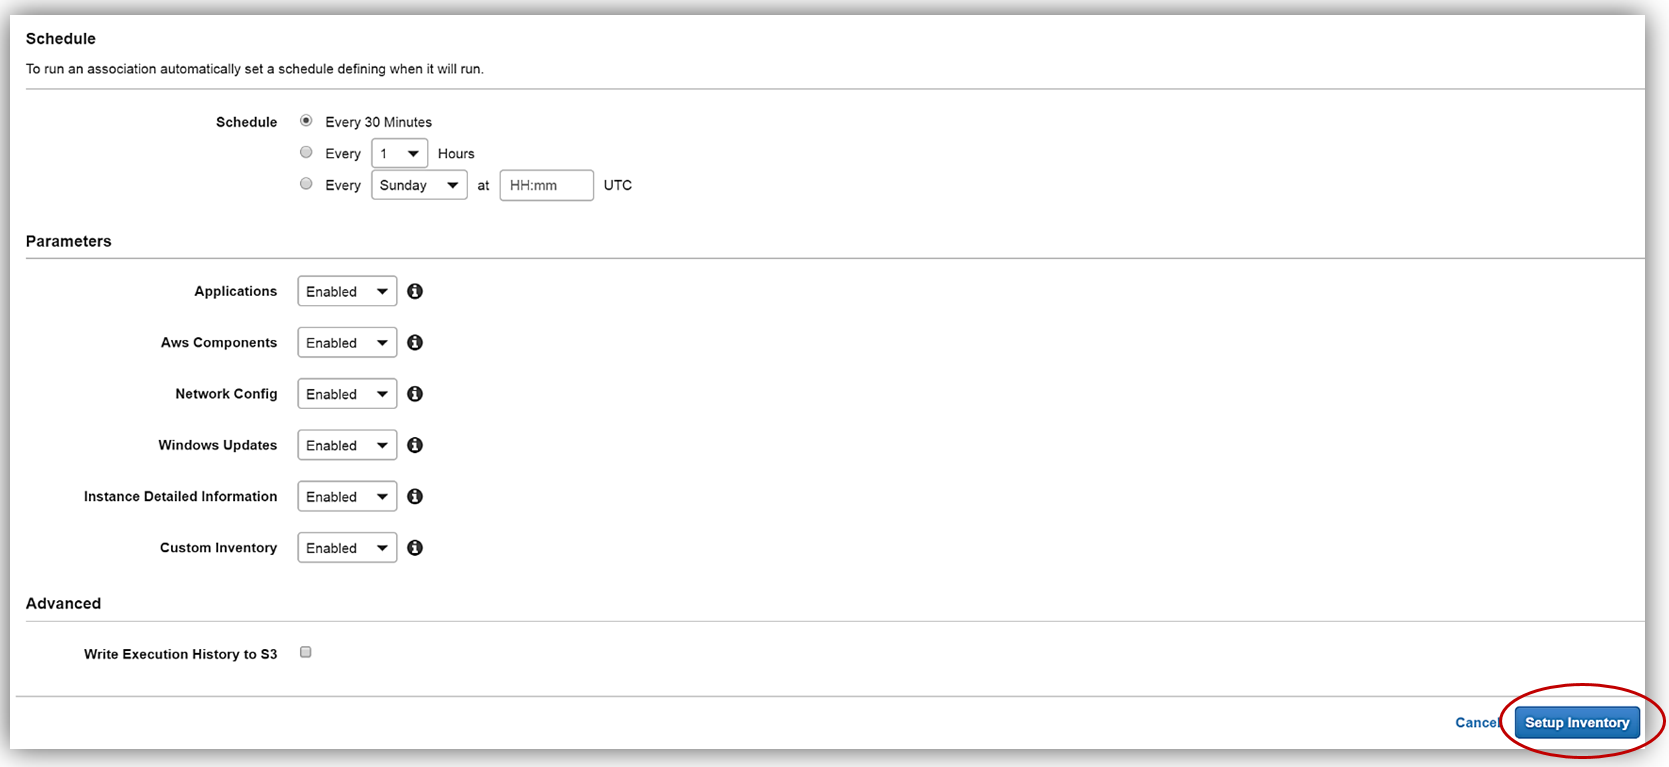
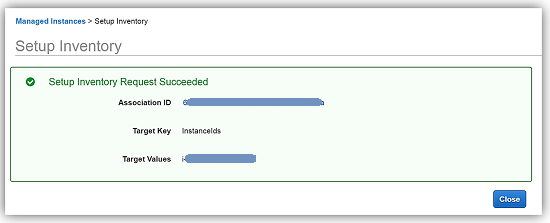
Scrolling down to the Schedule section, I will choose 30 minutes for the time interval of how often I wish for inventory metadata to be gathered from my instance. Since I’m keeping the default Enabled value for all of the options in the Parameters section, and I am not going to write the association logs to S3 at this time, I only need to click the Setup Inventory button. When the confirmation dialog comes up noting that the Inventory has been set up successfully, I will click the Close button to go back to the main EC2 console.
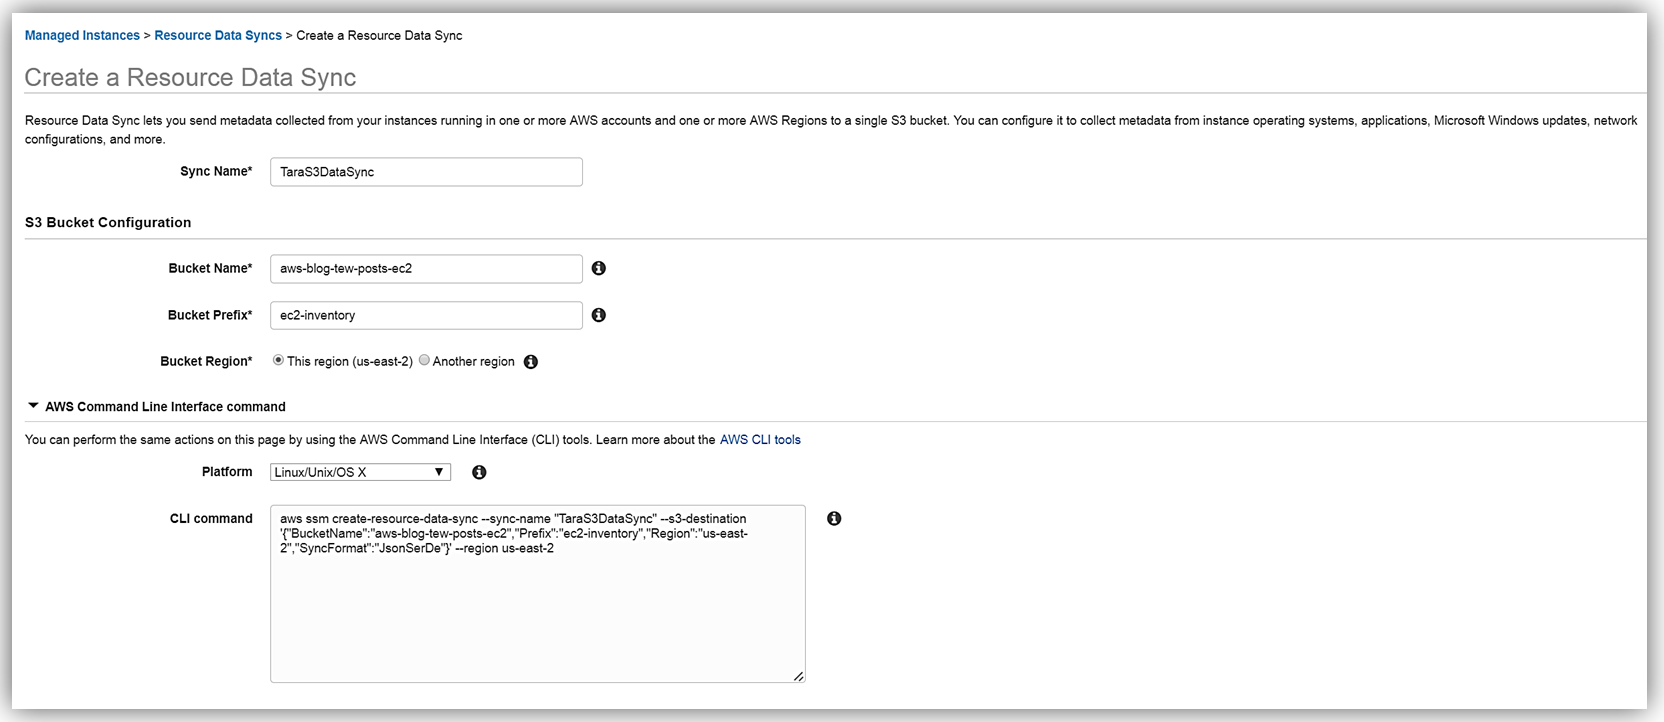
Back in the EC2 console, I will set up my Resource Data Sync using my aws-blog-tew-posts-ec3 S3 bucket for my Managed Instance by selecting the Resource Data Syncs button.

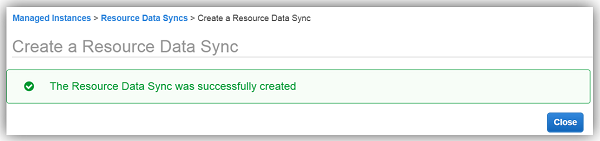
To set up my Resource data, I will enter my information for the Sync Name, Bucket Name, Bucket Prefix, and the Bucket Region that my bucket is located. You should also be aware that the Resource Data Sync and the sync S3 target bucket can be located in different regions. Another thing to note is that the CLI command for completing this step is displayed, in case I opt to utilize the AWS CLI for creating the Resource Data Sync. I click the Create button and my Resource Data Sync setup is complete.
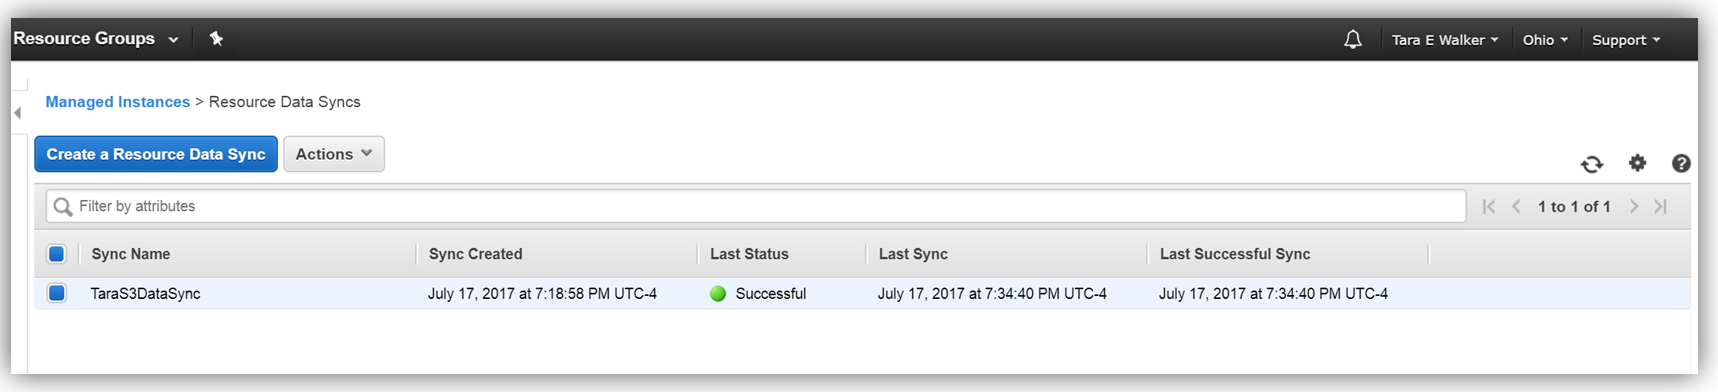
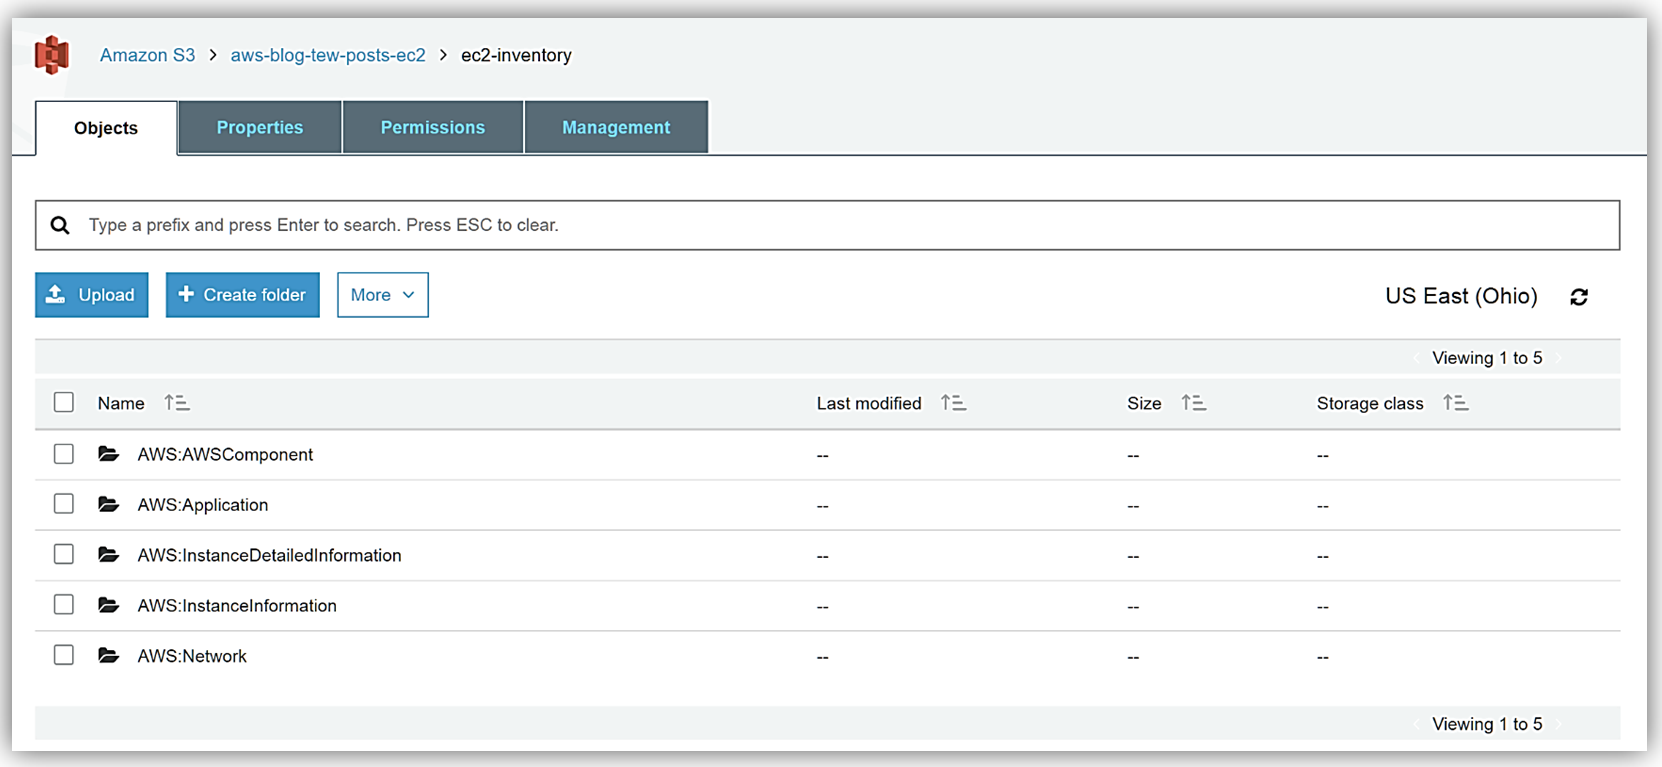
After a few minutes, I can go to my S3 bucket and see that my instance inventory data is syncing to my S3 bucket successfully.
With this data syncing directly into S3, I can take advantage of the querying capabilities of the Amazon Athena service to view and query my instance inventory data. I create a folder, athenaresults, within my aws-blog-tew-posts-ec2 S3 bucket, and now off to the Athena console I go!
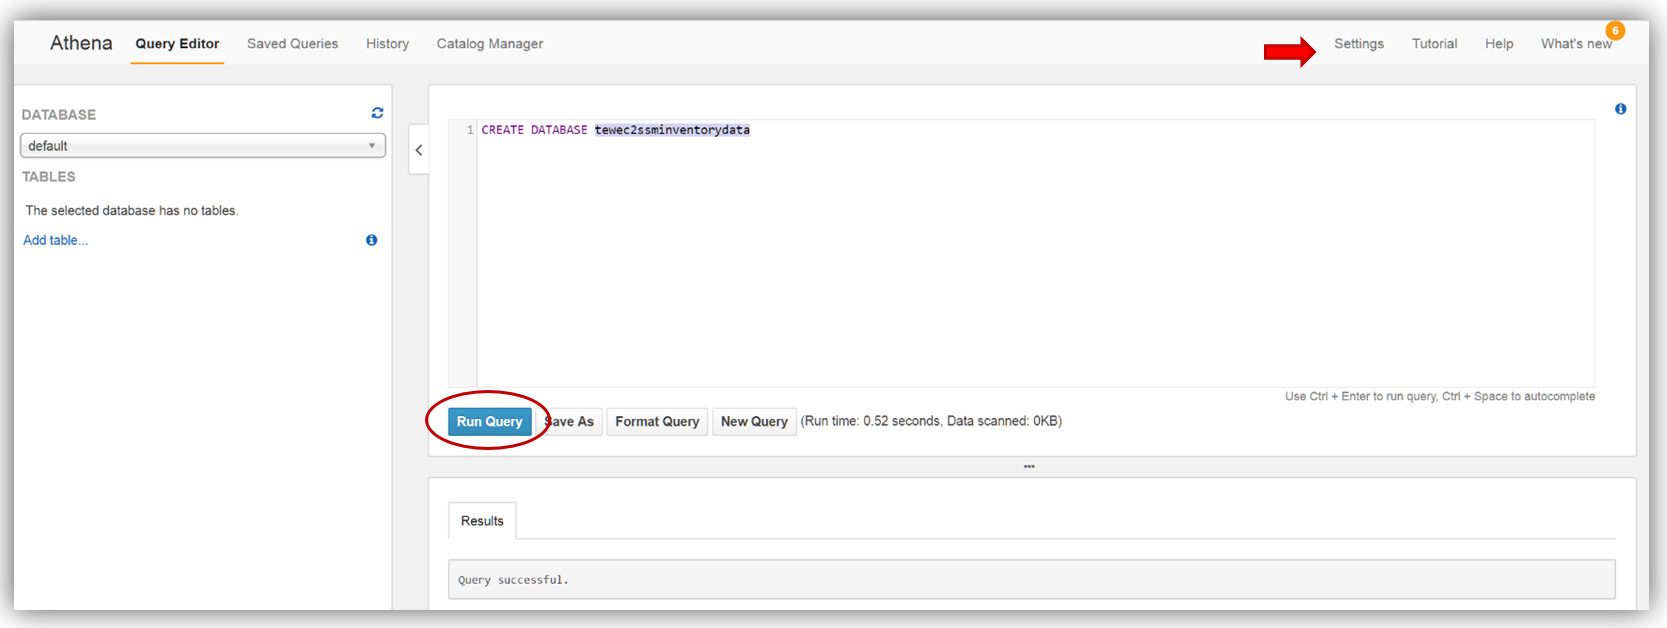
In the Athena console, I will change the Settings option to point to my athenaresults folder in my bucket by entering: s3://aws-blog-tew-posts-ec2/athenaresults. Now I can create a database named tewec2ssminventorydata for capturing and querying the data sent from SSM to my bucket, by entering in a CREATE DATABASE SQL statement in the Athena editor and clicking the Run Query button.
With my database created, I’ll switch to my tewec2ssminventorydata database and create a table to grab the inventory application data from the S3 bucket synced from the Systems Manager Resource Data Sync.
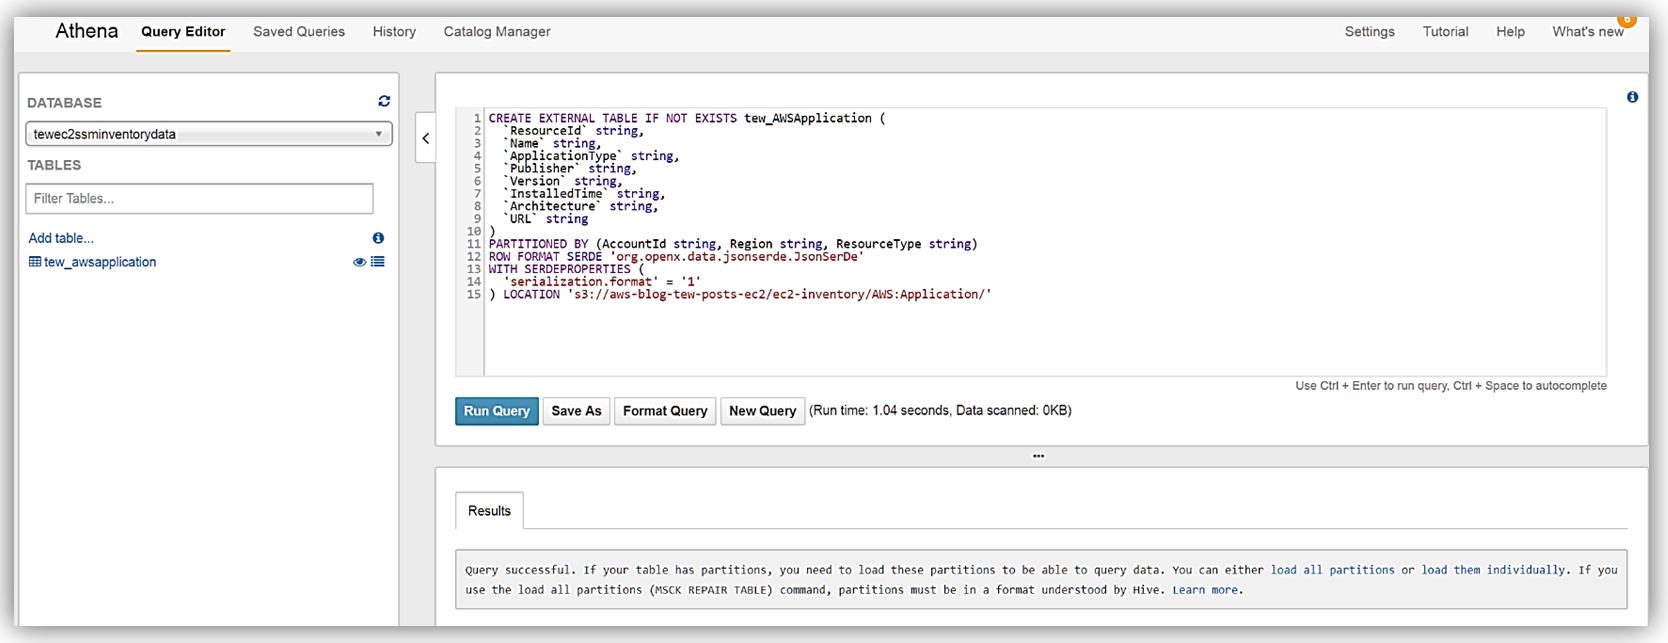
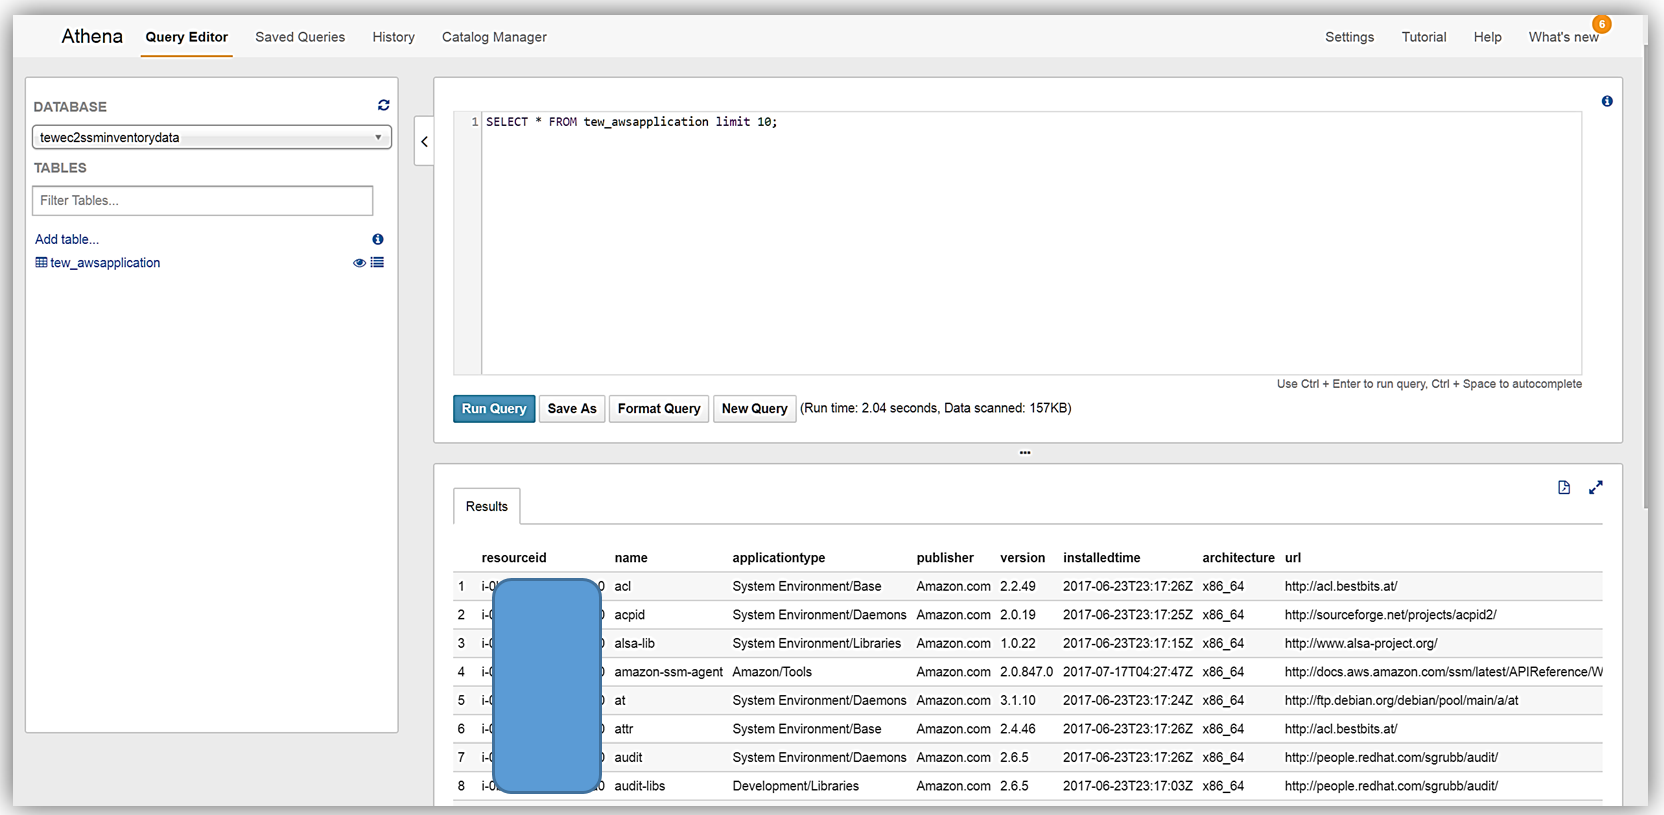
As the query success message notes, I’ll run the MSCK REPAIR TABLE tew_awsapplication command to partition the newly created table. Now I can run queries against the inventory data being synced from the EC2 Systems Manager to my Amazon S3 buckets. You can learn more about querying data with Amazon Athena on the product page and you can review my blog post on querying and encrypting data with Amazon Athena.
Now that I have query capability of this data it also means I can use Amazon QuickSight to visualize my data.
If you haven’t created an Amazon QuickSight account, you can quickly follow the getting started instructions to setup your QuickSight account. Since I already have a QuickSight account, I’ll go to the QuickSight dashboard and select the Manage Data button. On my Your Data Sets screen, I’ll select the New data set button.
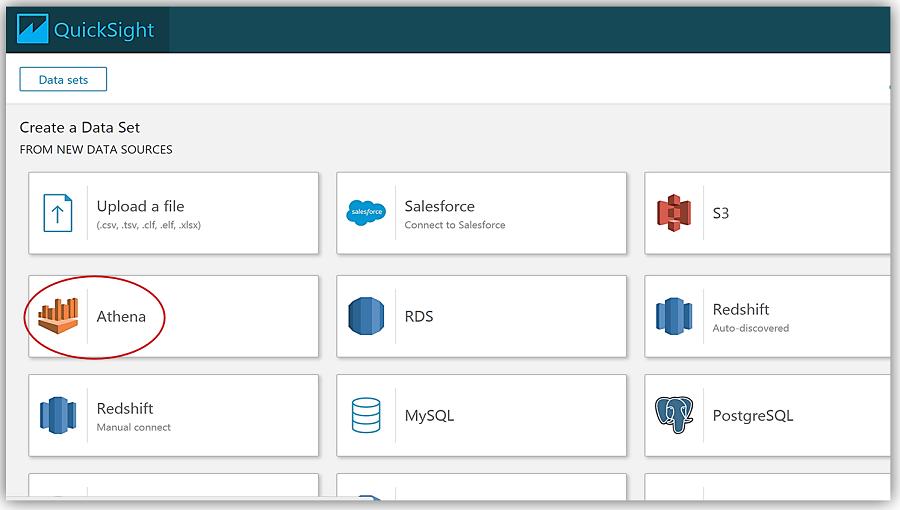
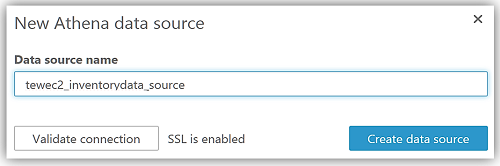
Now I can create a dataset from my Athena table holding the Systems Manager Inventory Data by selecting Athena as my data source.
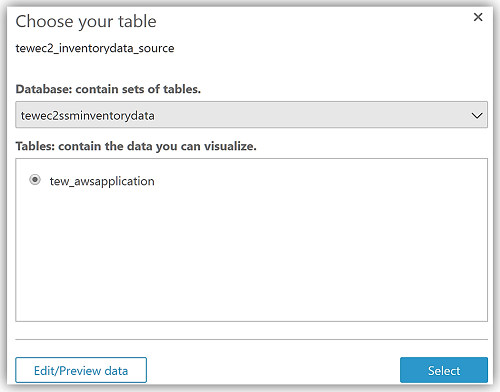
This takes me through a series of steps to create my data source from the Athena tewec2ssminventorydata database and the tew_awsapplication table.
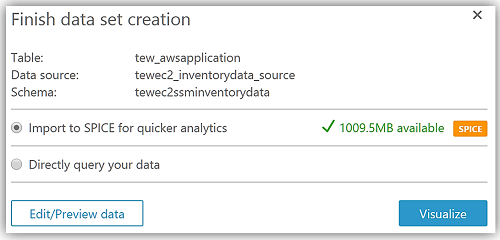
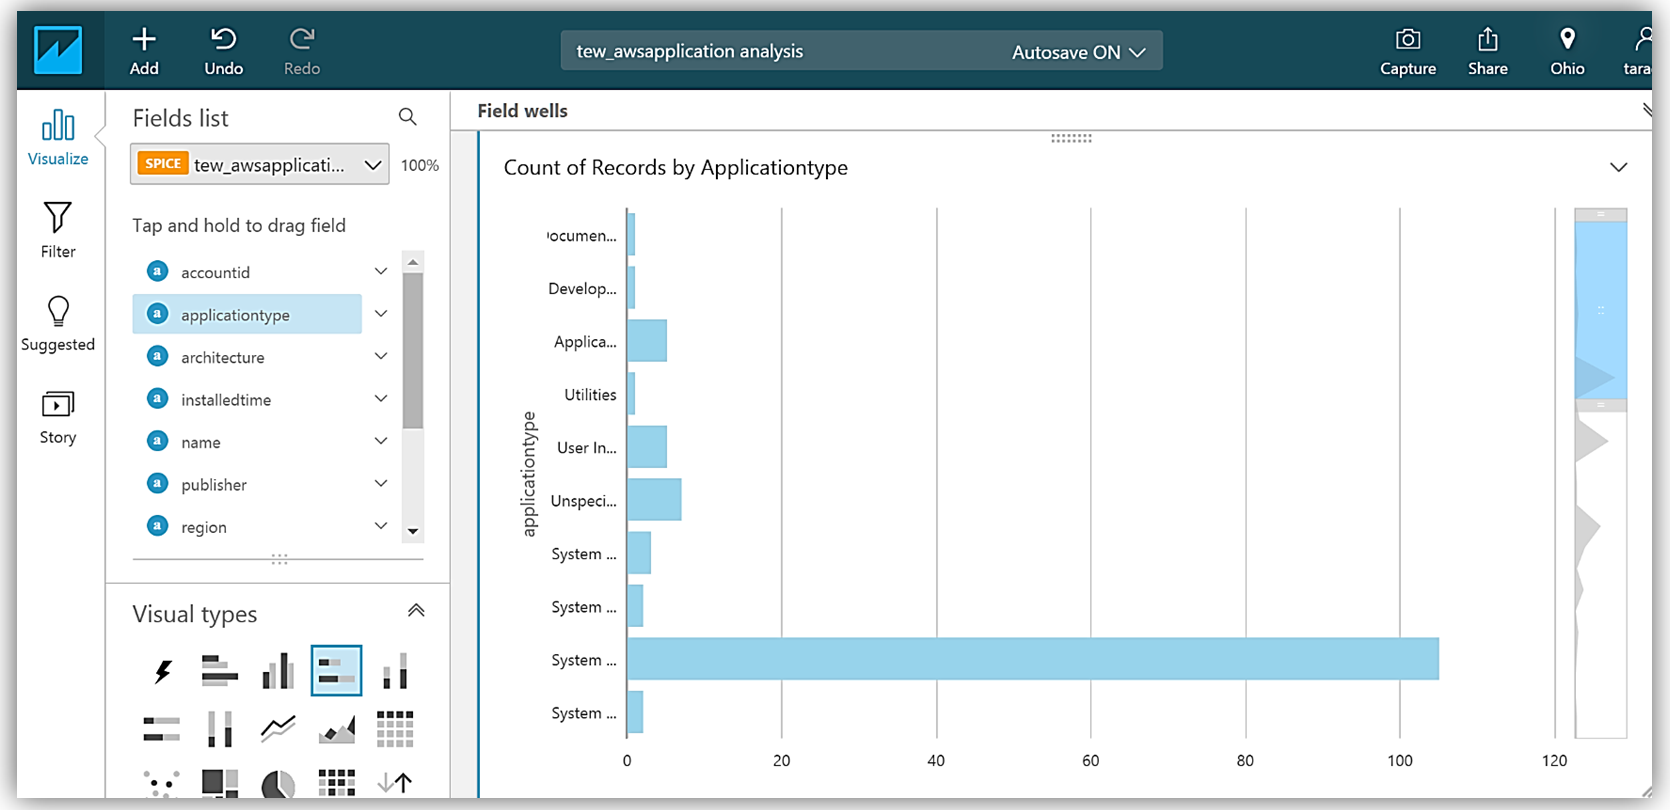
After choosing Visualize to create my data set and analyze the data in the Athena table, I am now taken to the QuickSight dashboard where I can build graphs and visualizations for my EC2 System Manager inventory data.
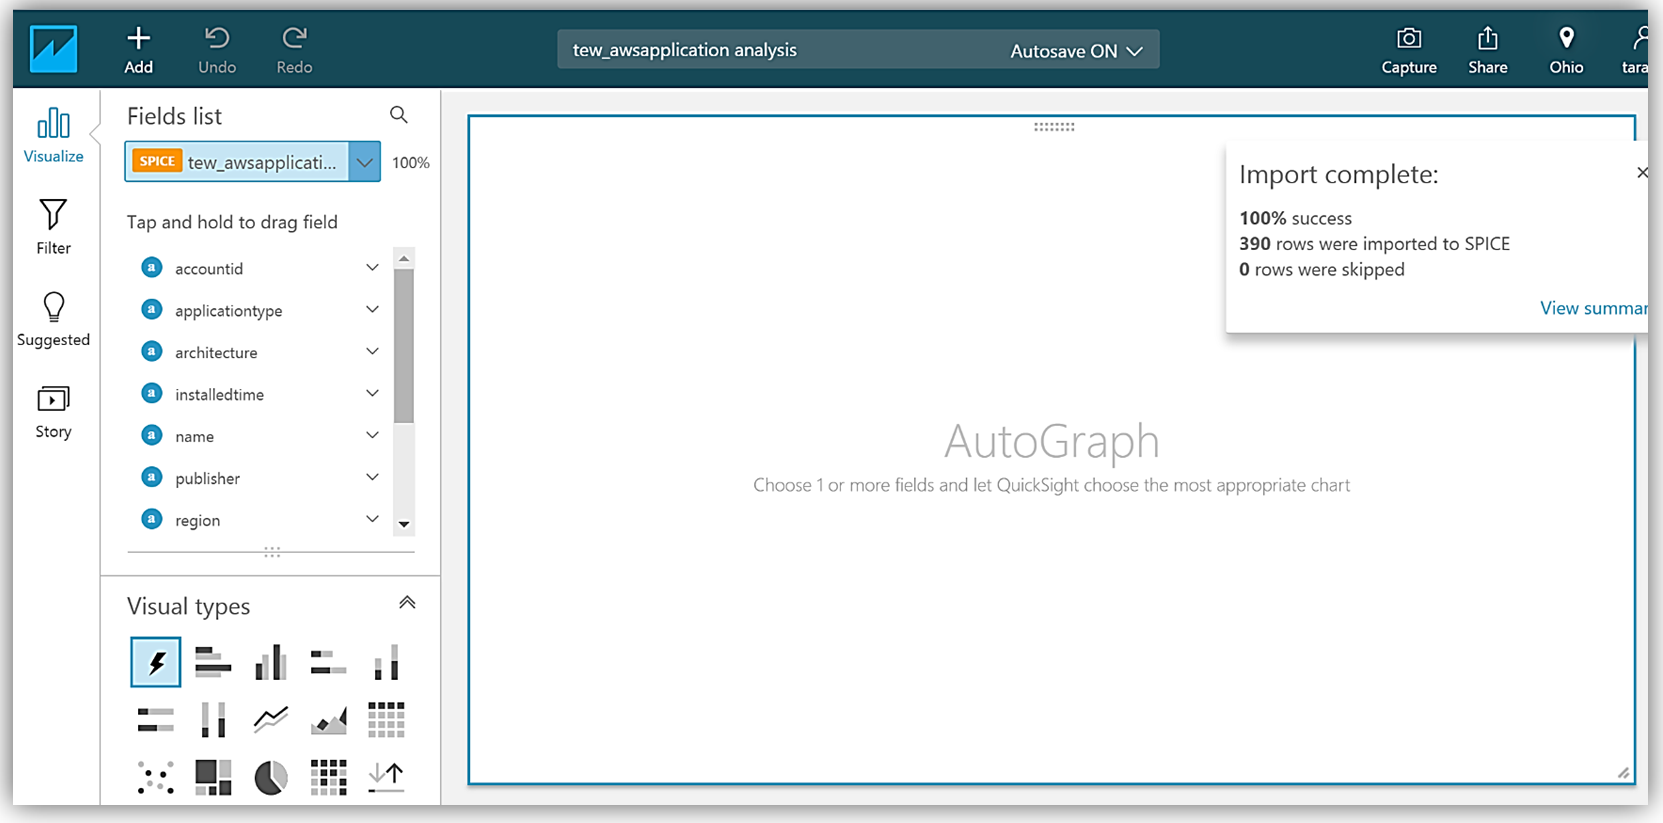
Adding the applicationtype field to my graph, allows me to build a visualization using this data.
Summary
With the new Amazon EC2 Systems Manager Resource Data Sync capability to send inventory data to Amazon S3 buckets, you can now create robust data queries using Amazon Athena and build visualizations of this data with Amazon QuickSight. No longer do you have to create custom scripts to aggregate your instance inventory data to an Amazon S3 bucket, now this data can be automatically synced and stored in Amazon S3 allowing you to keep your data even after your instance has been terminated. This new EC2 Systems Manager capability also allows you to send inventory data to S3 from multiple accounts and different regions.
To learn more about Amazon EC2 Systems Manager and EC2 Systems Manager Inventory, take a look at the product pages for the service. You can also build your own query and visualization solution for the EC2 instance inventory data captured in S3 by checking out the EC2 Systems Manager user guide on Using Resource Data Sync to Aggregate Inventory Data.
In the words of my favorite Vulcan, “Live long, query and visualize and prosper” with EC2 Systems Manager.
– Tara